Maximizing 2D Illustrations to Create Animations
The goal is to make a short similar to popular artists' shorts on IG and YouTube where they share a how-to process with some Adobe App, and the short features the artist in real life and their art.
But I have to be different. Instead of featuring myself in real life, I want to make a video short with an animated version of myself.
And here is the problem. I know how to use 2D illustration apps but I am a bit short on animation apps and I really do not like to draw frame by frame animations since it takes a lot of drawing! and I haven't figured out how to use puppet controls in animation apps.
However, frame by frame animation is something I could do if there was a process that focused on my strengths: 2D drawings on apps like Fresco, Illustrator, Photoshop and Premiere.
So here is my process that I work for me in a few projects already!
Step 1.
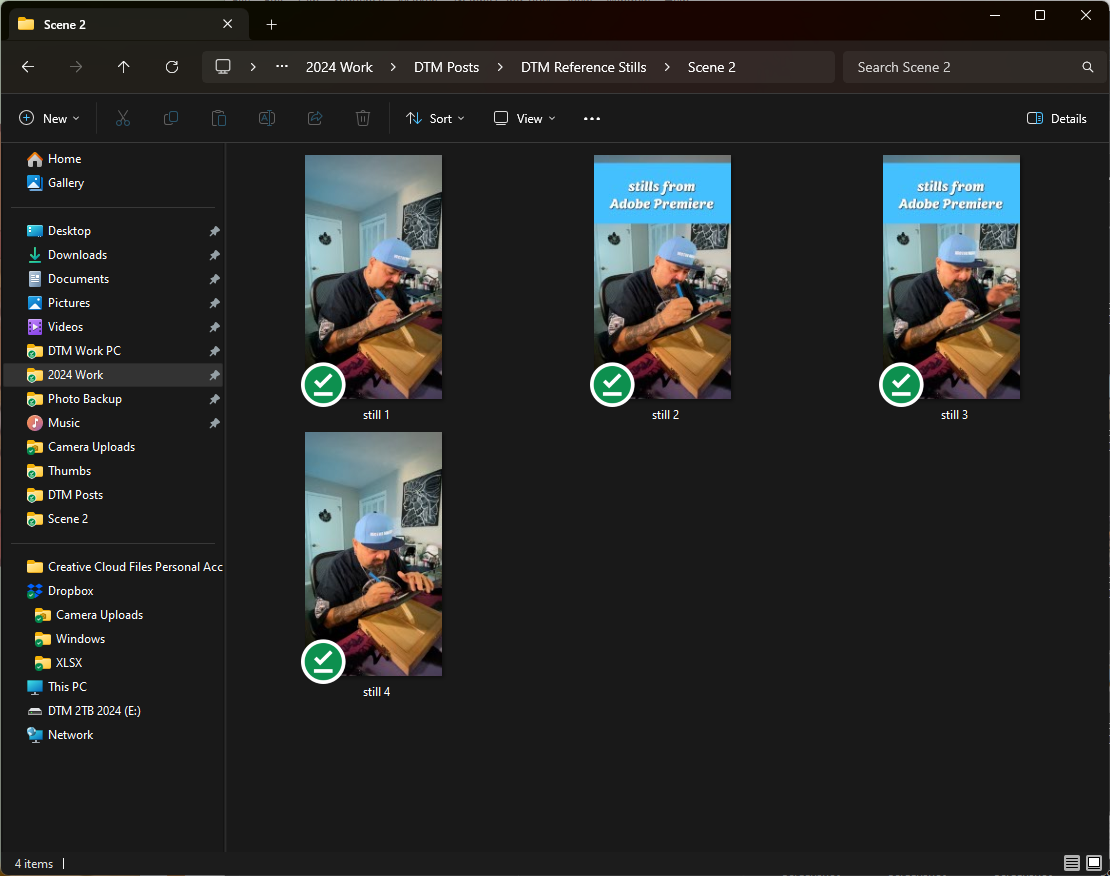
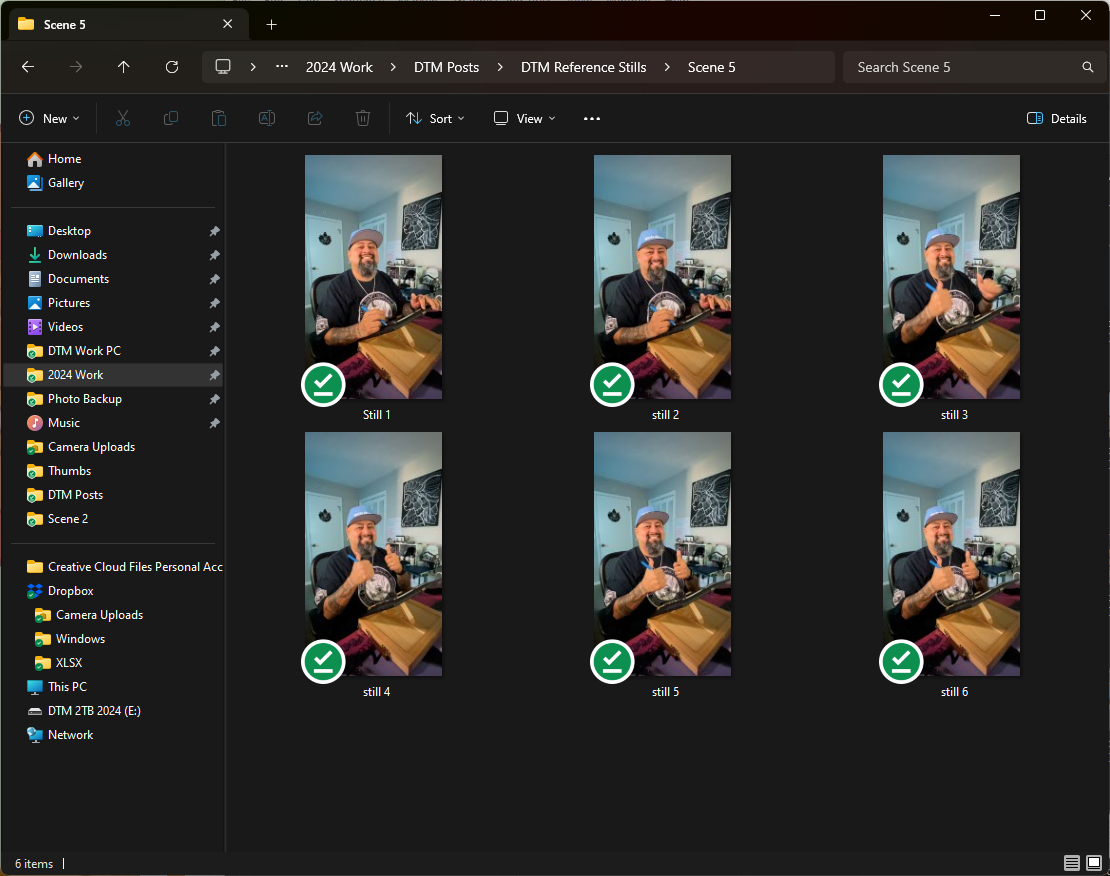
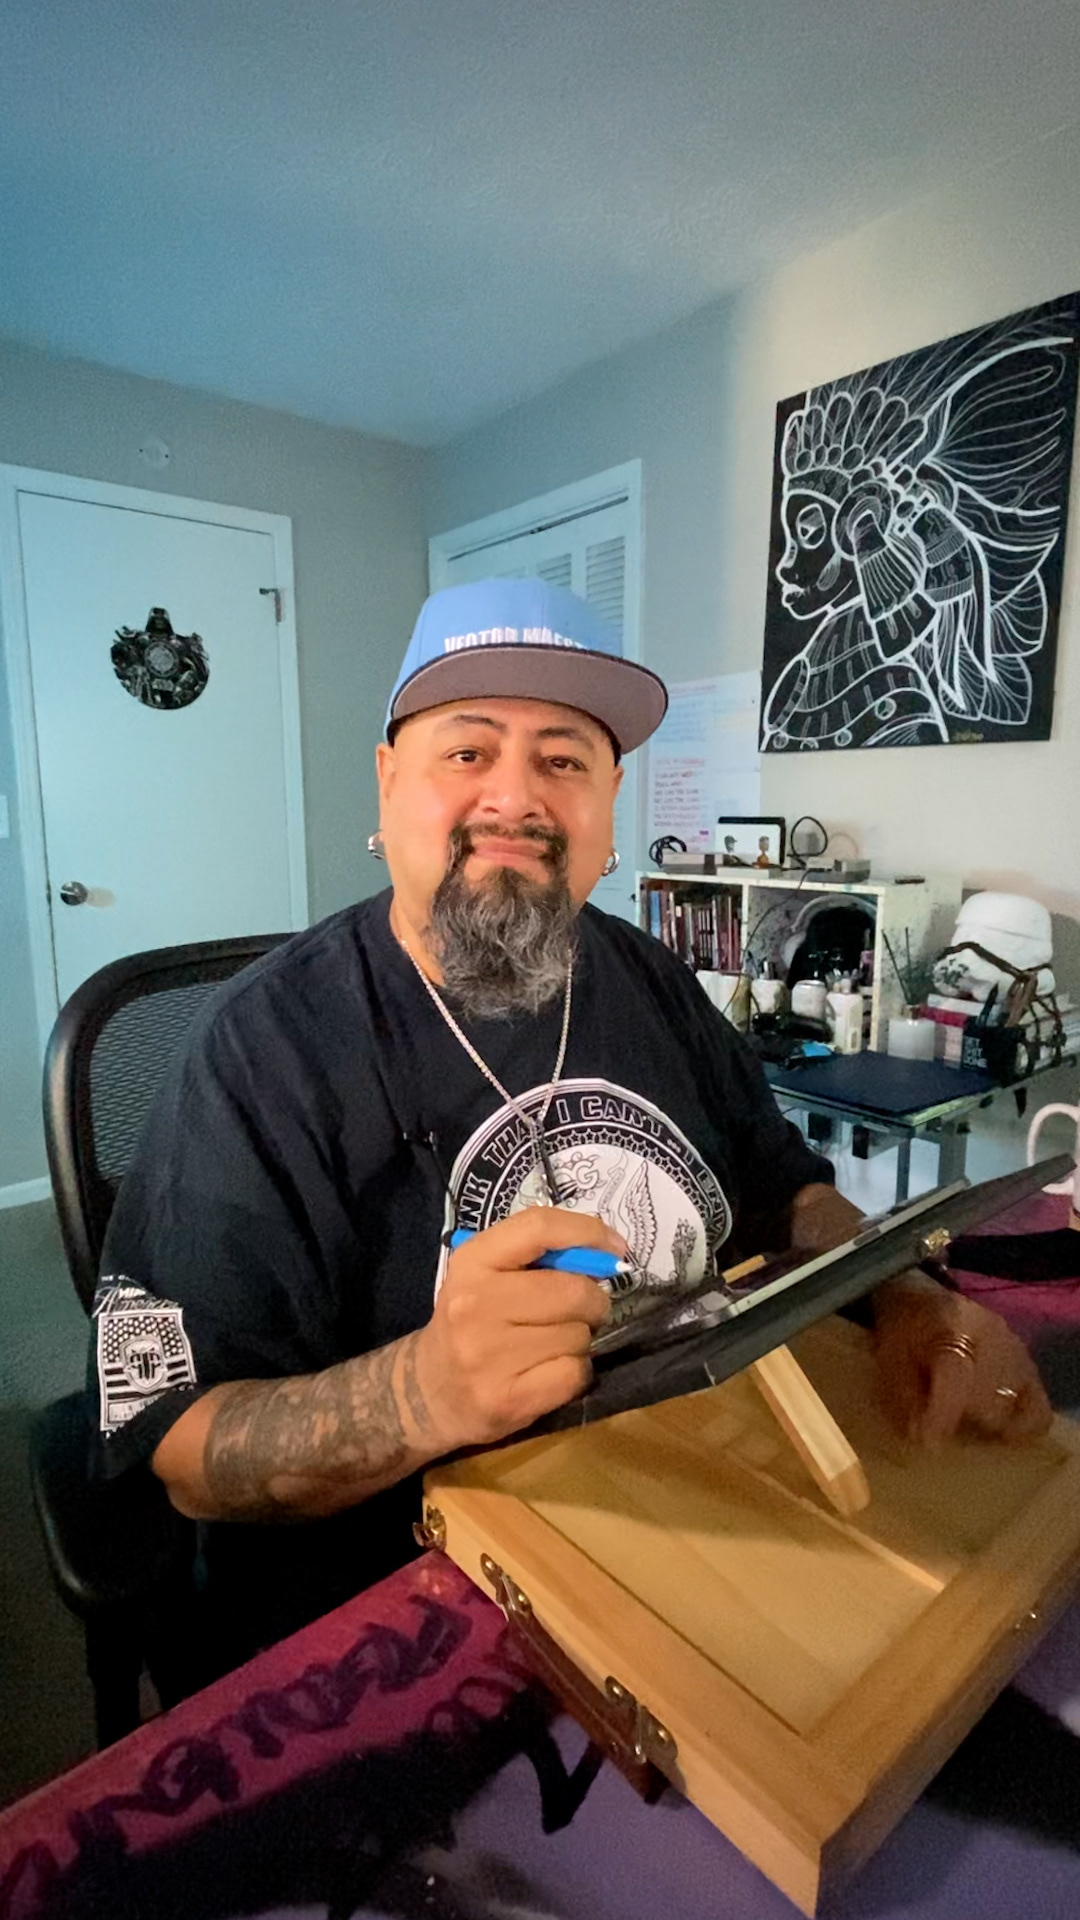
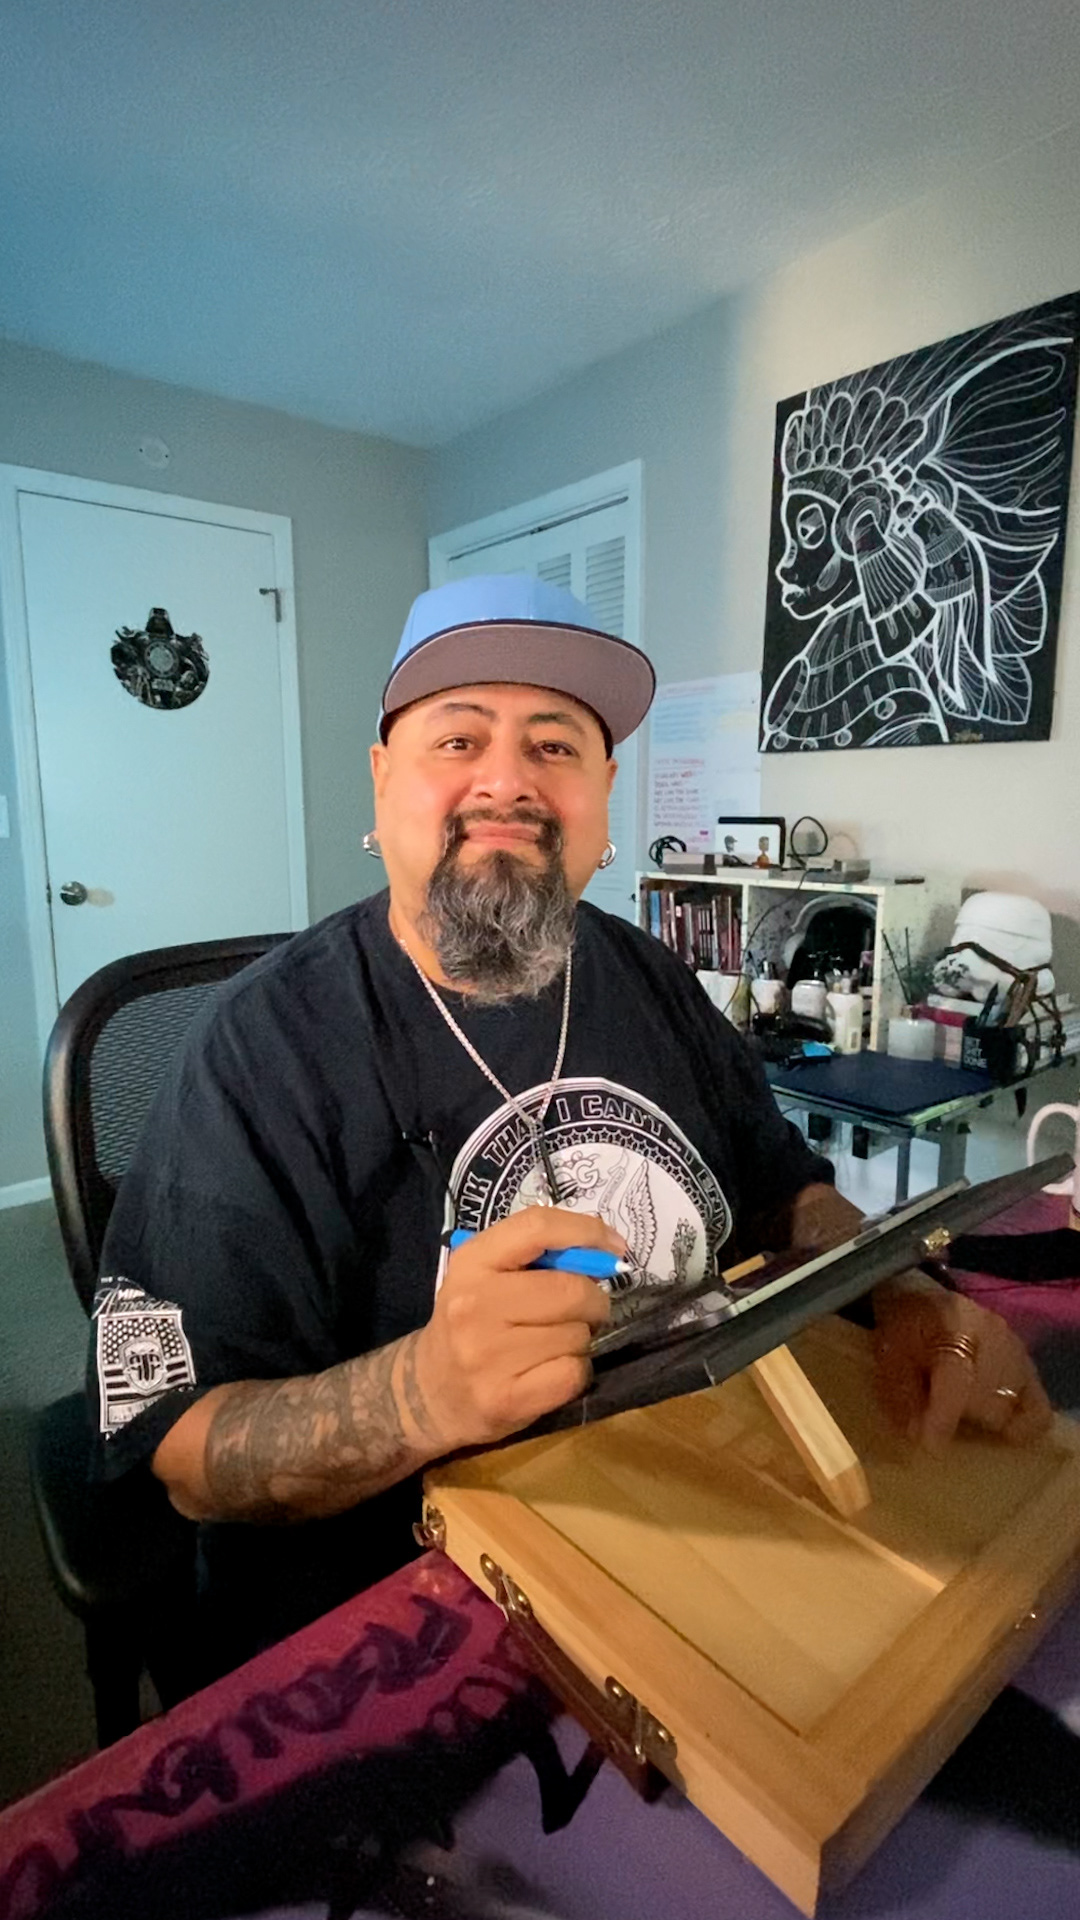
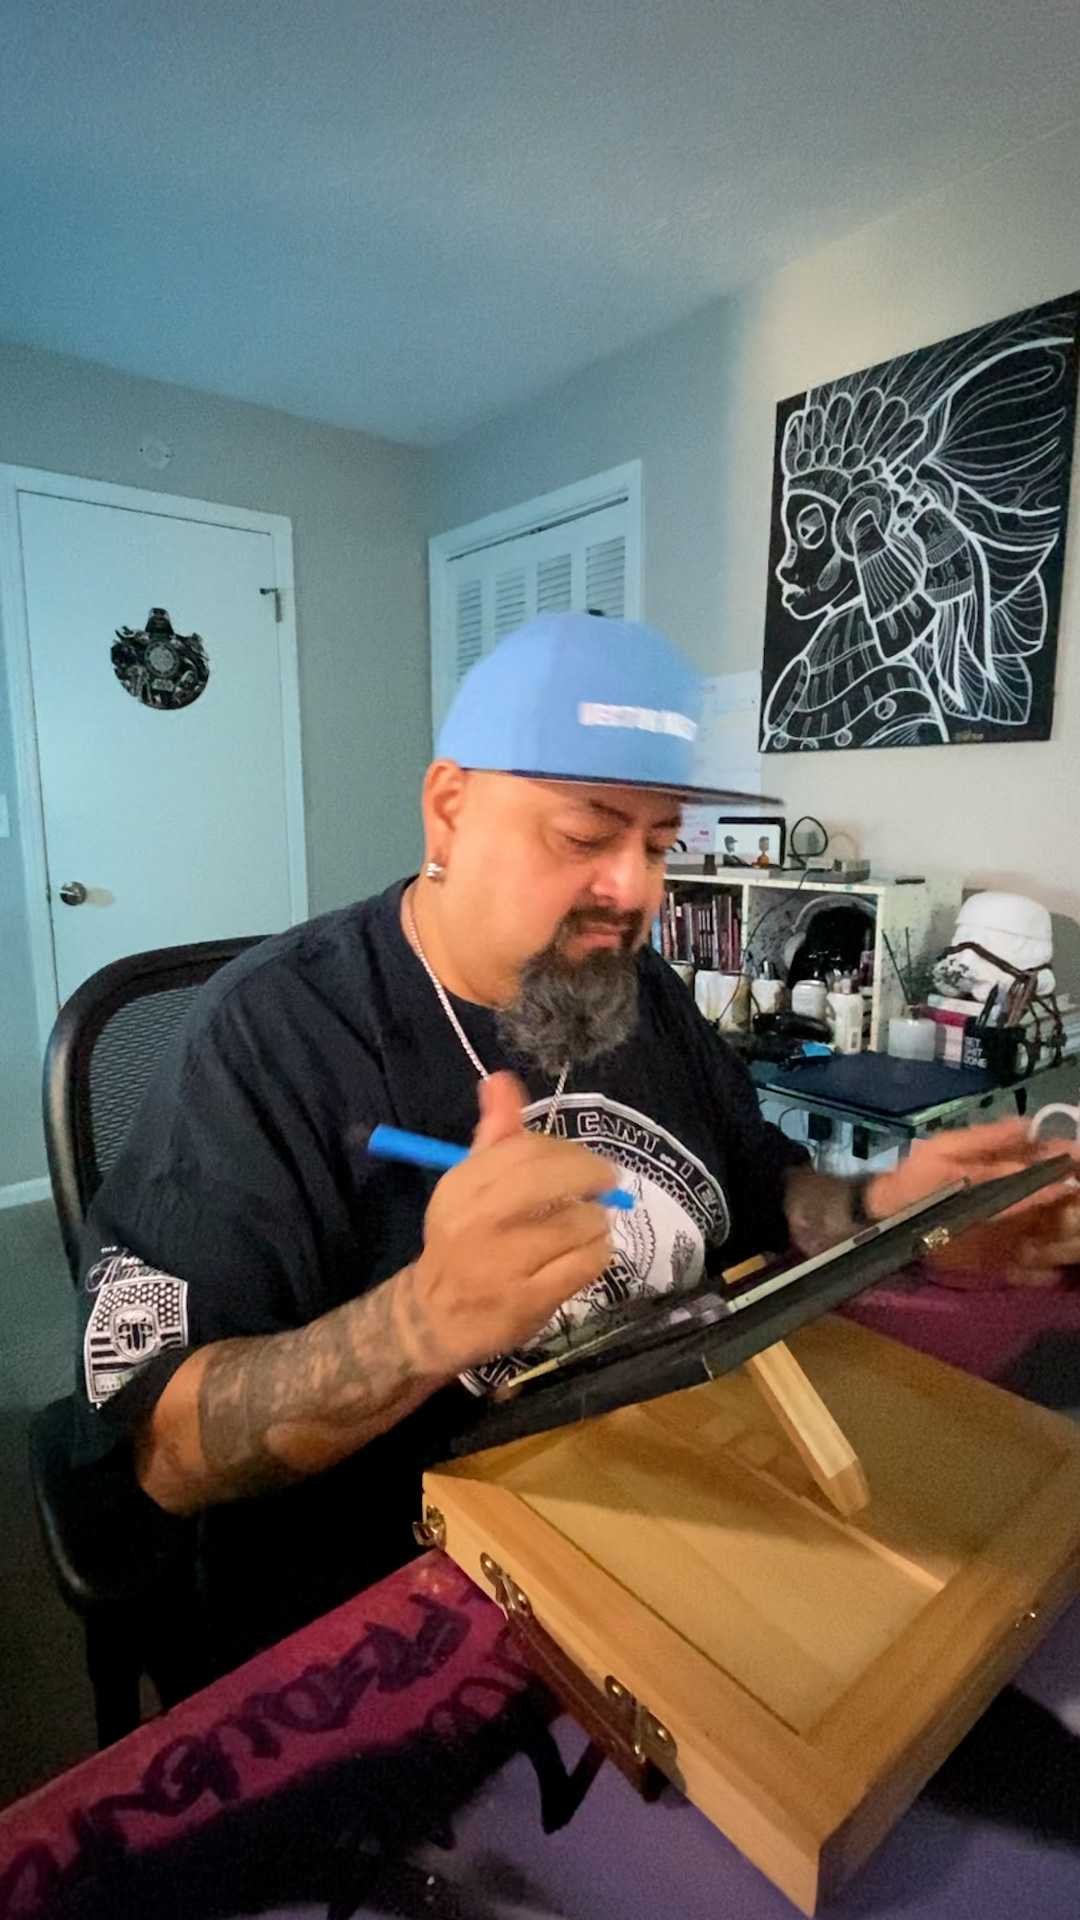
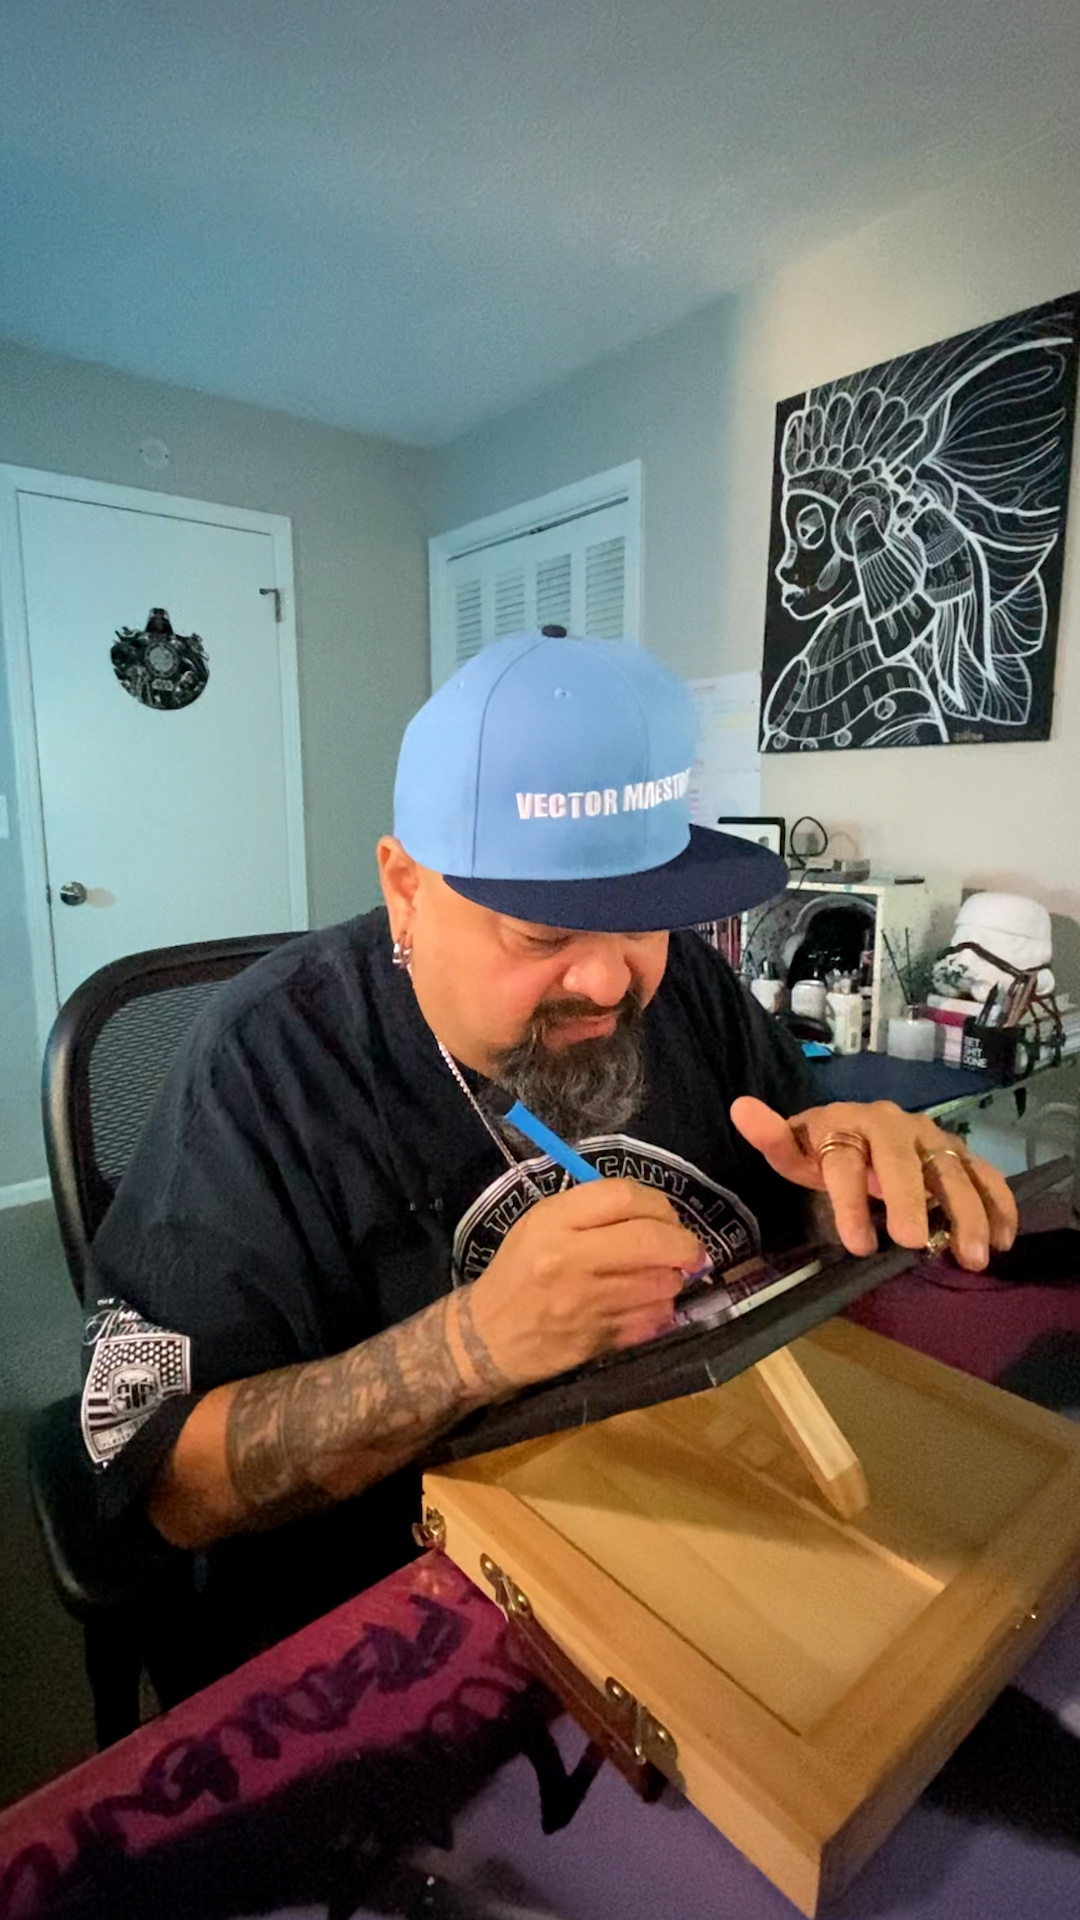
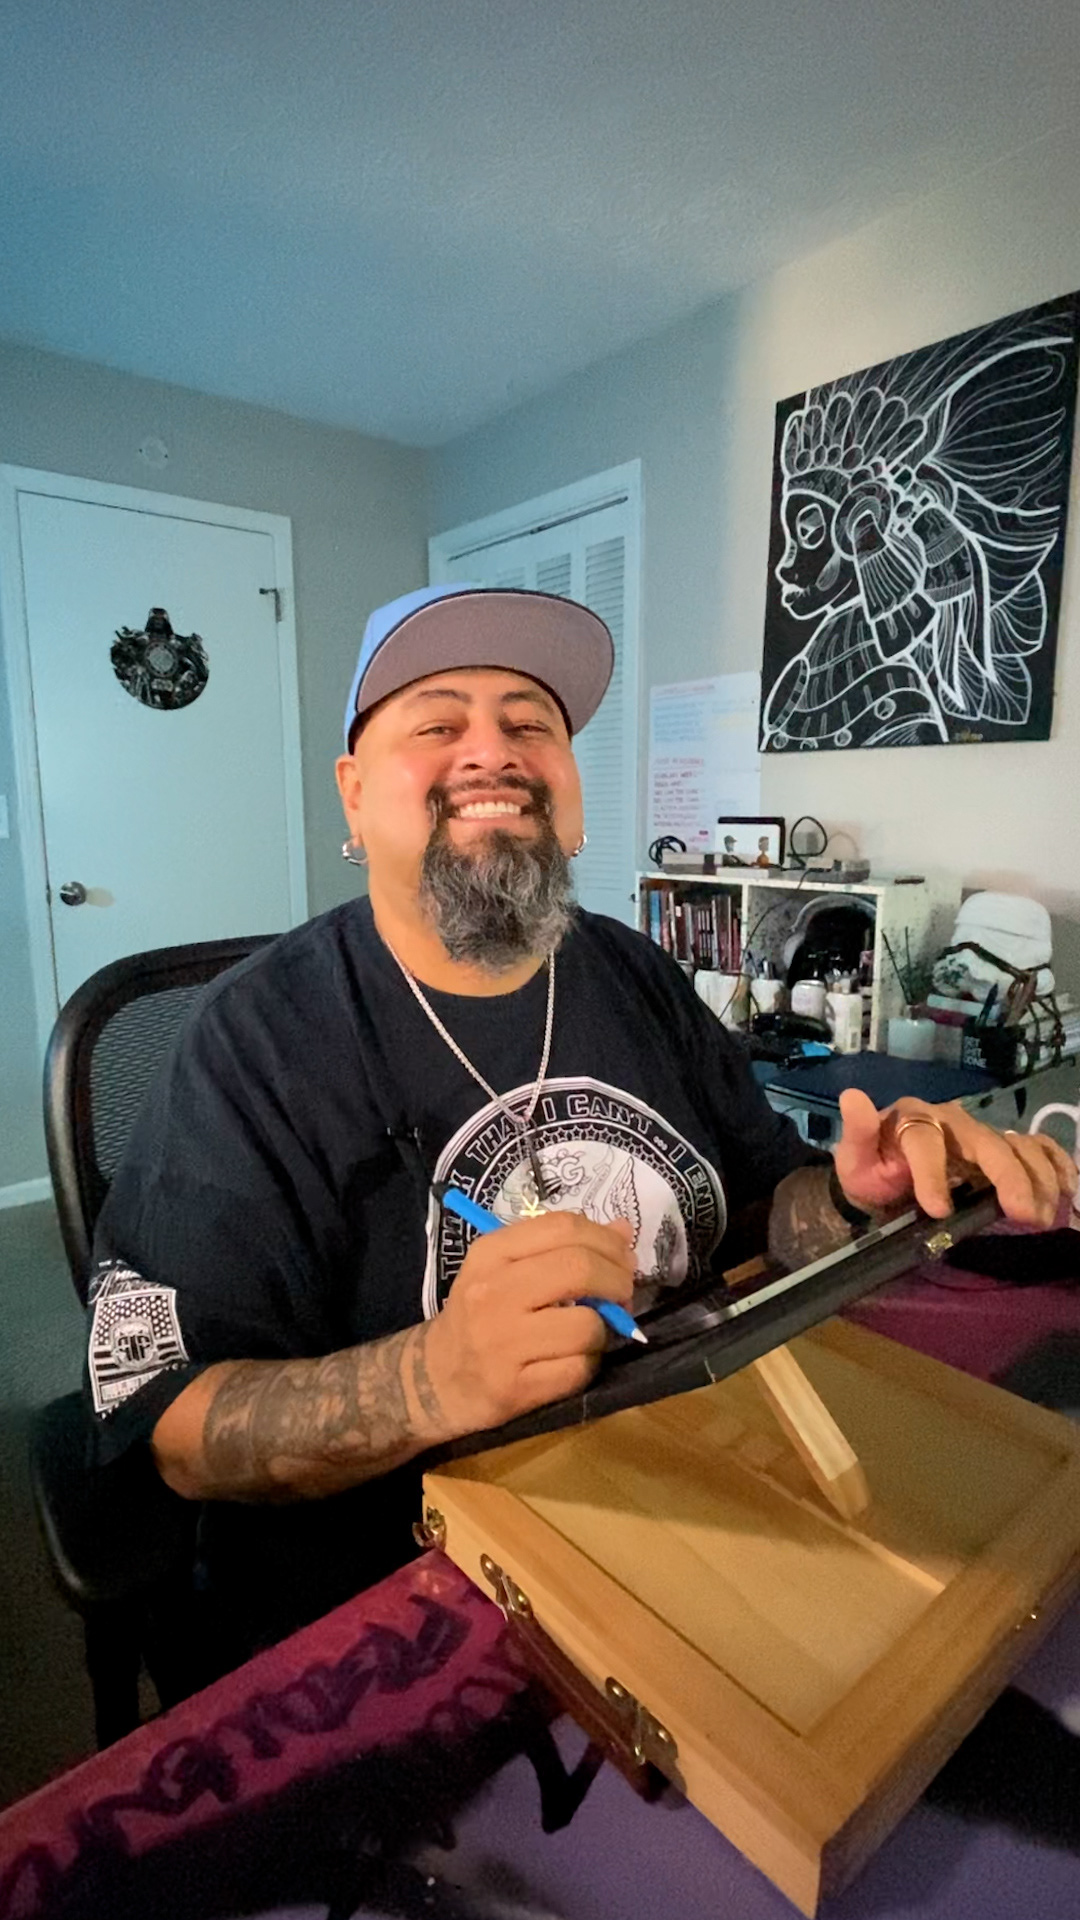
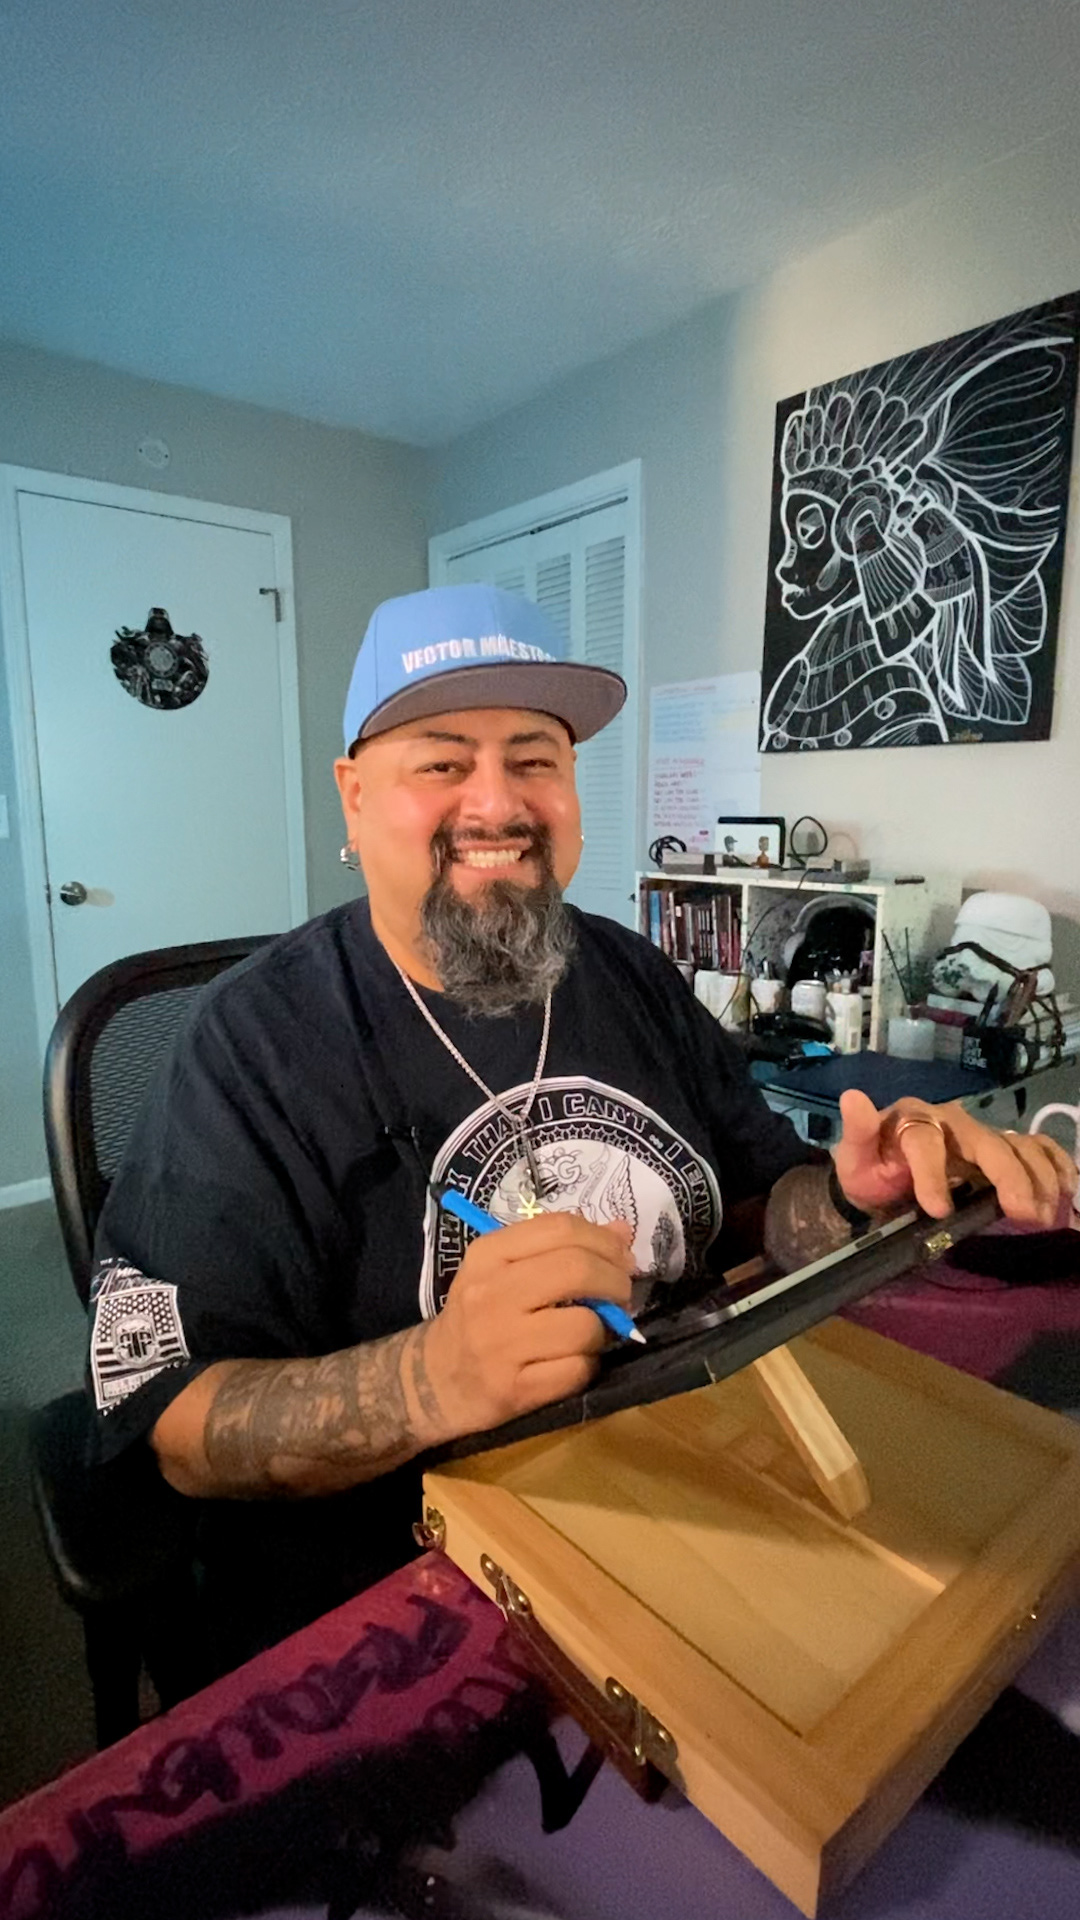
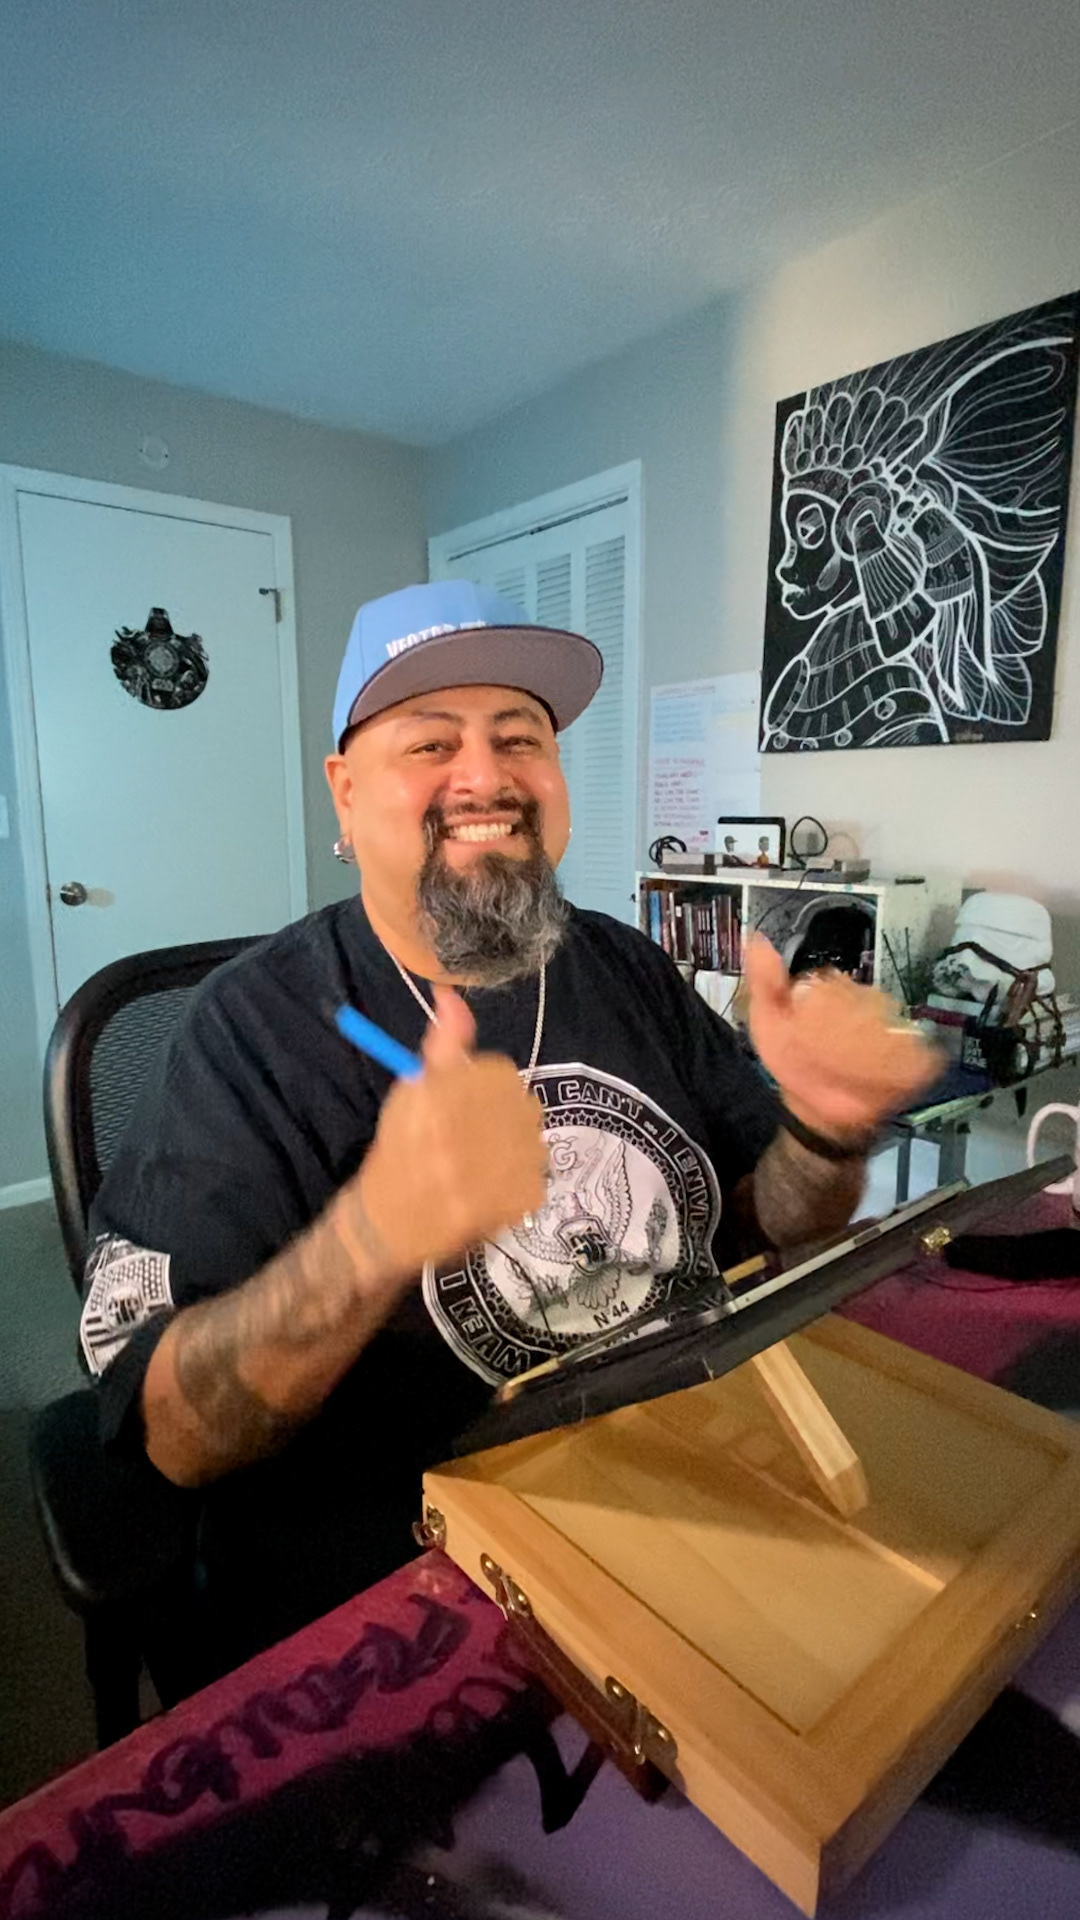
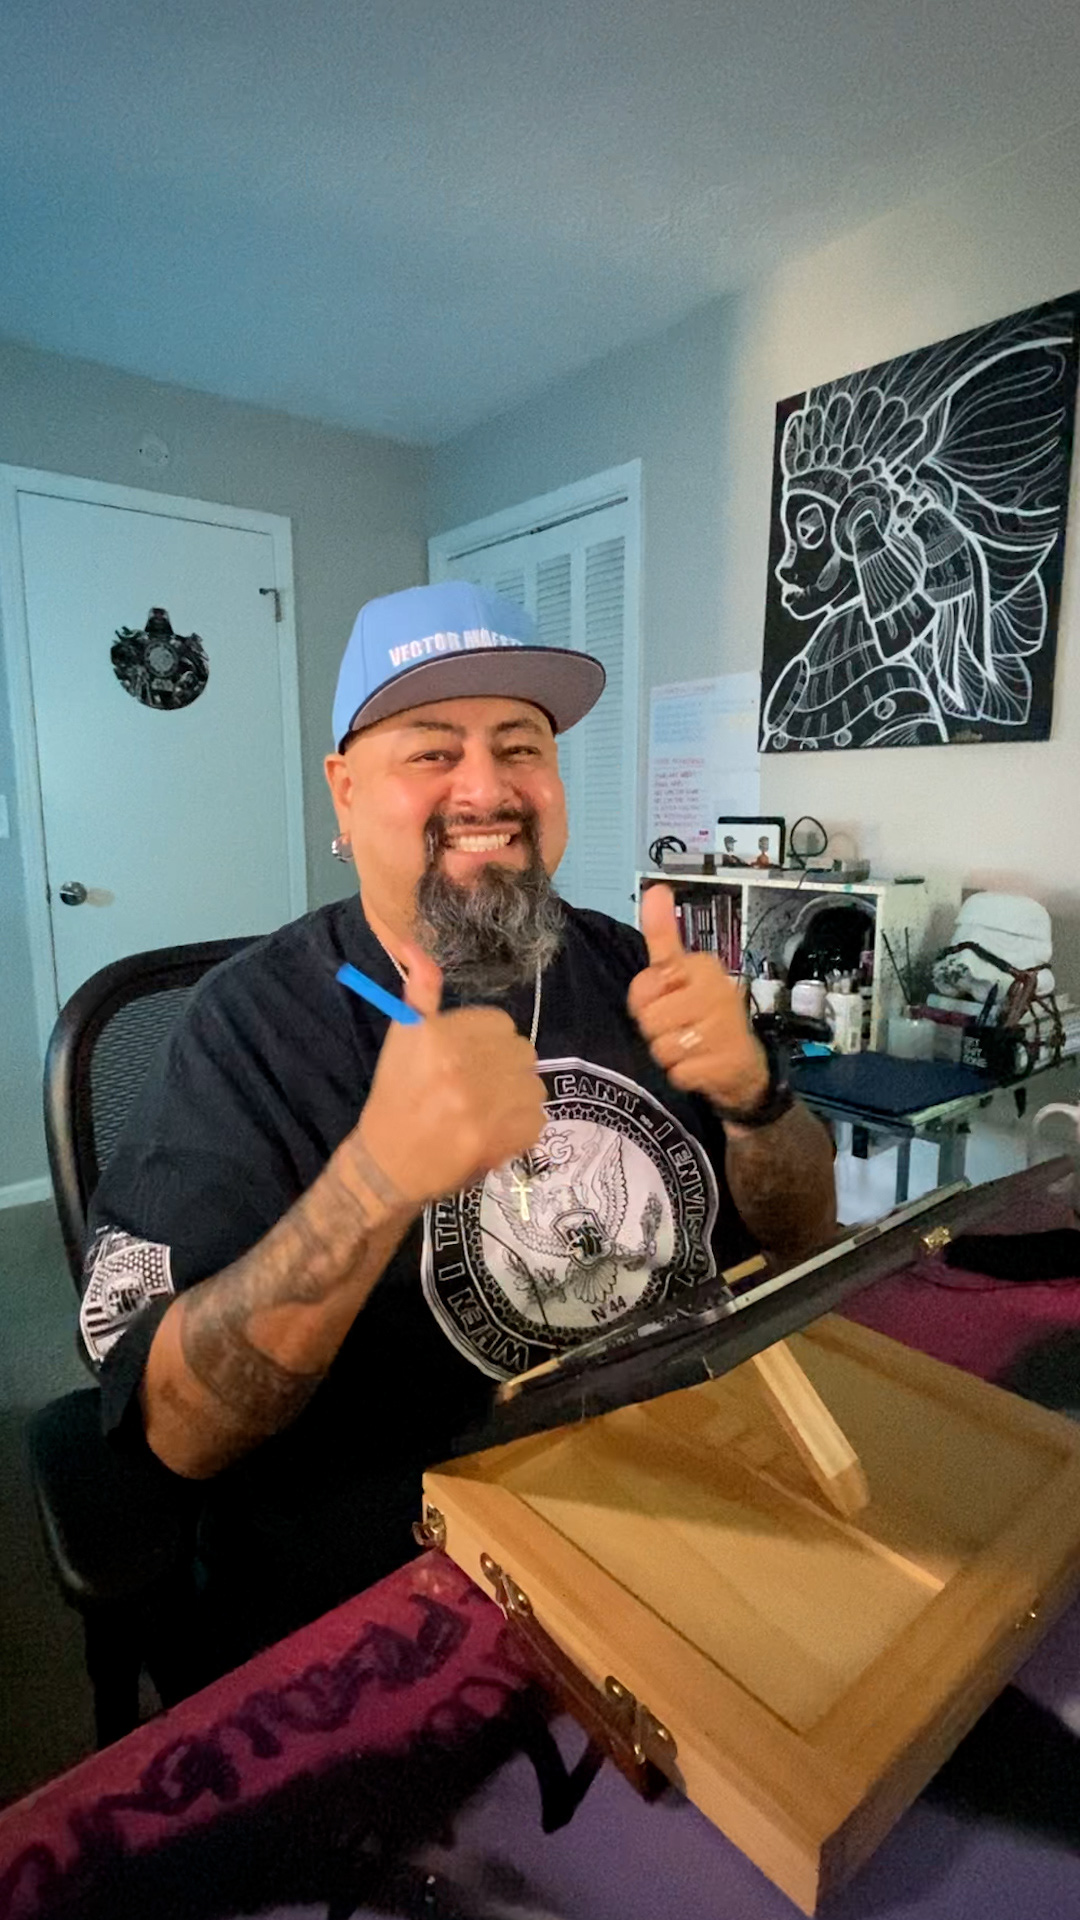
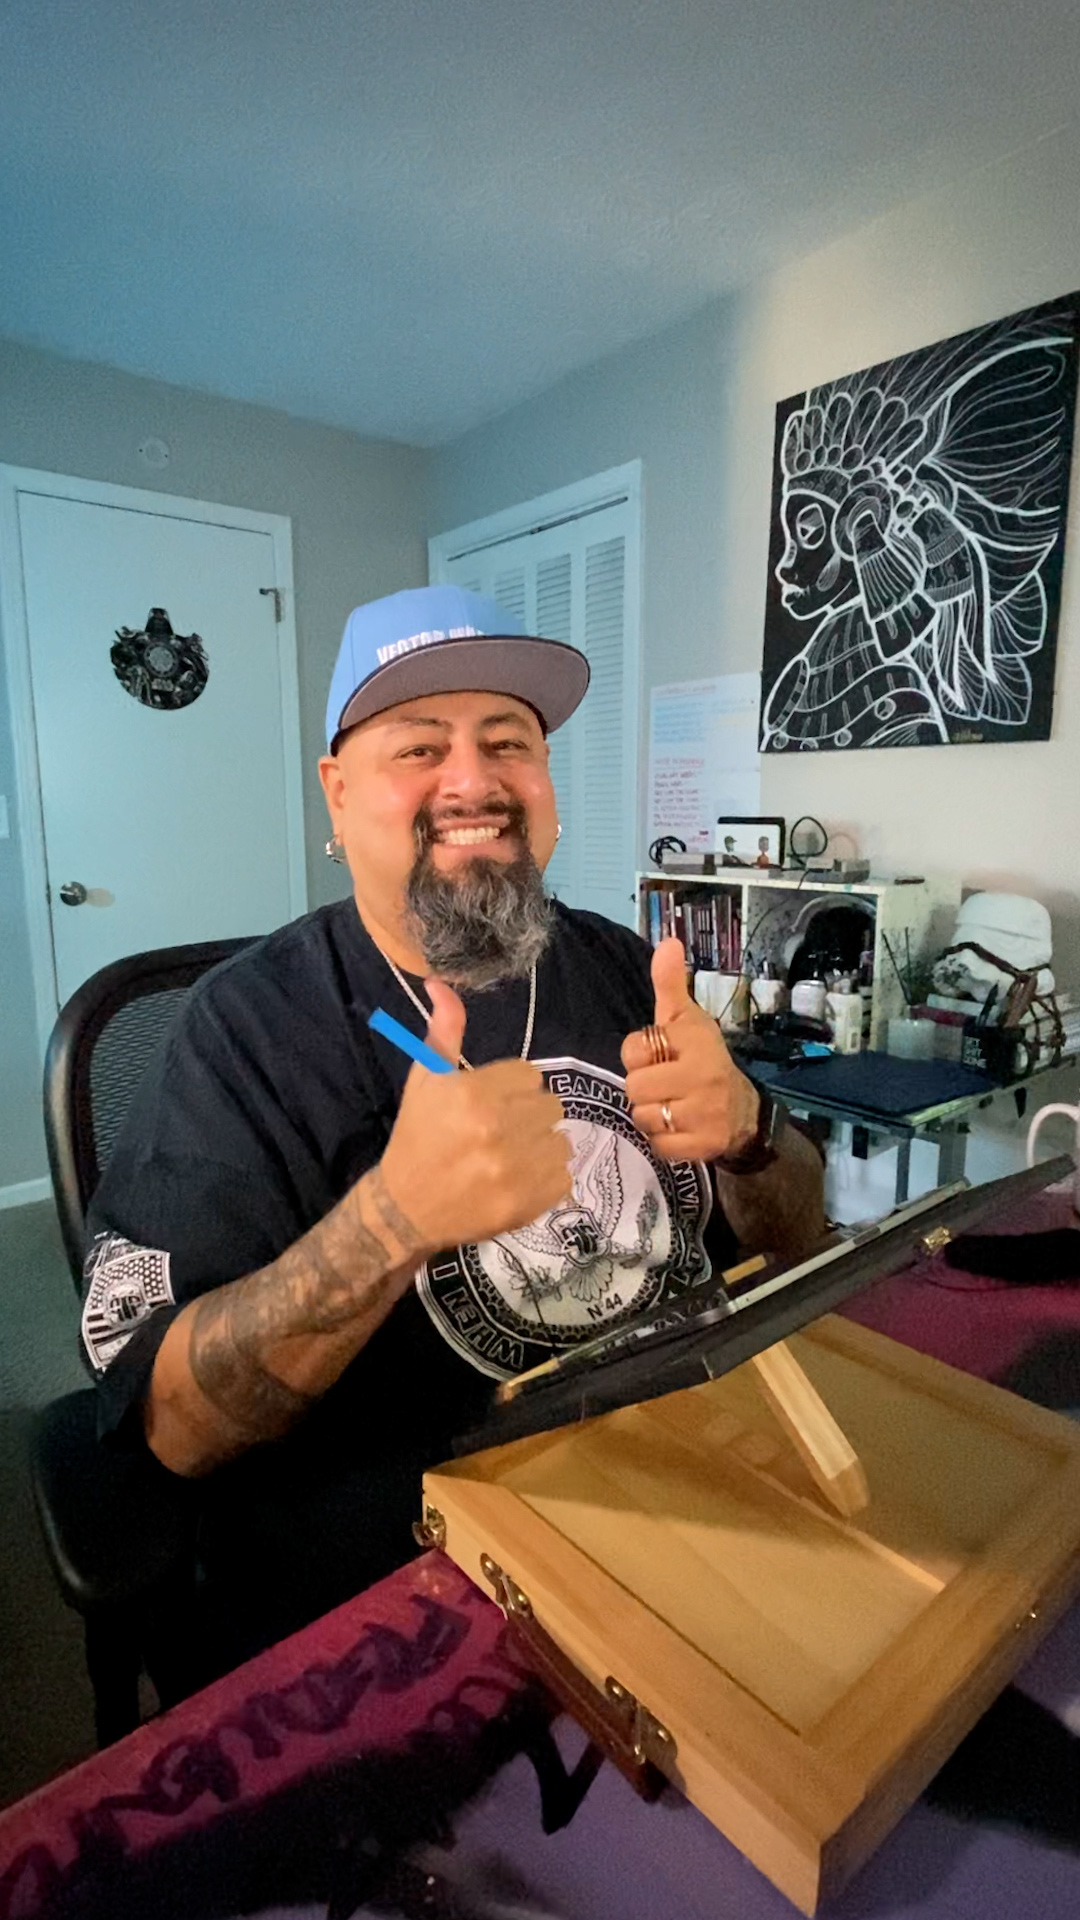
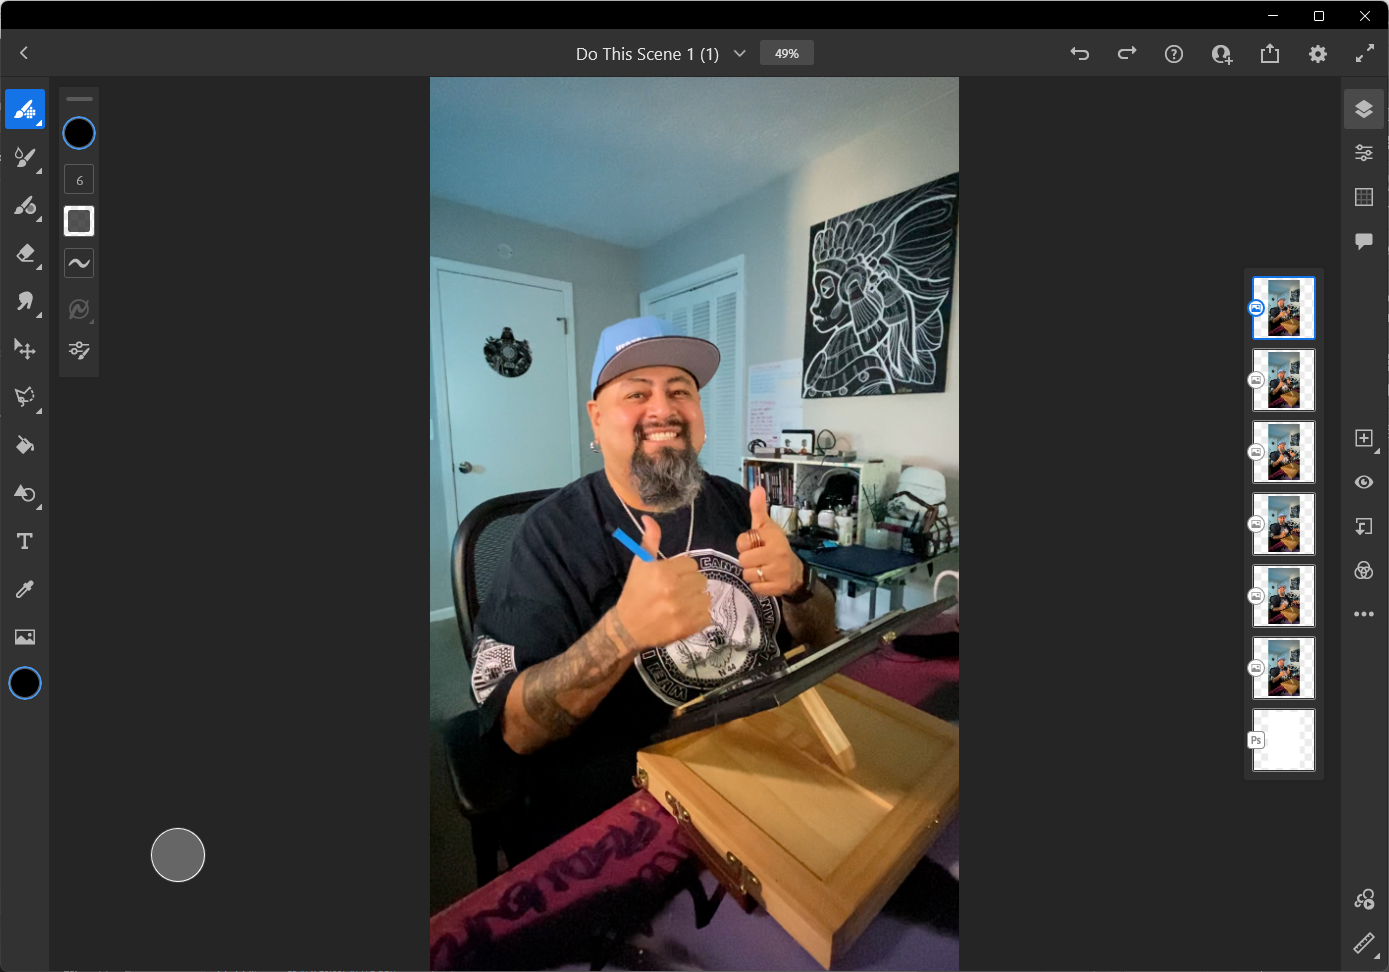
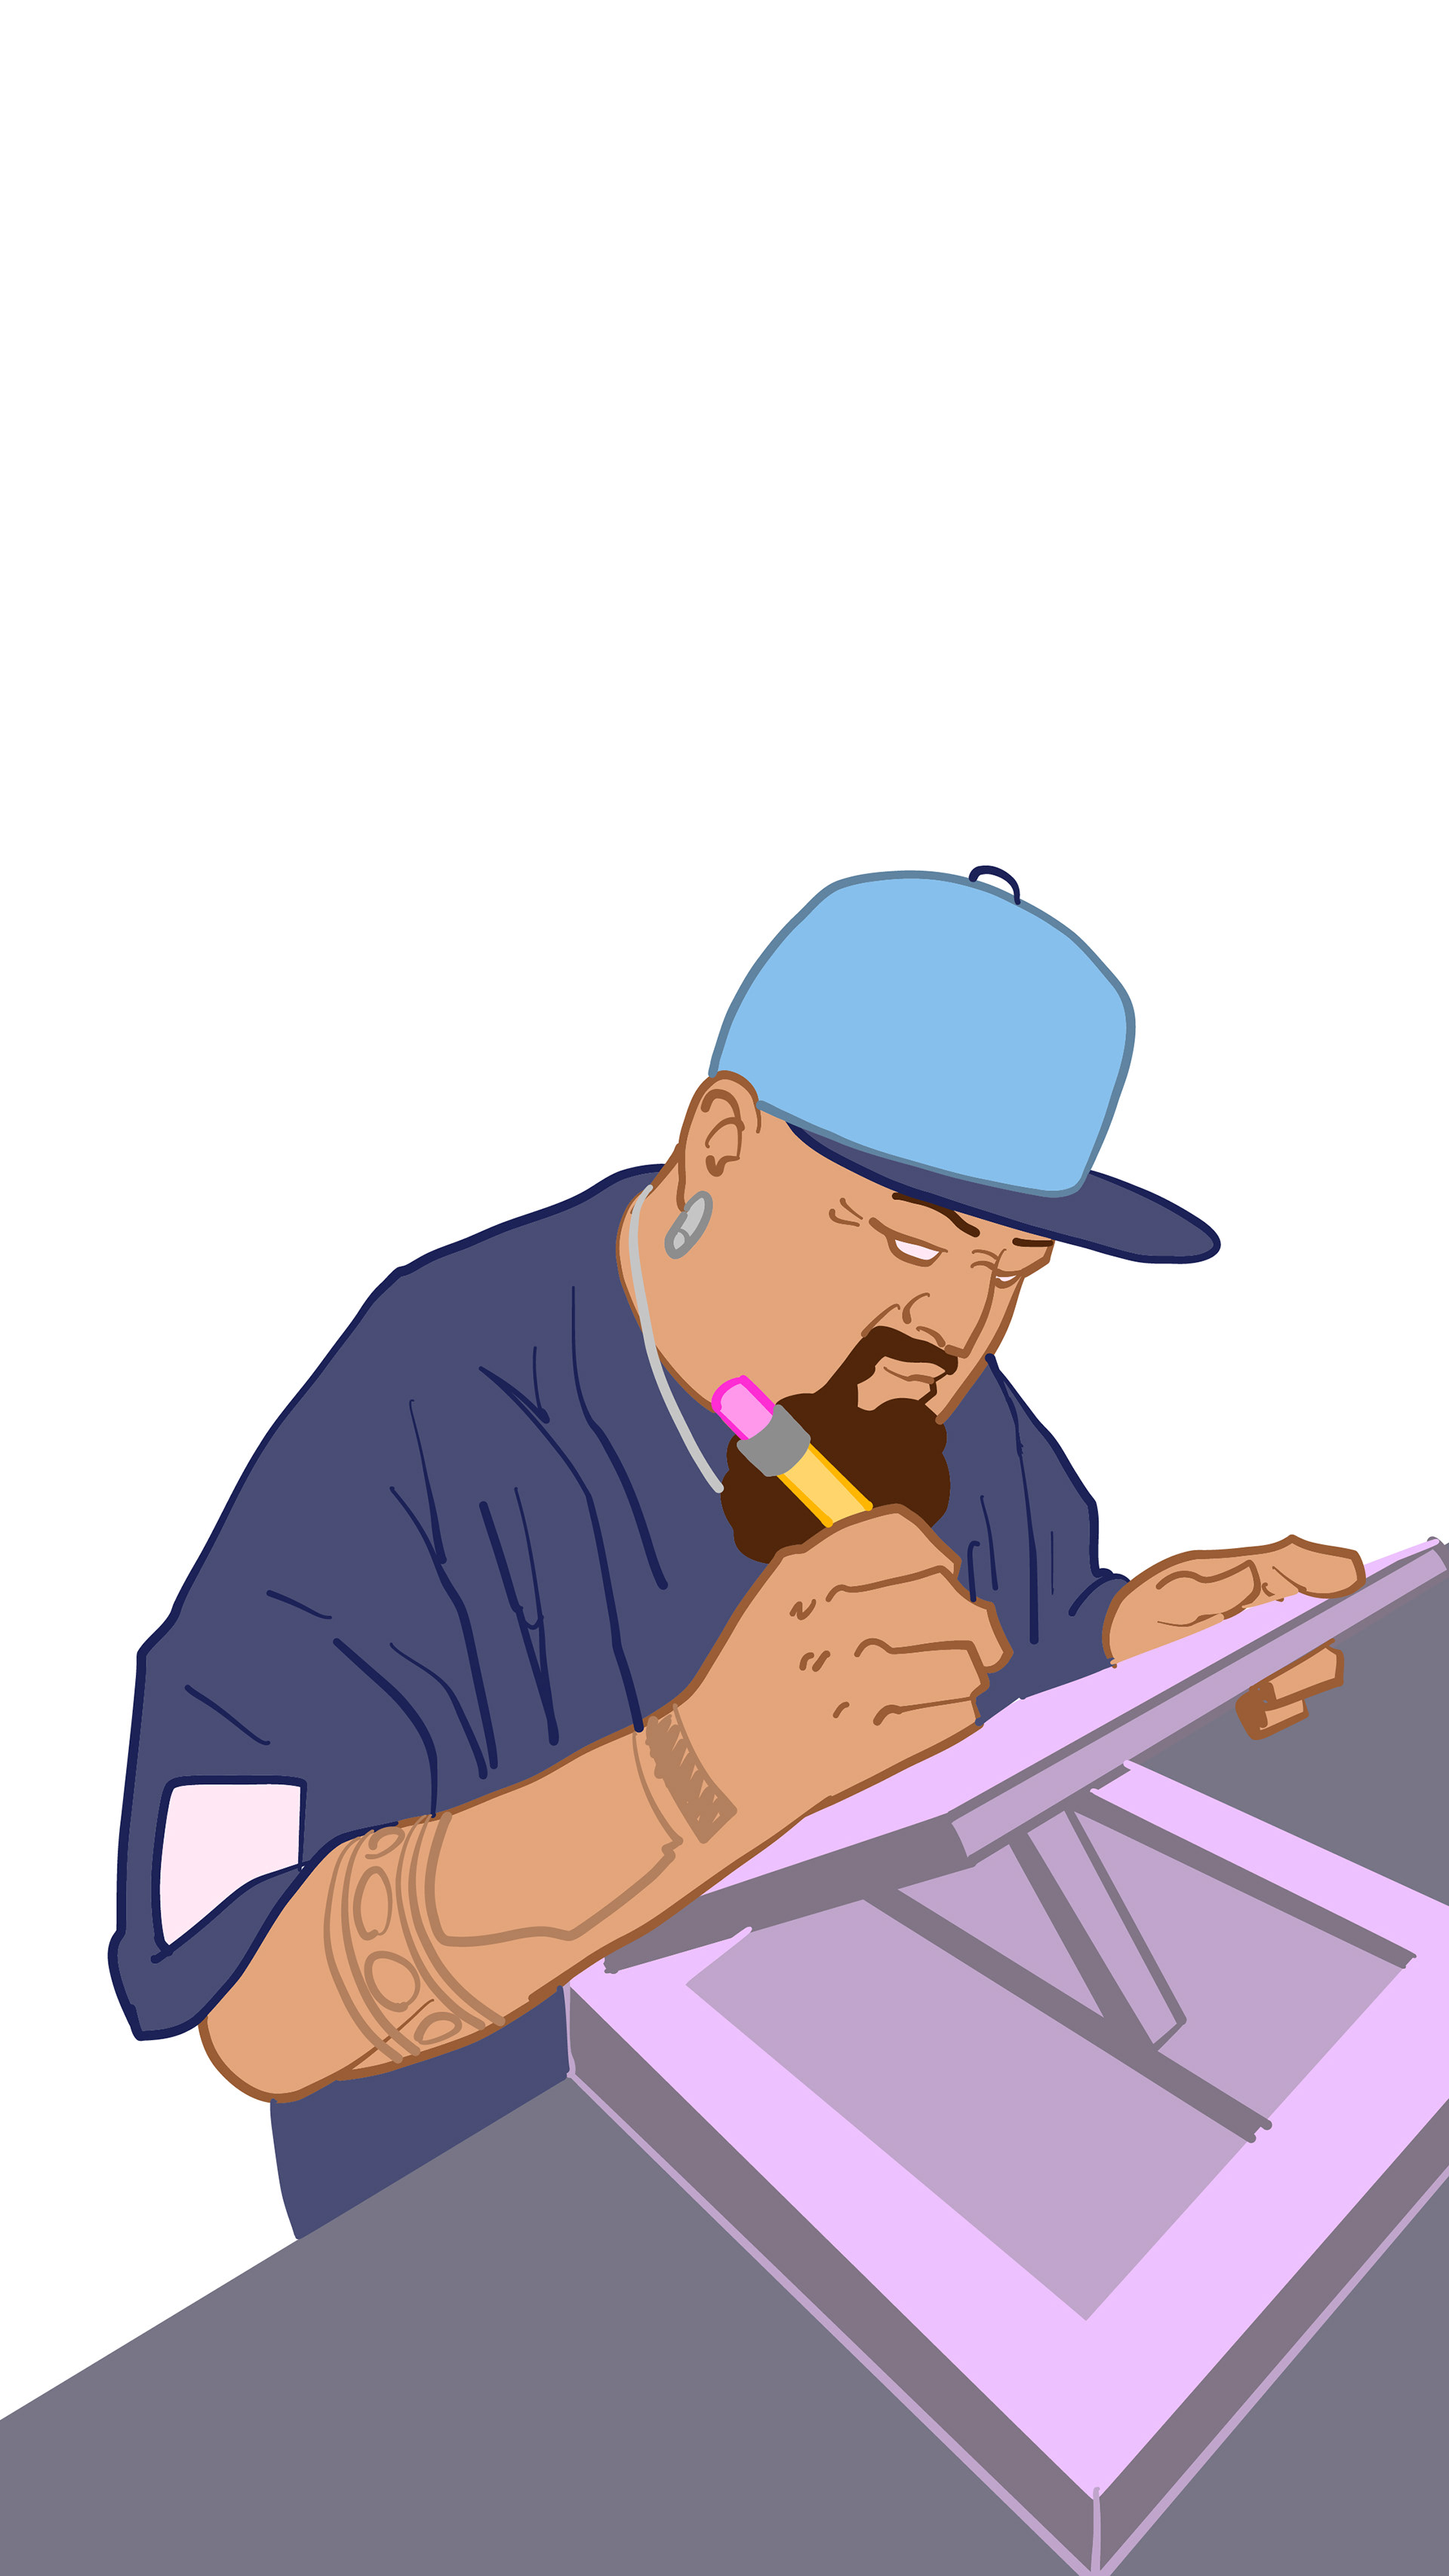
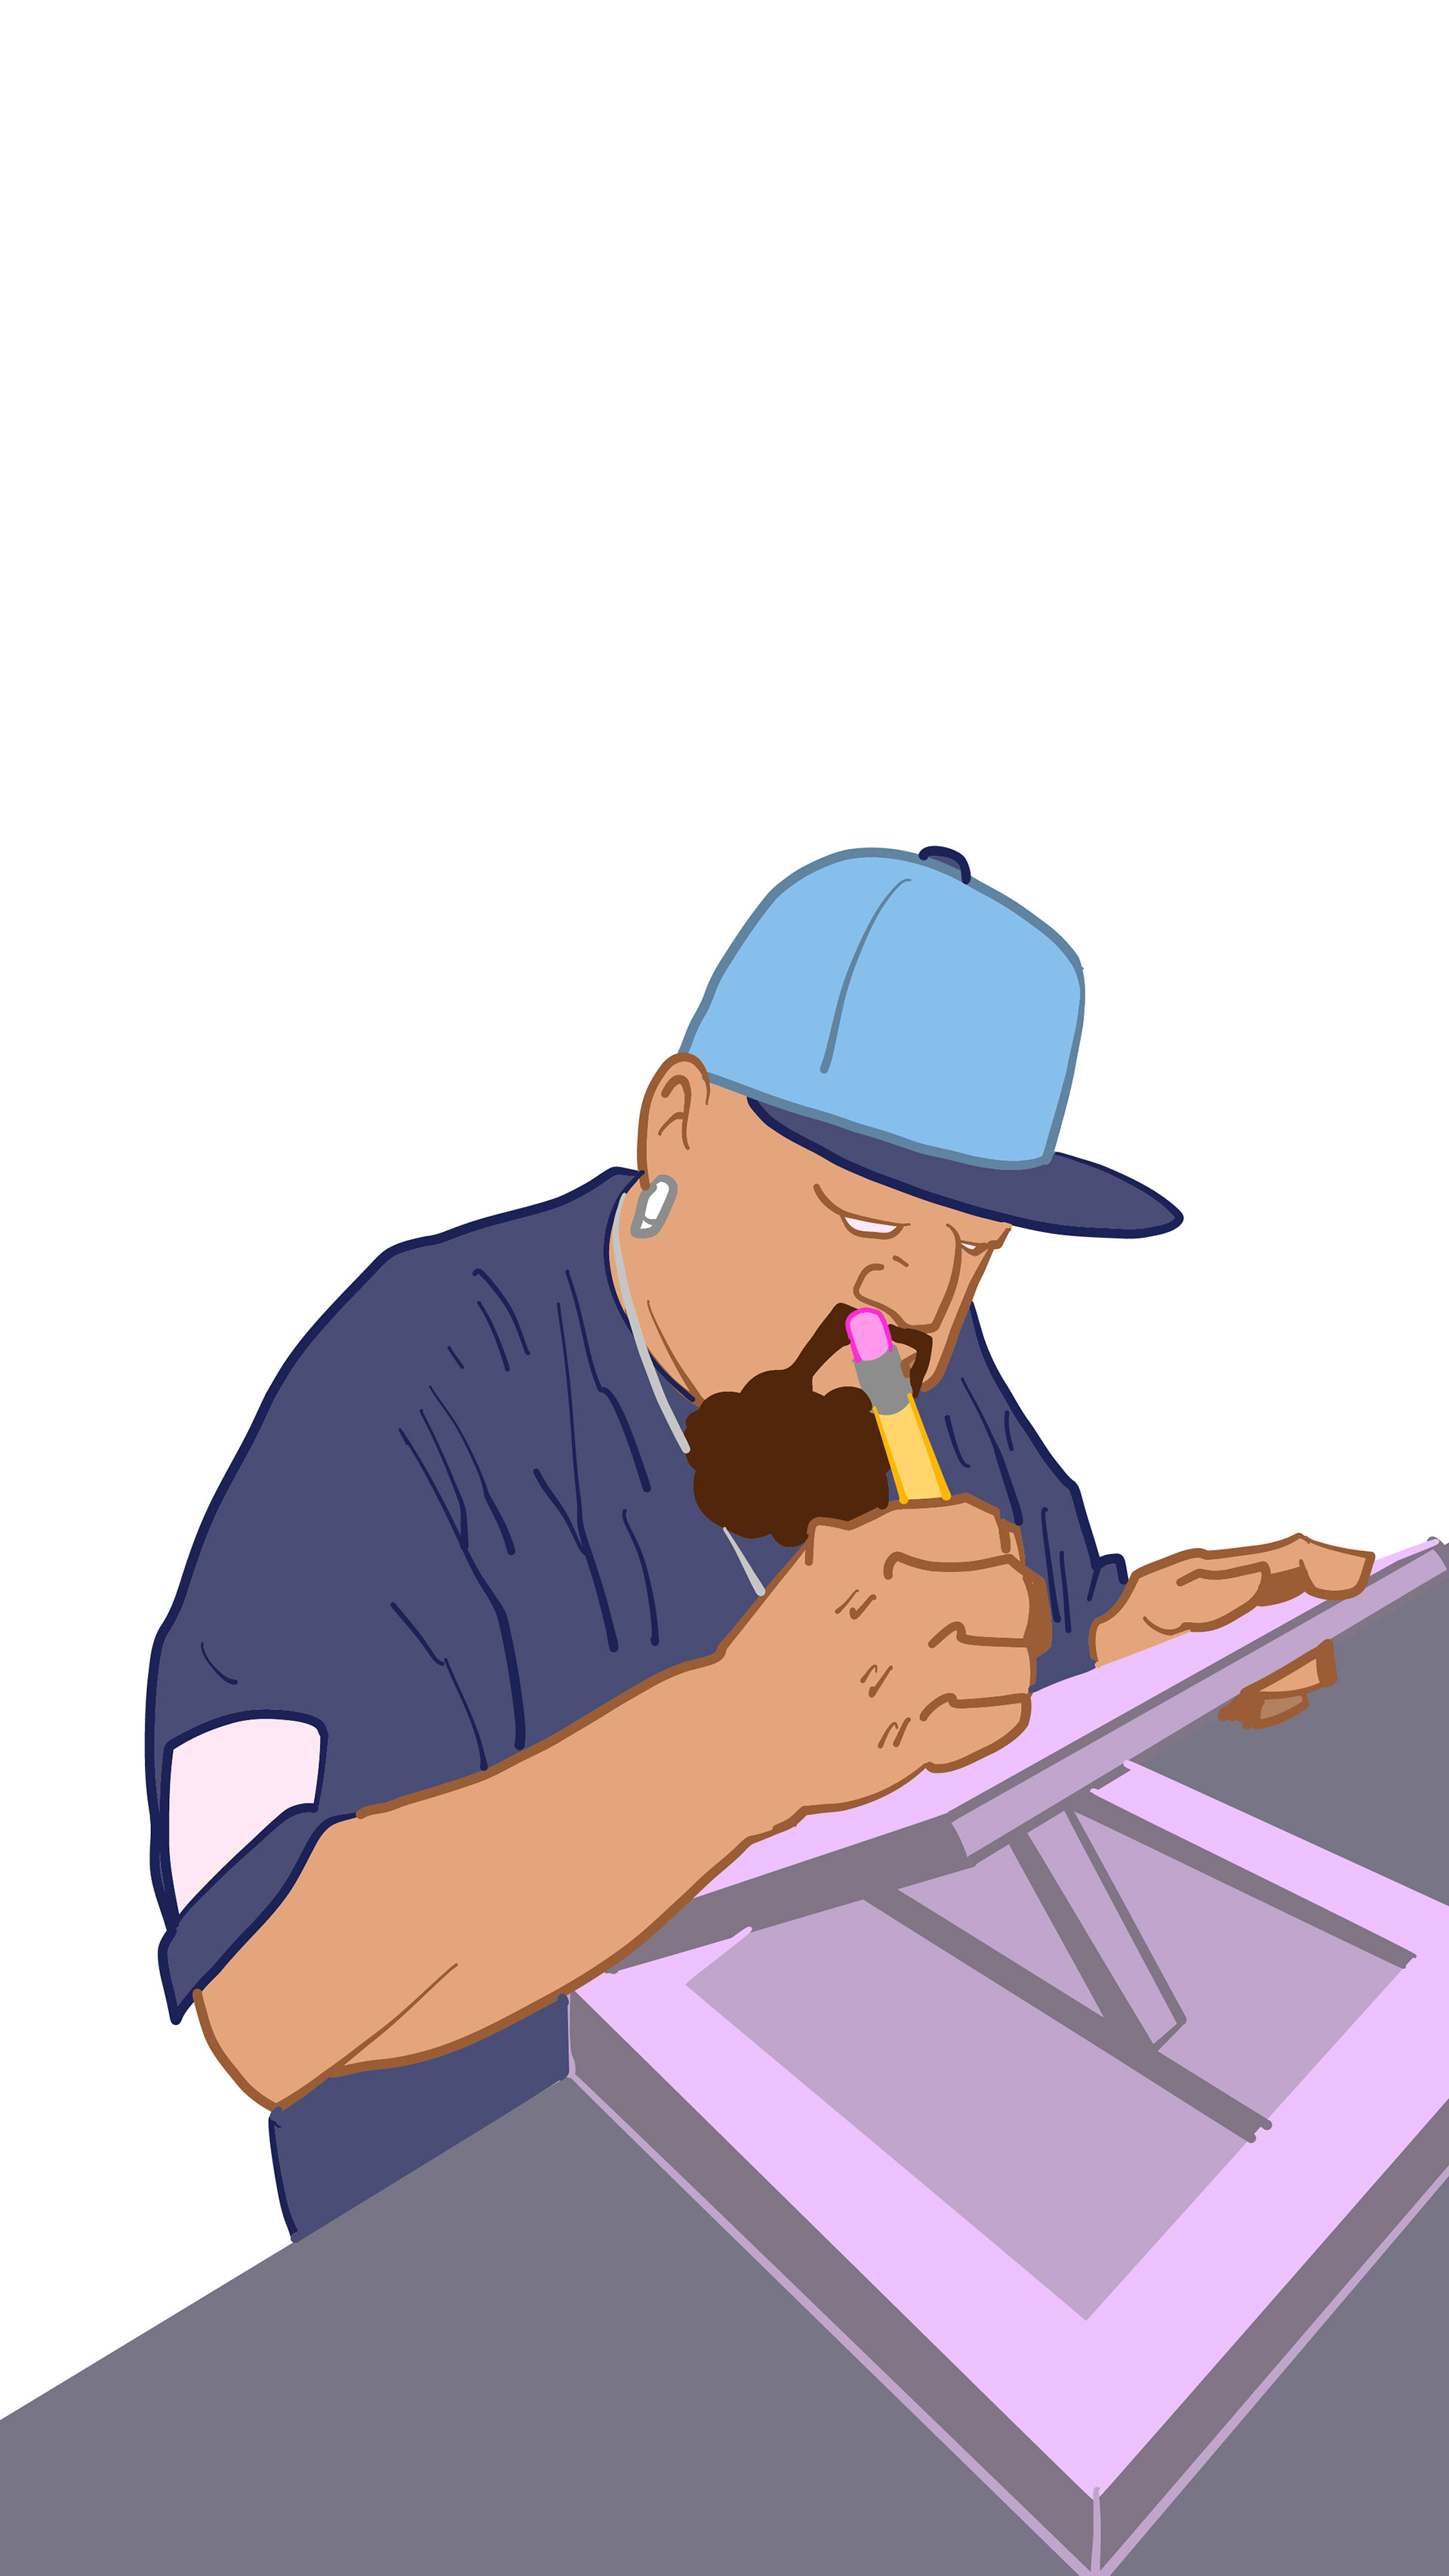
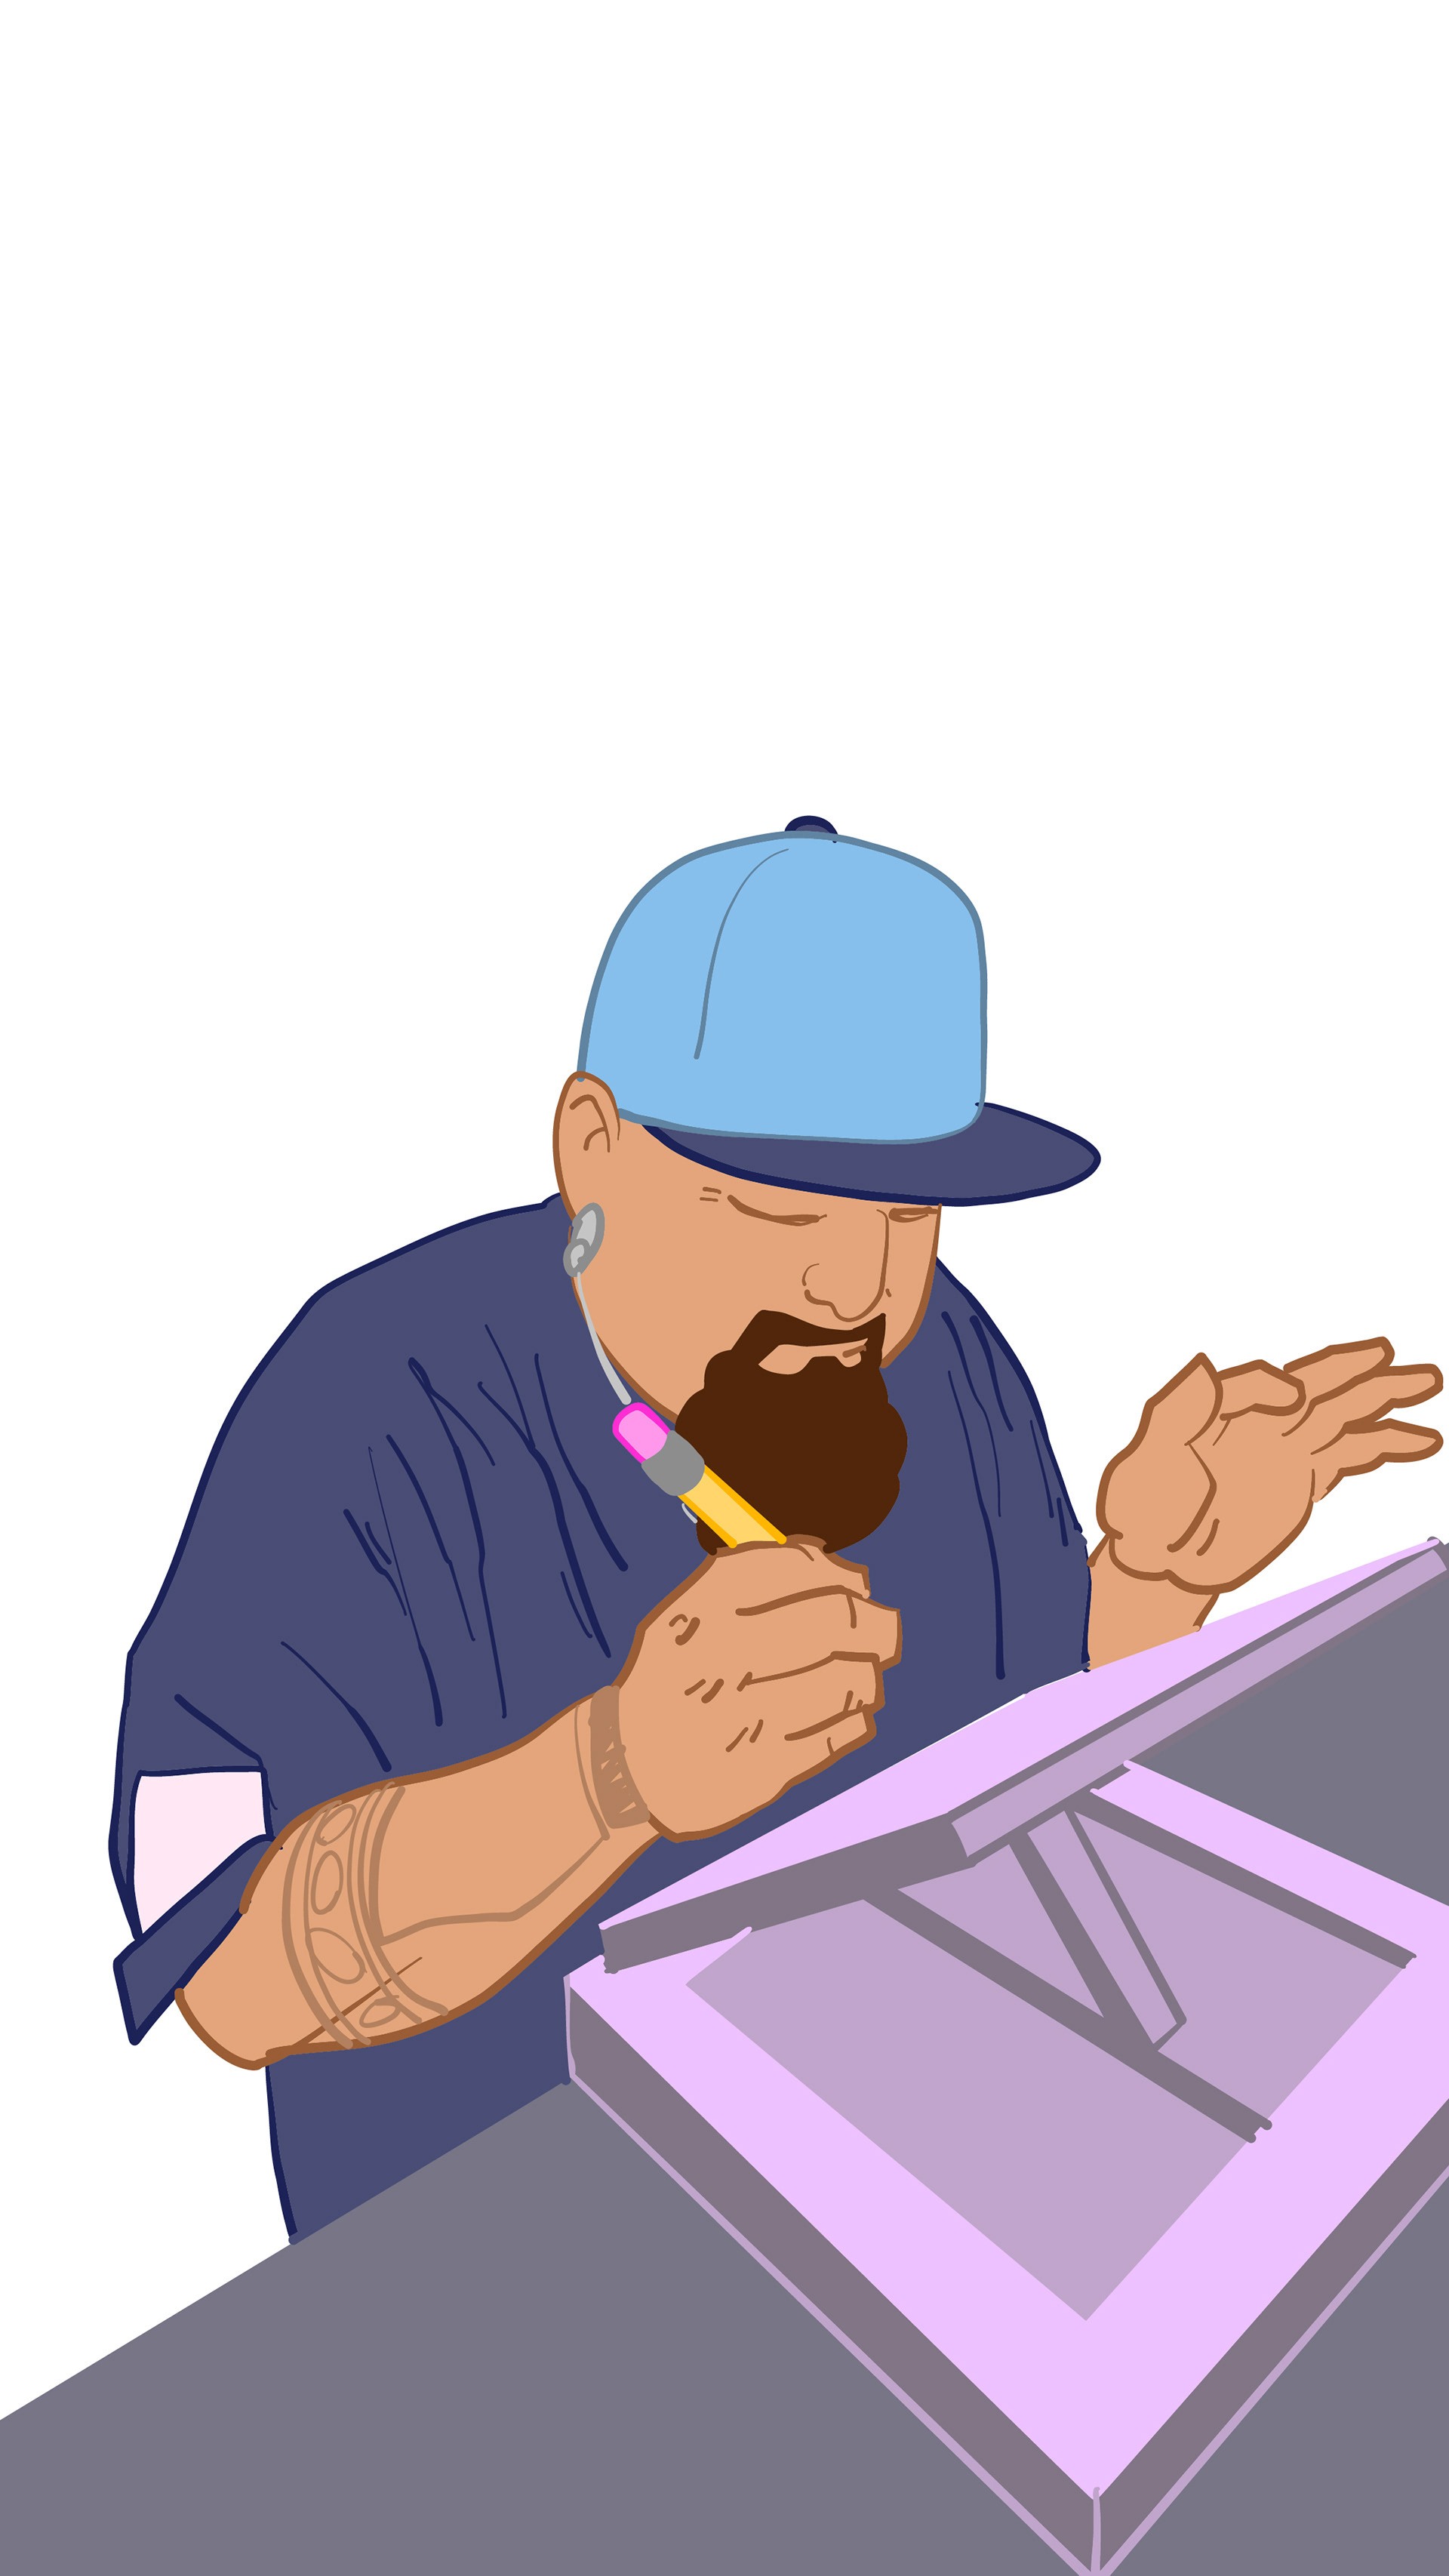
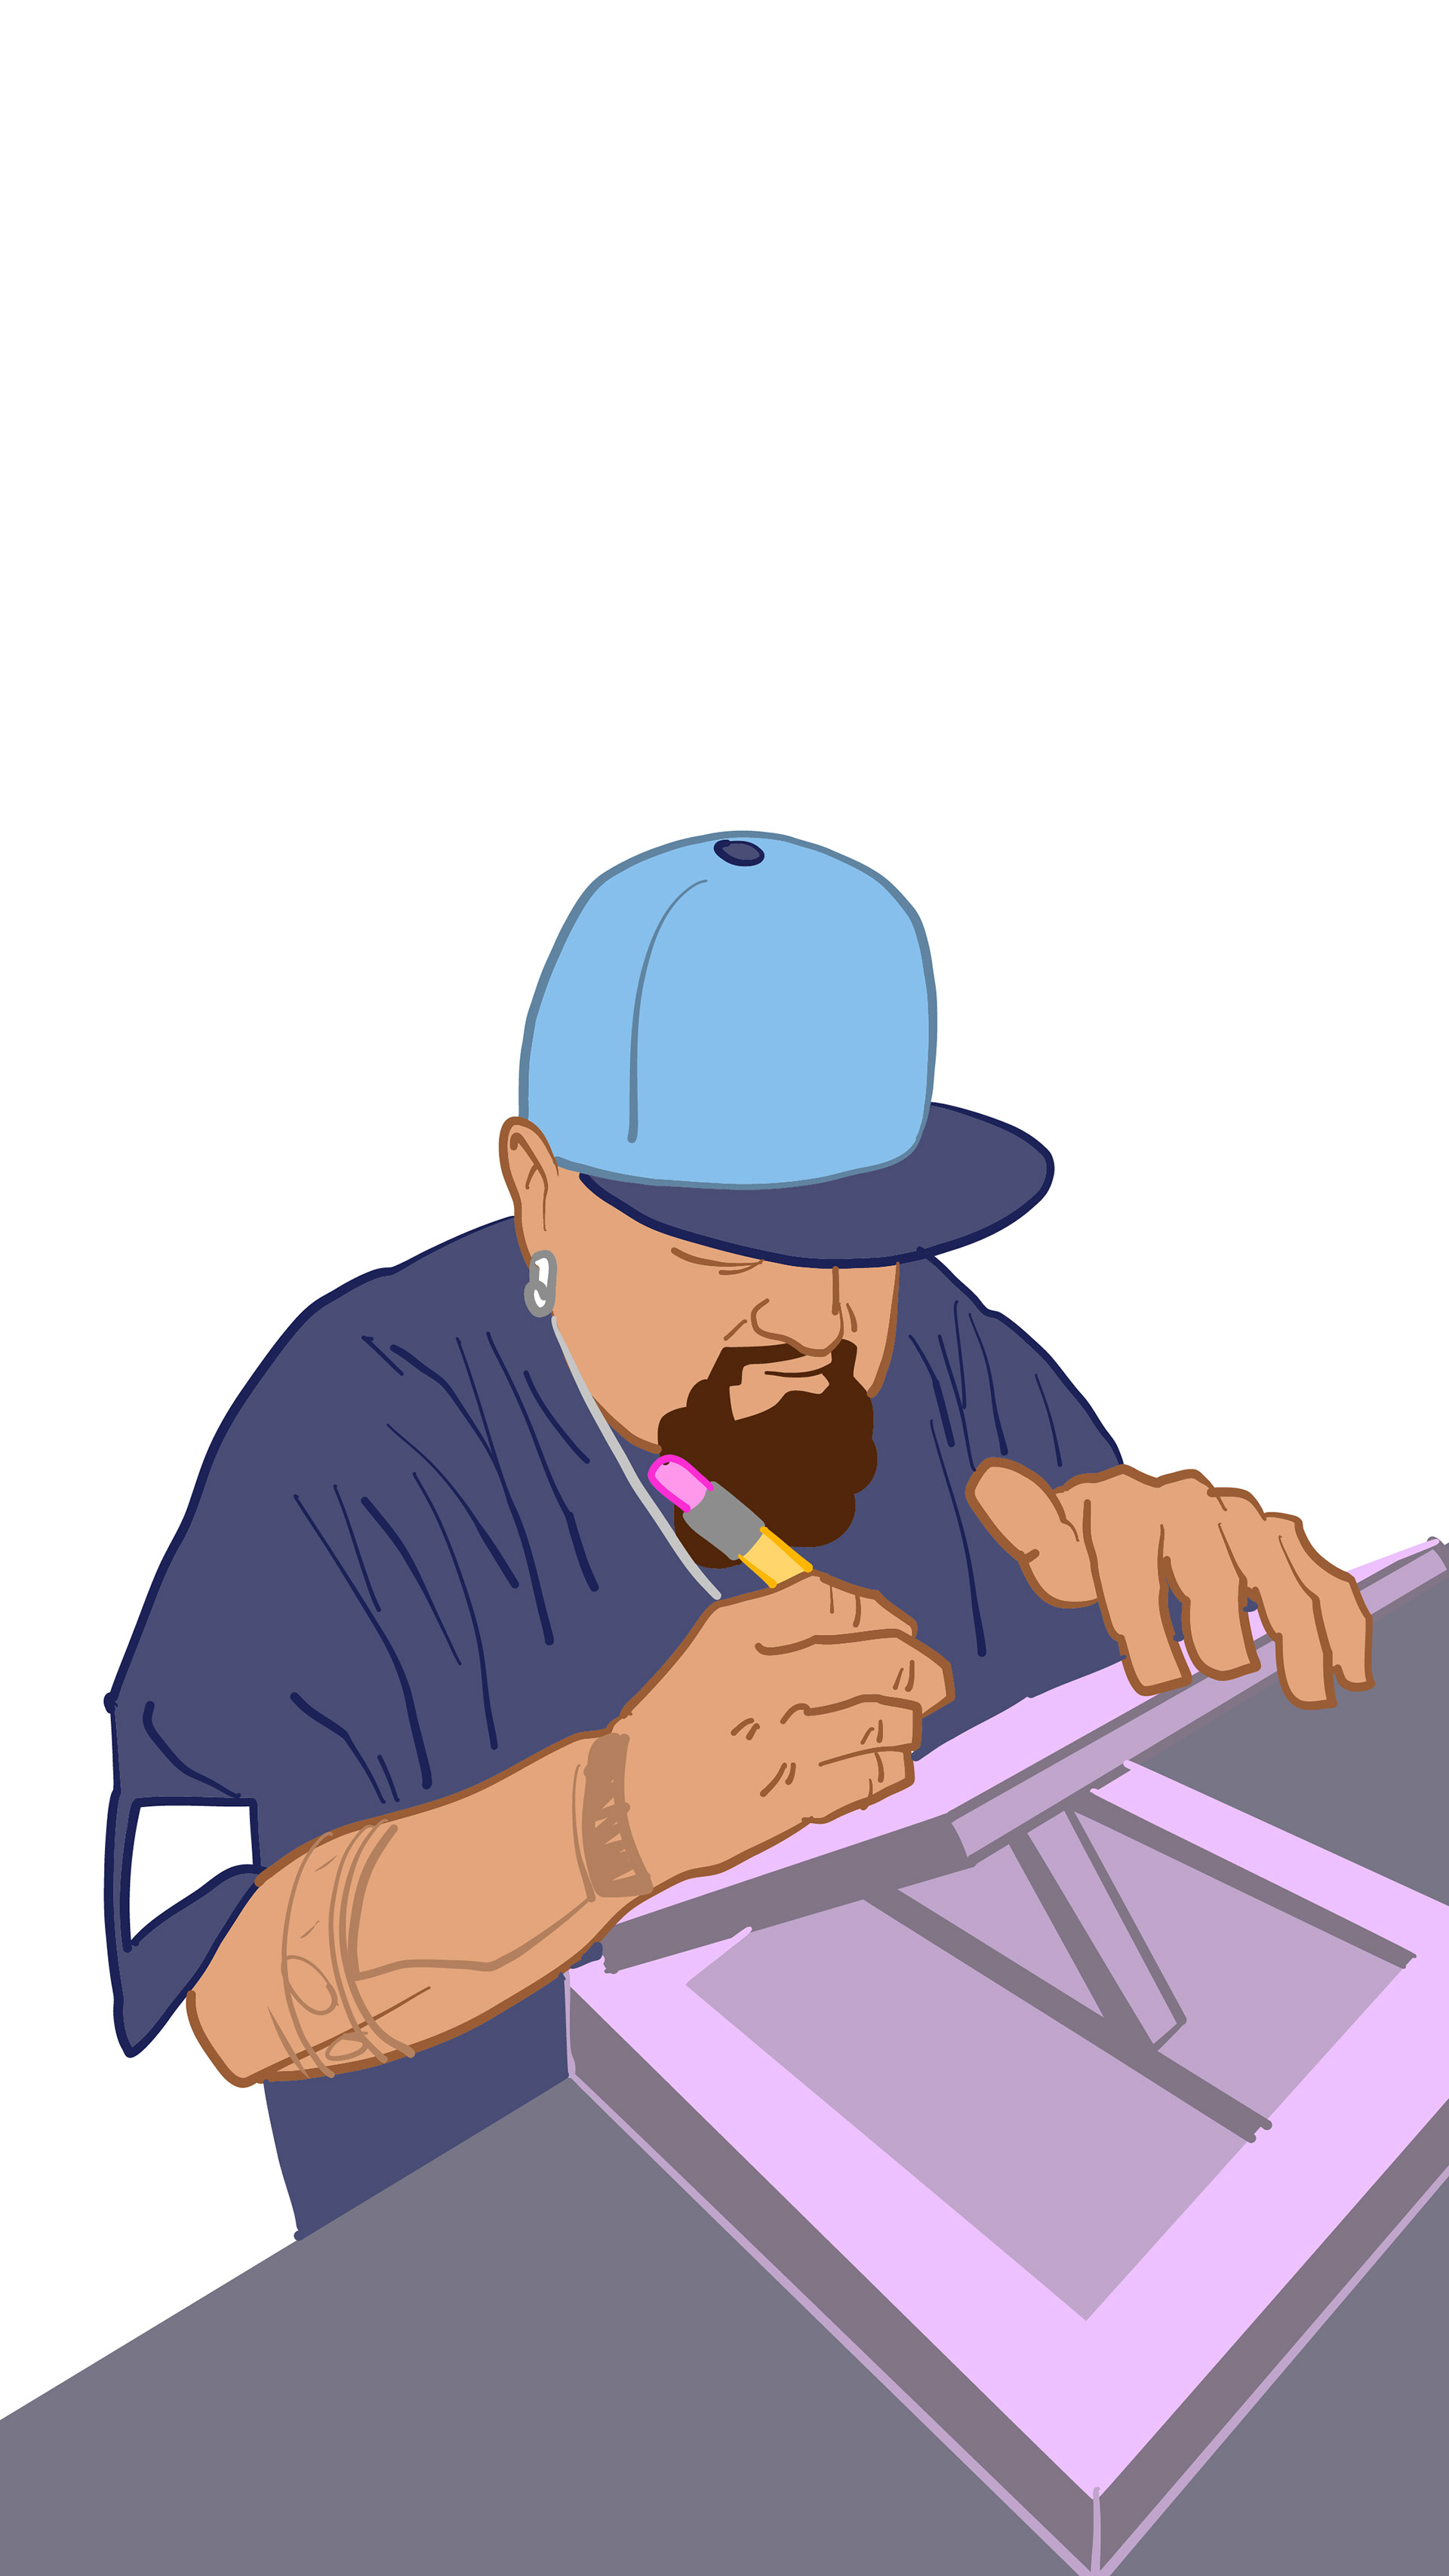
Take a video of yourself for reference.
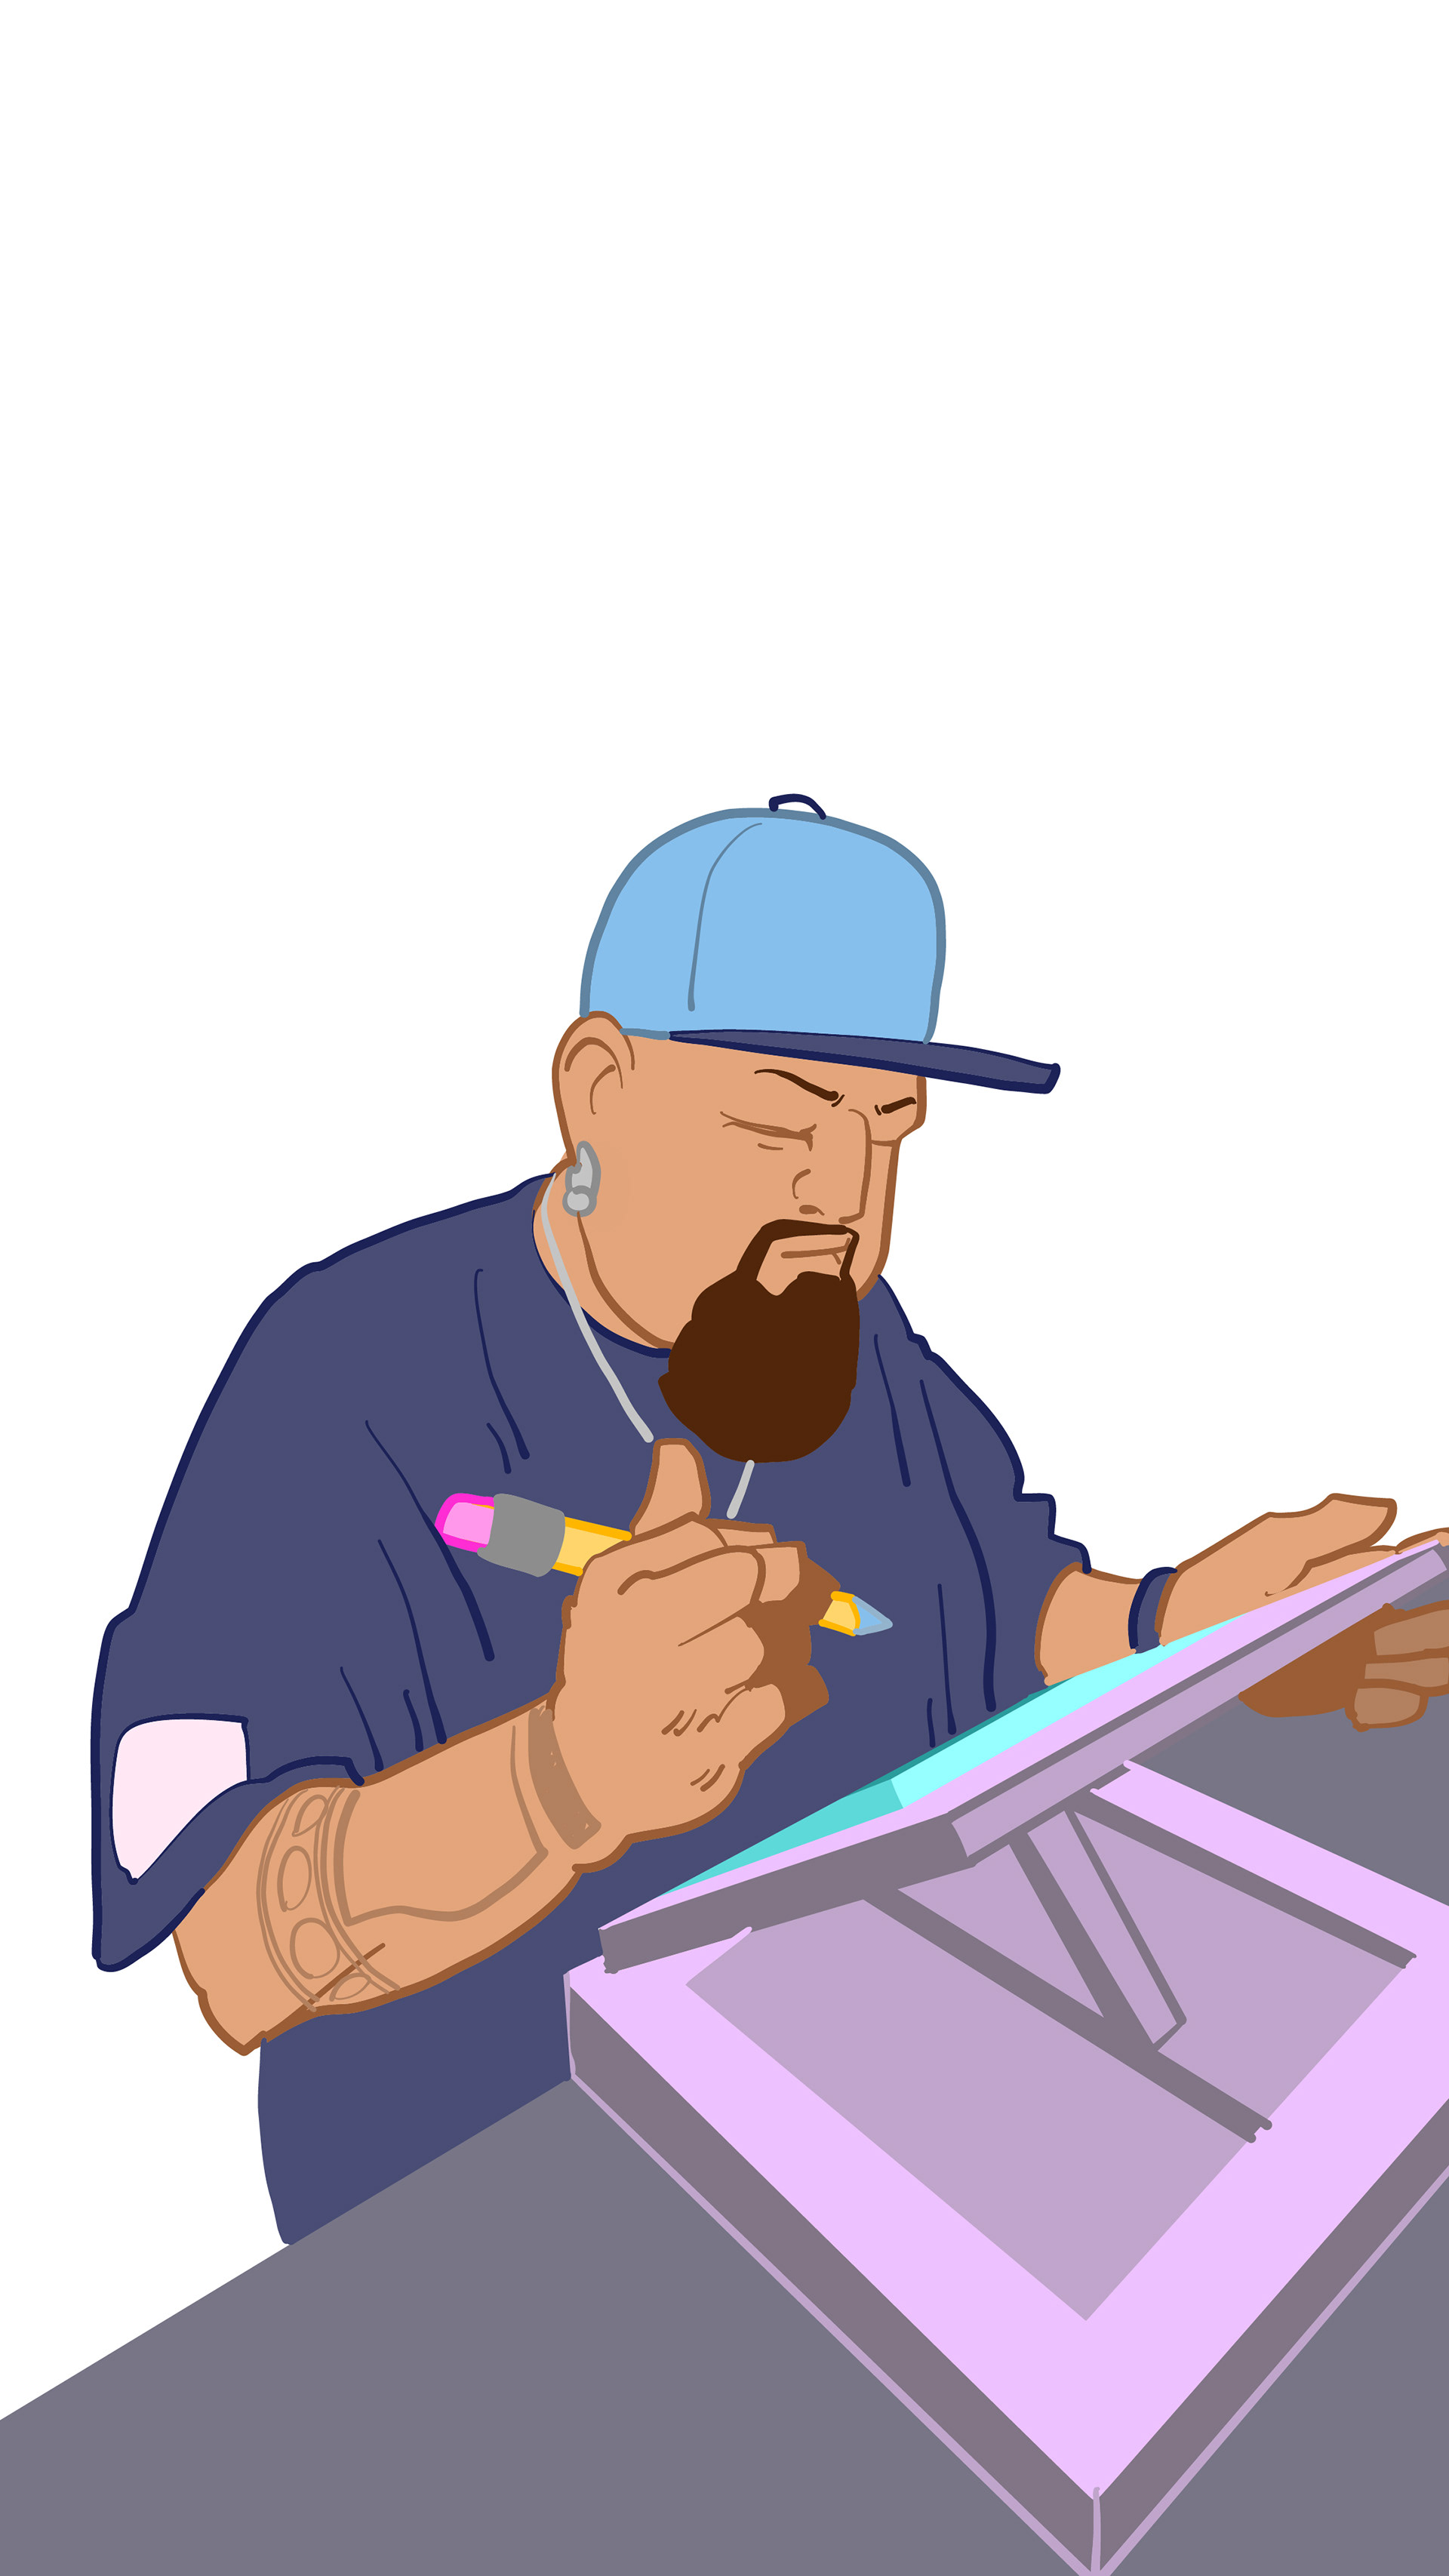
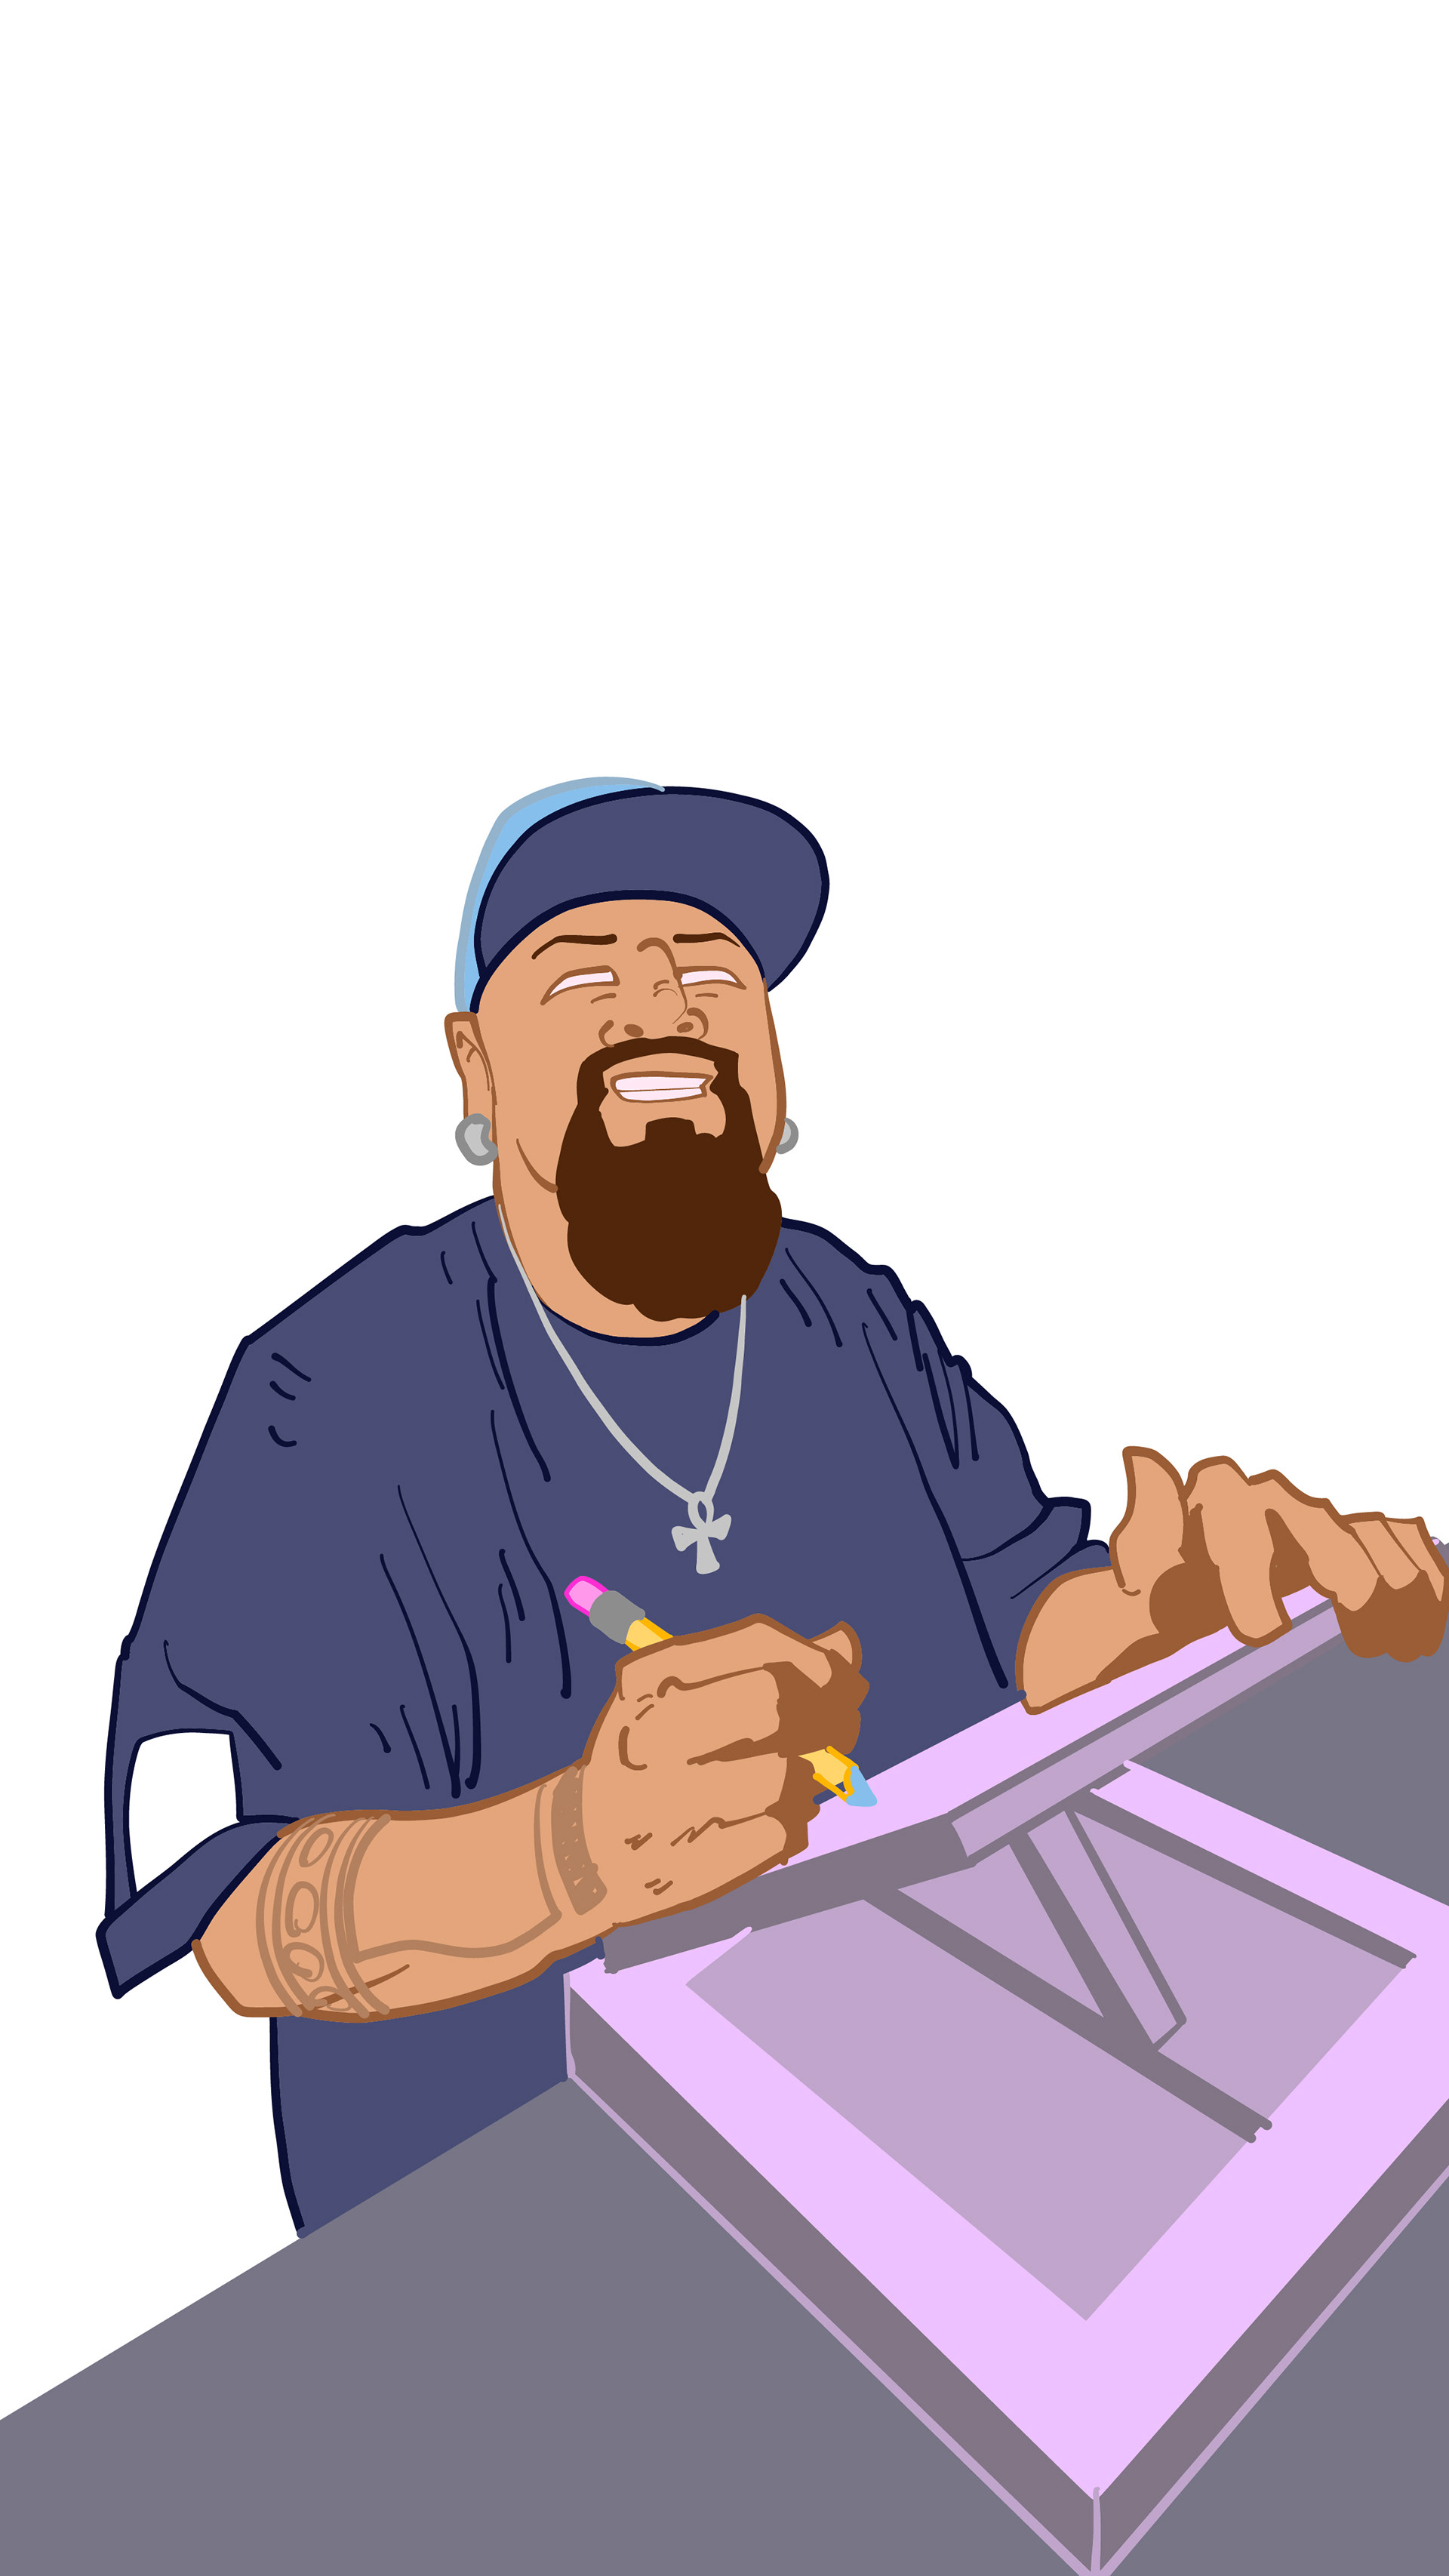
In my video shorts, I want an intro scene where you can see me agree to draw.
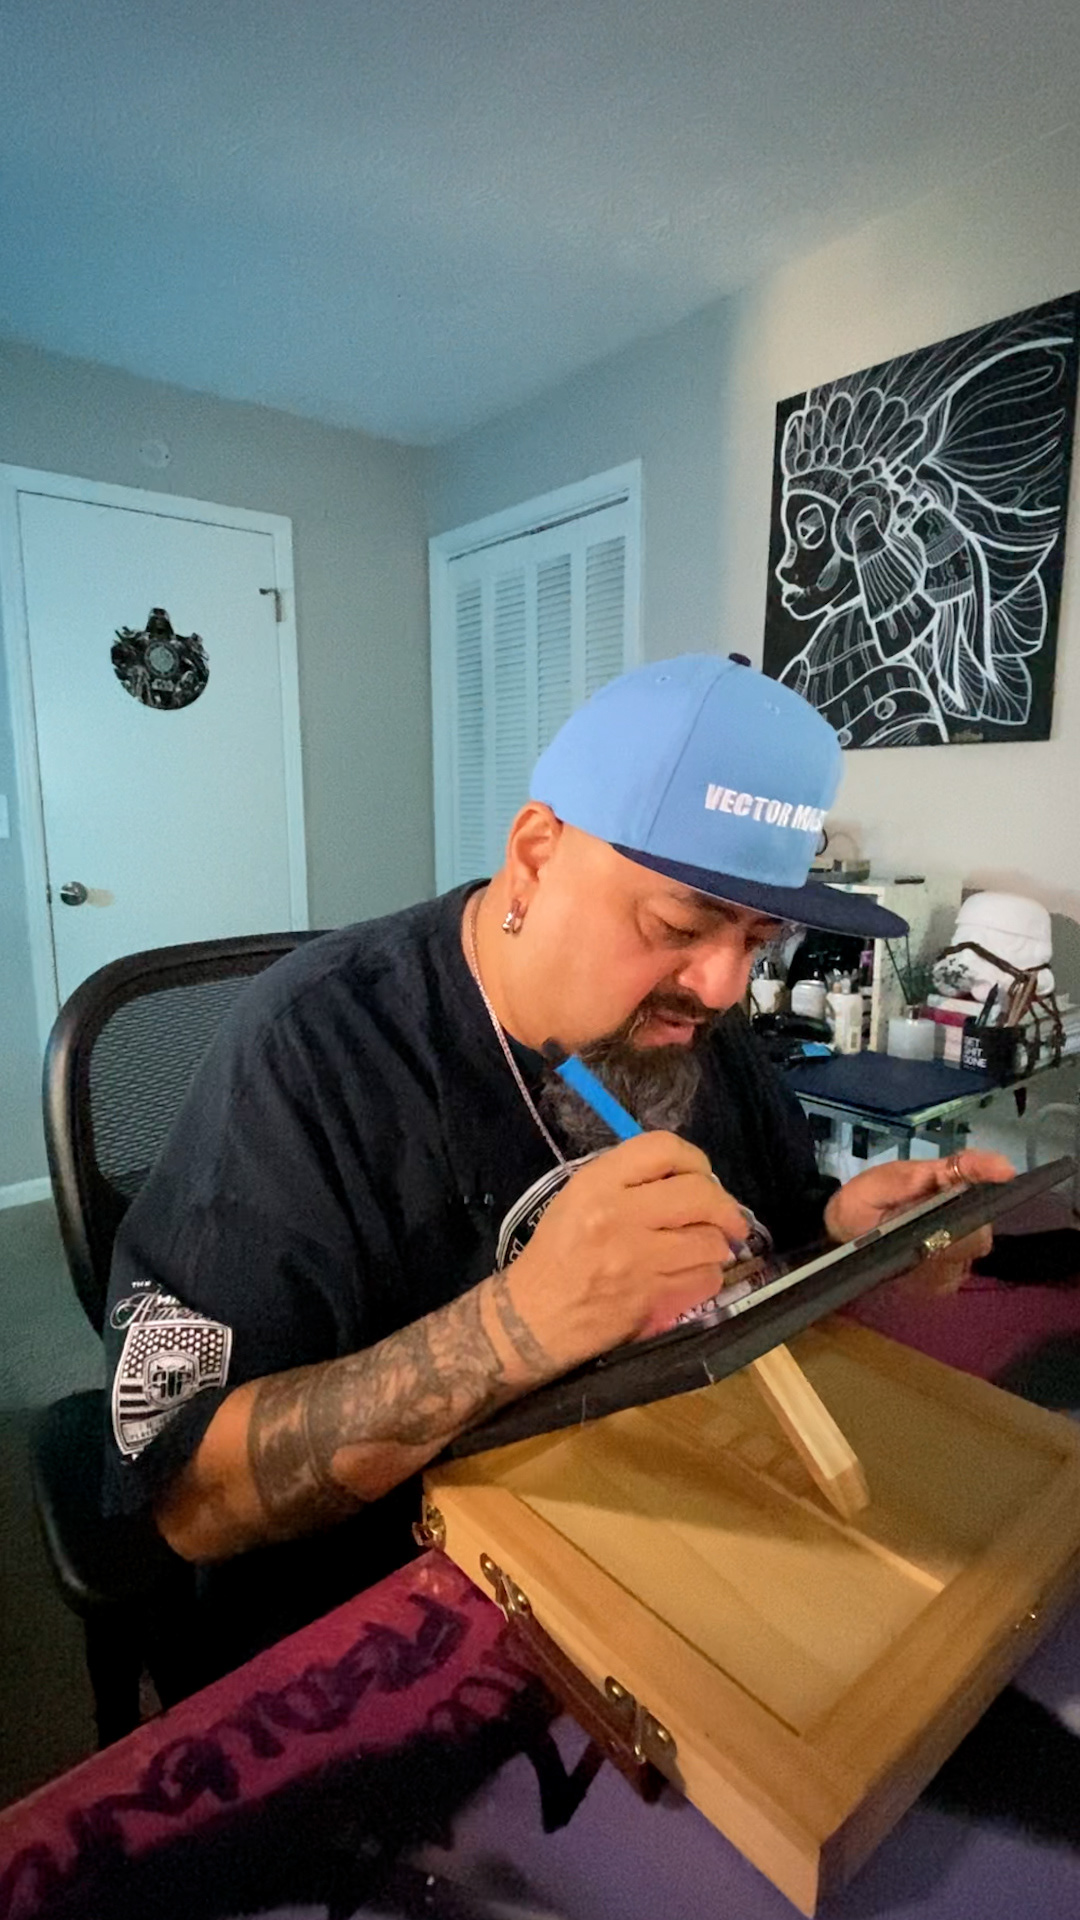
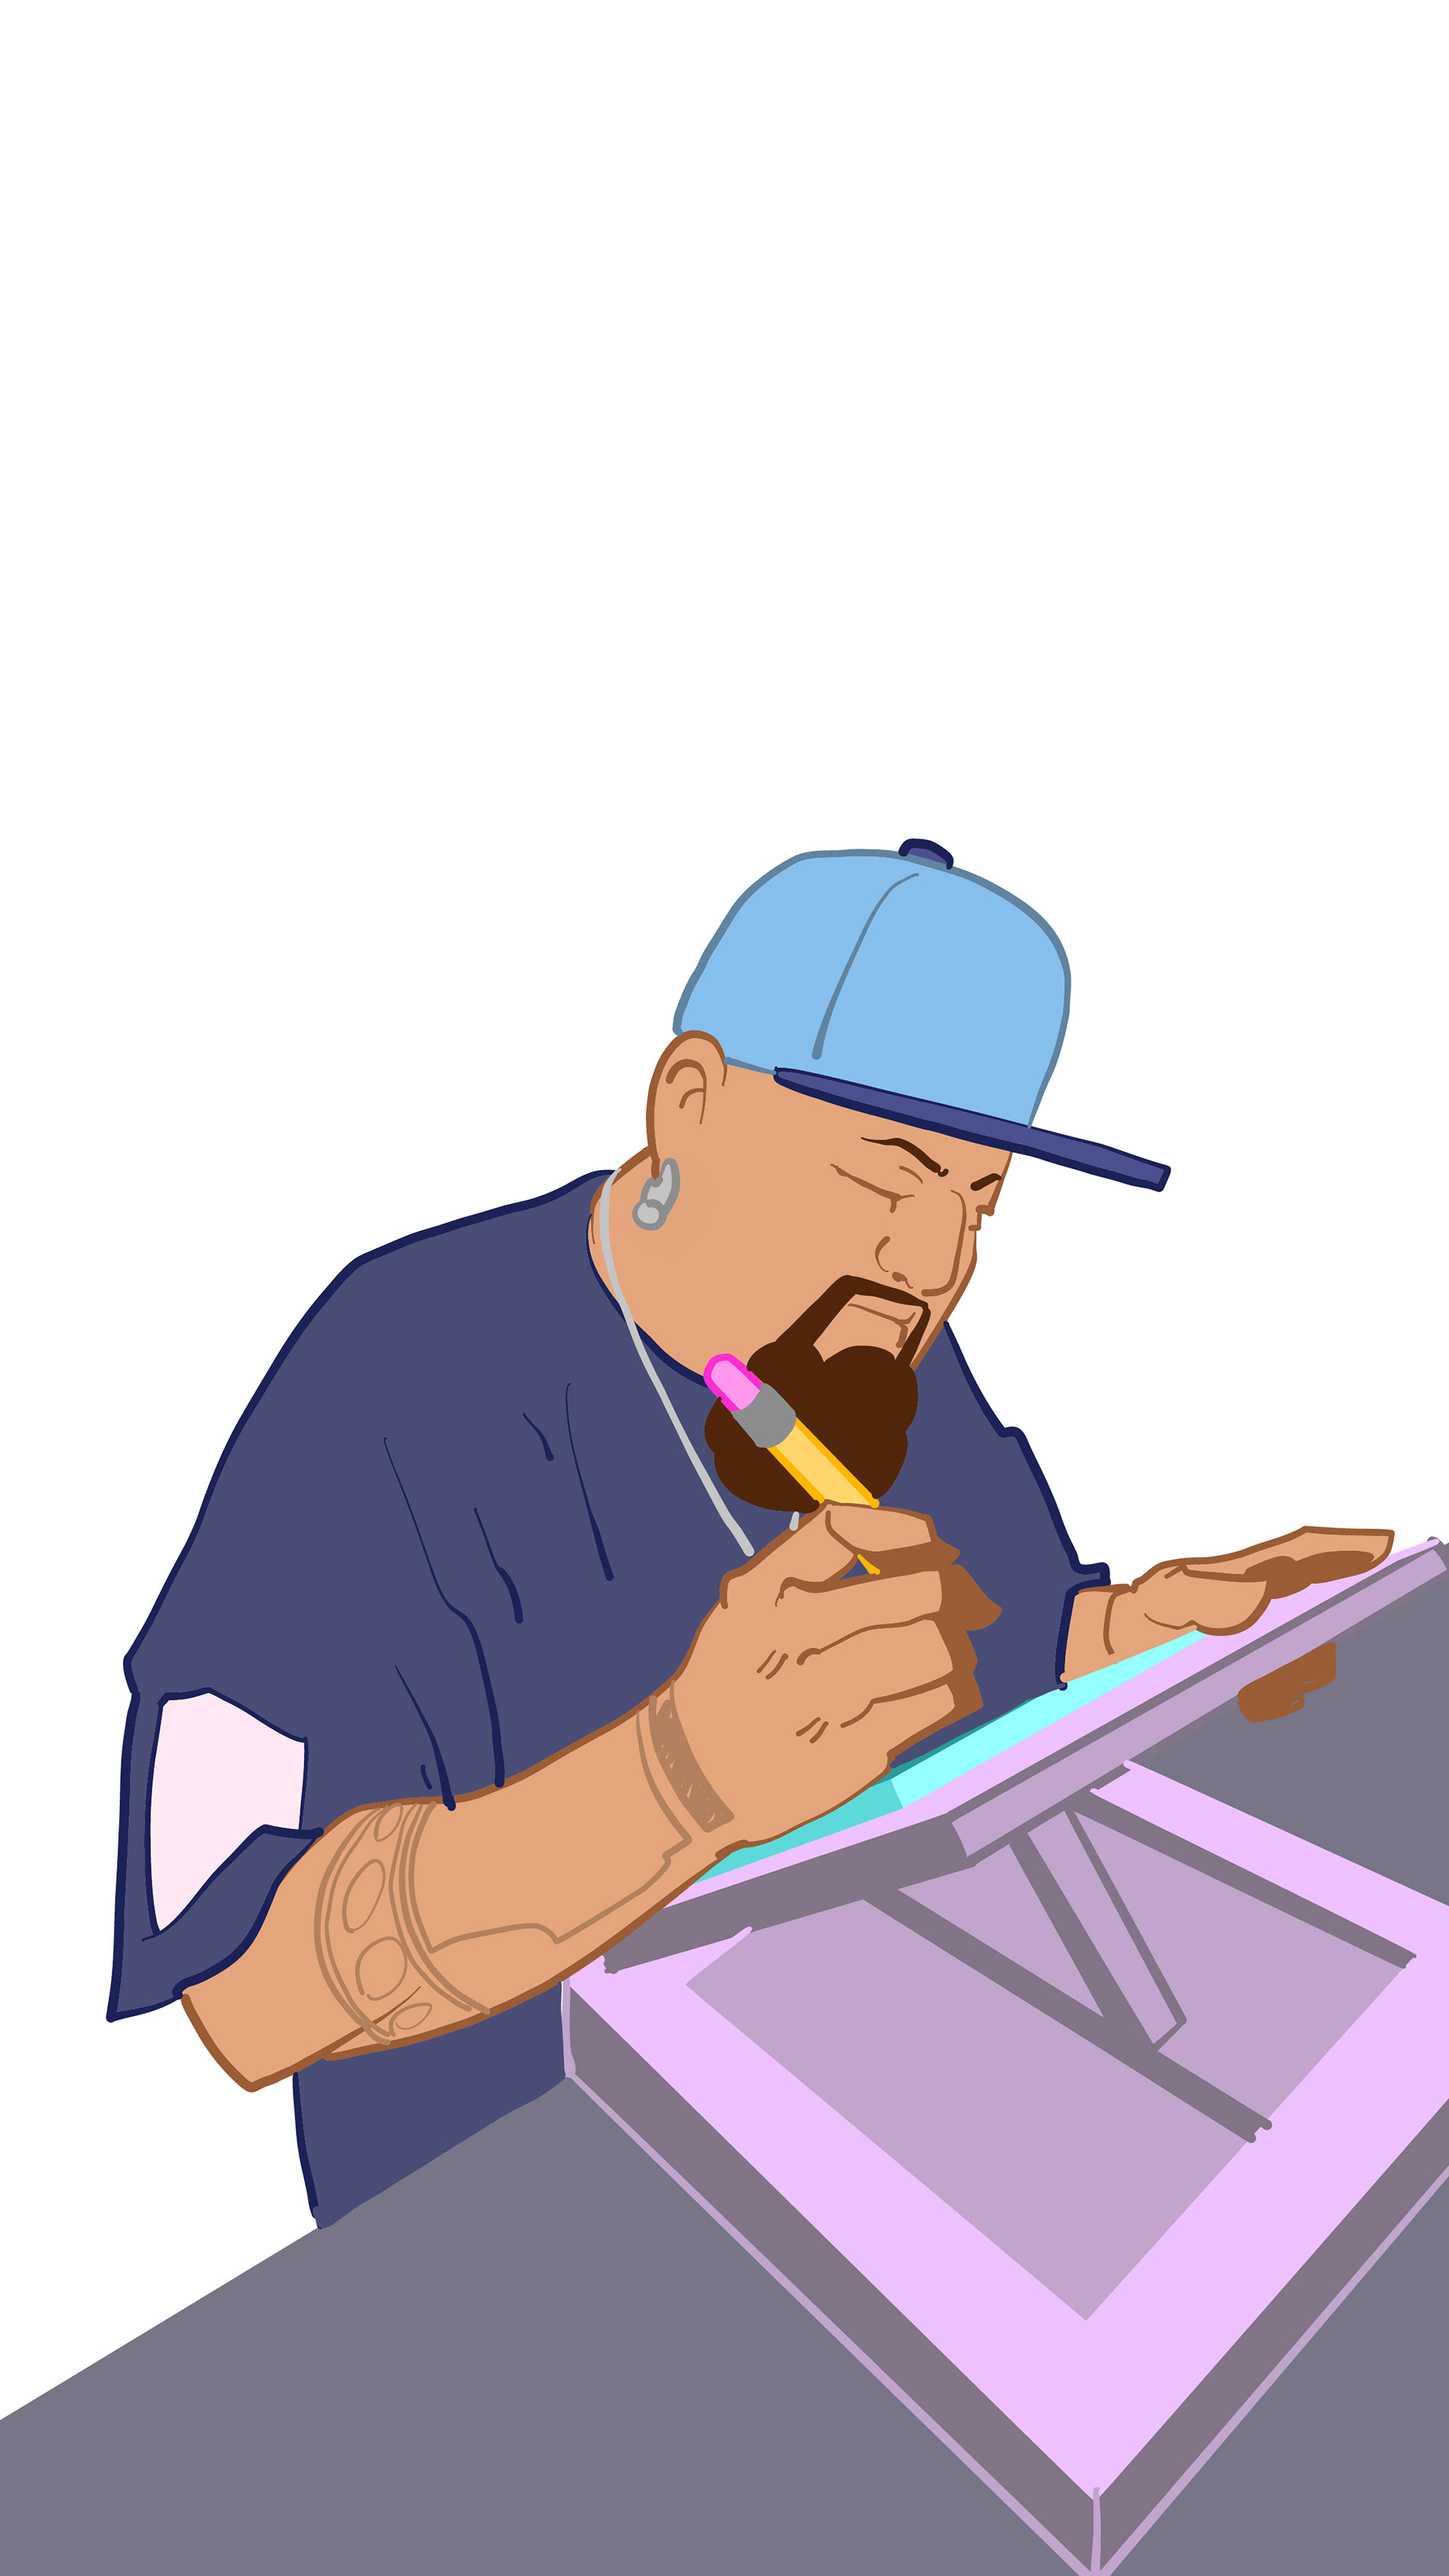
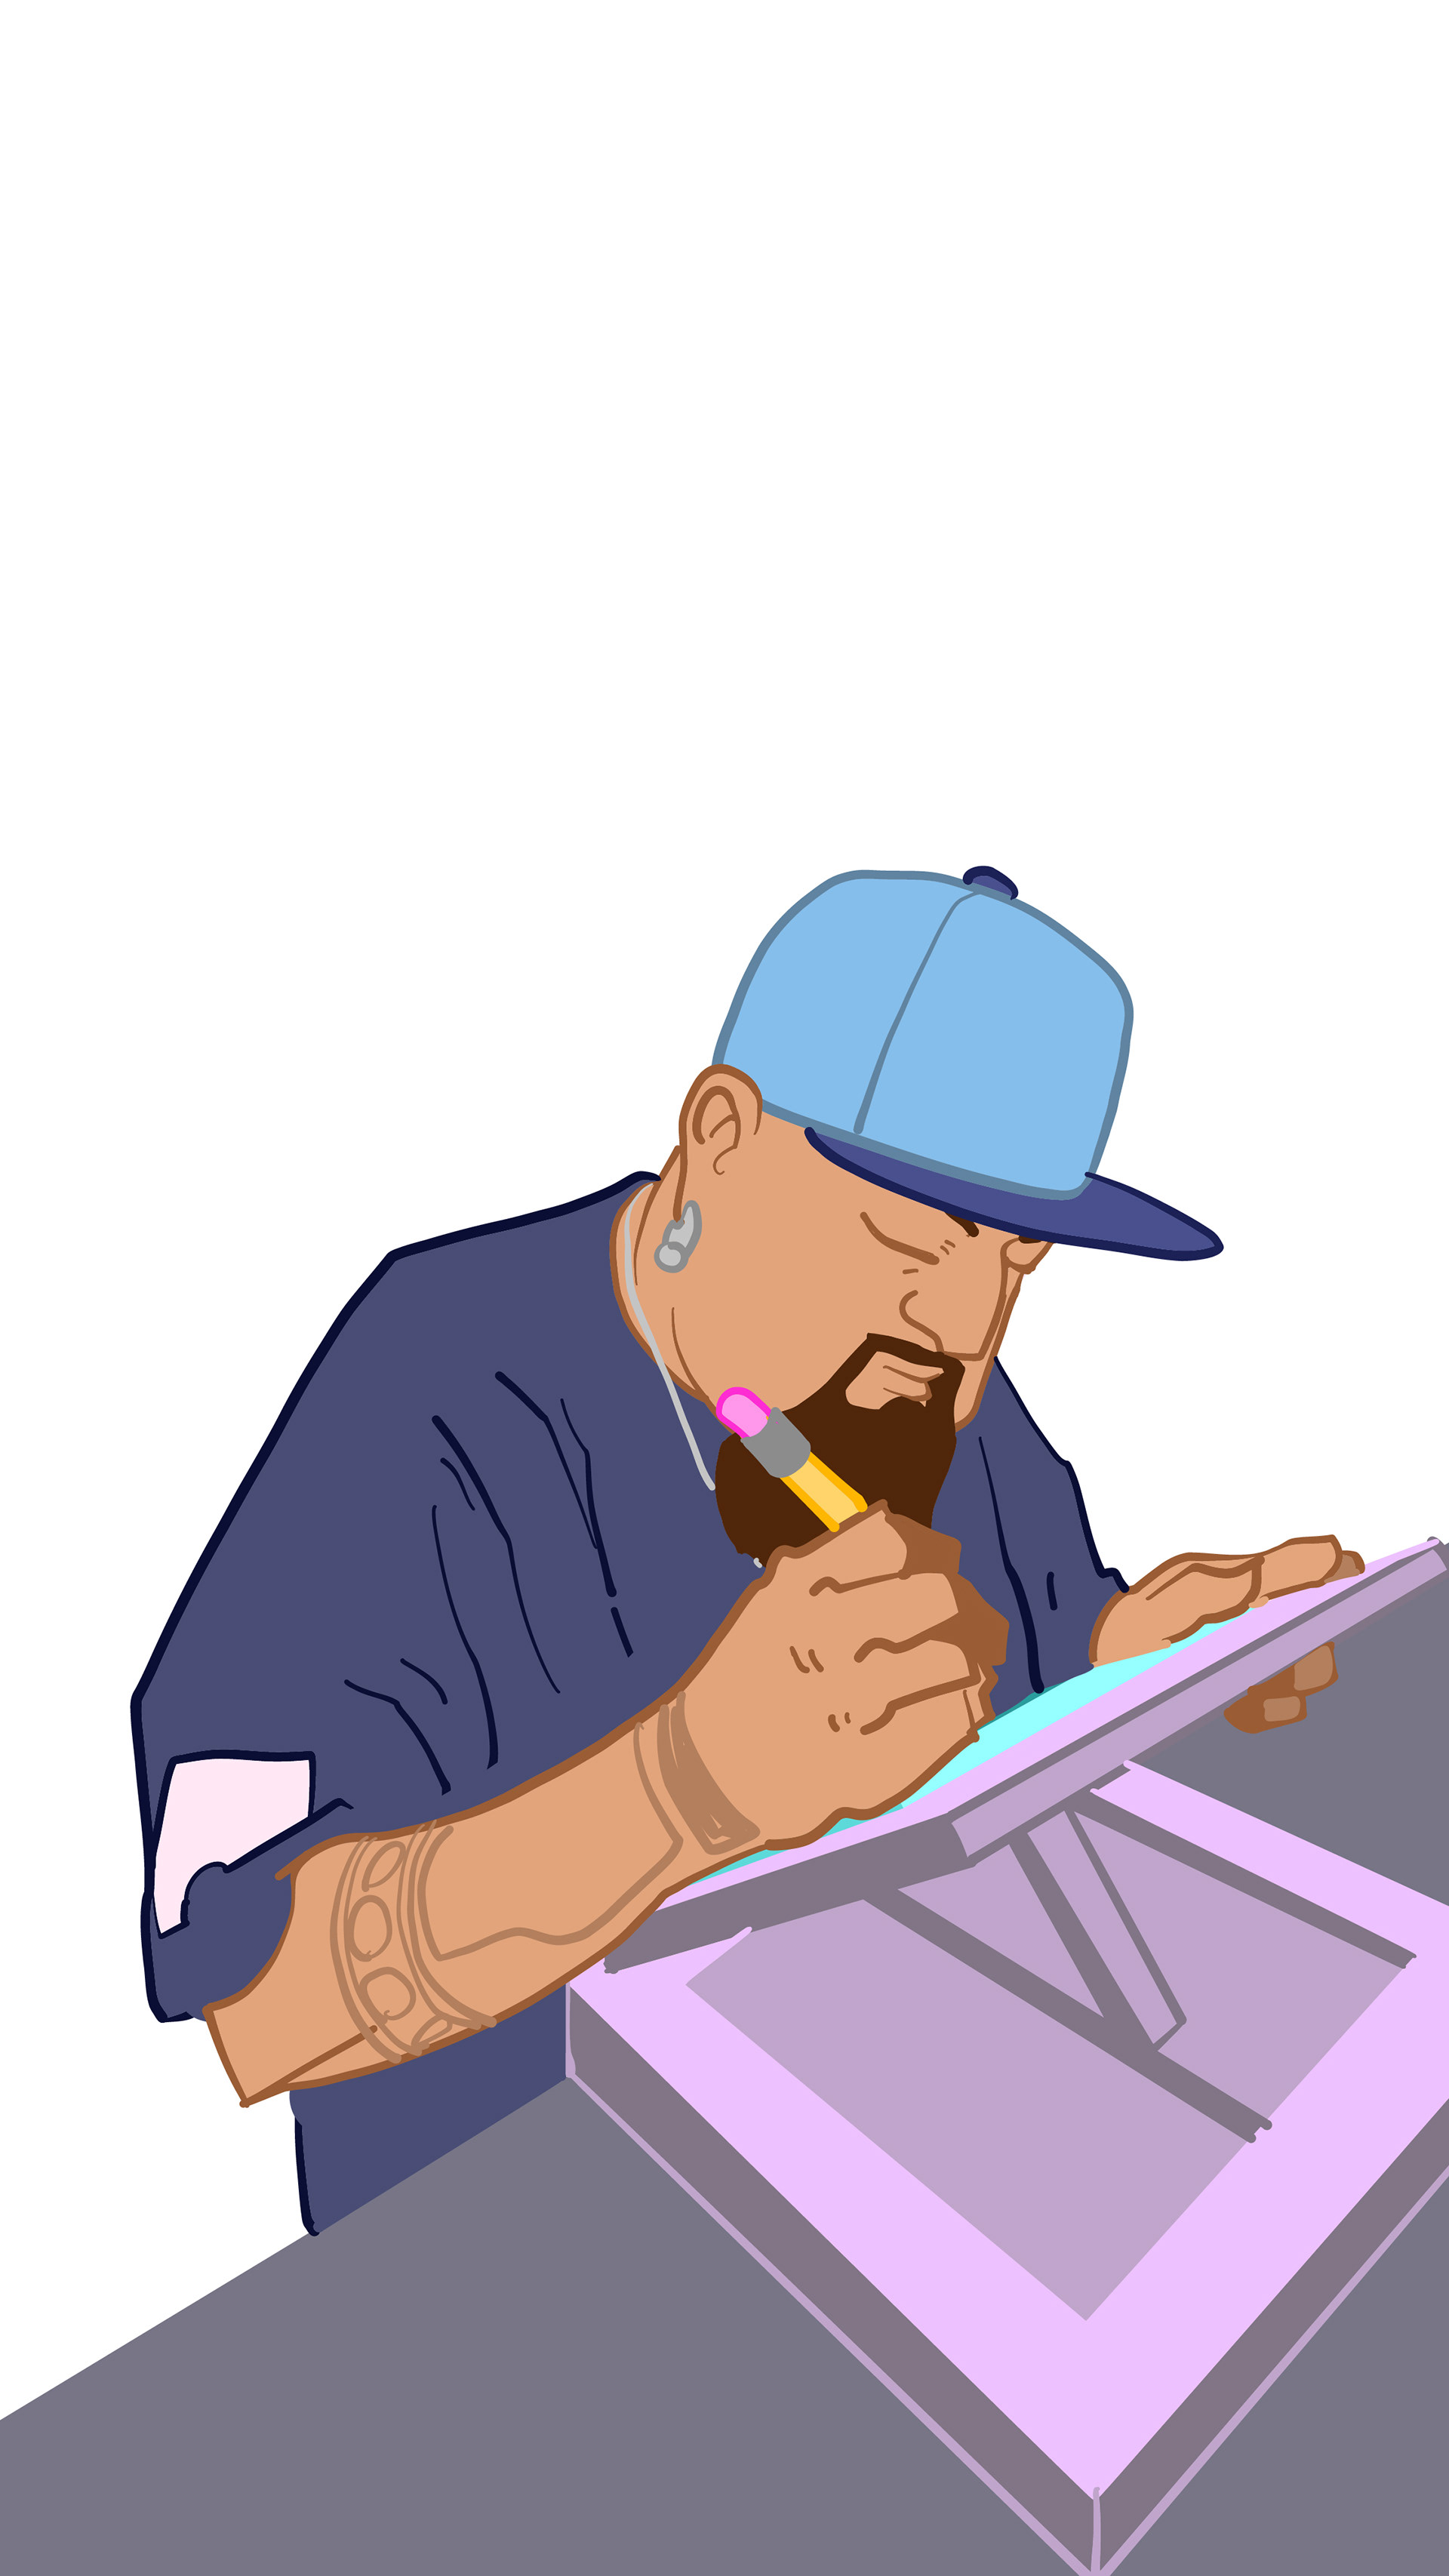
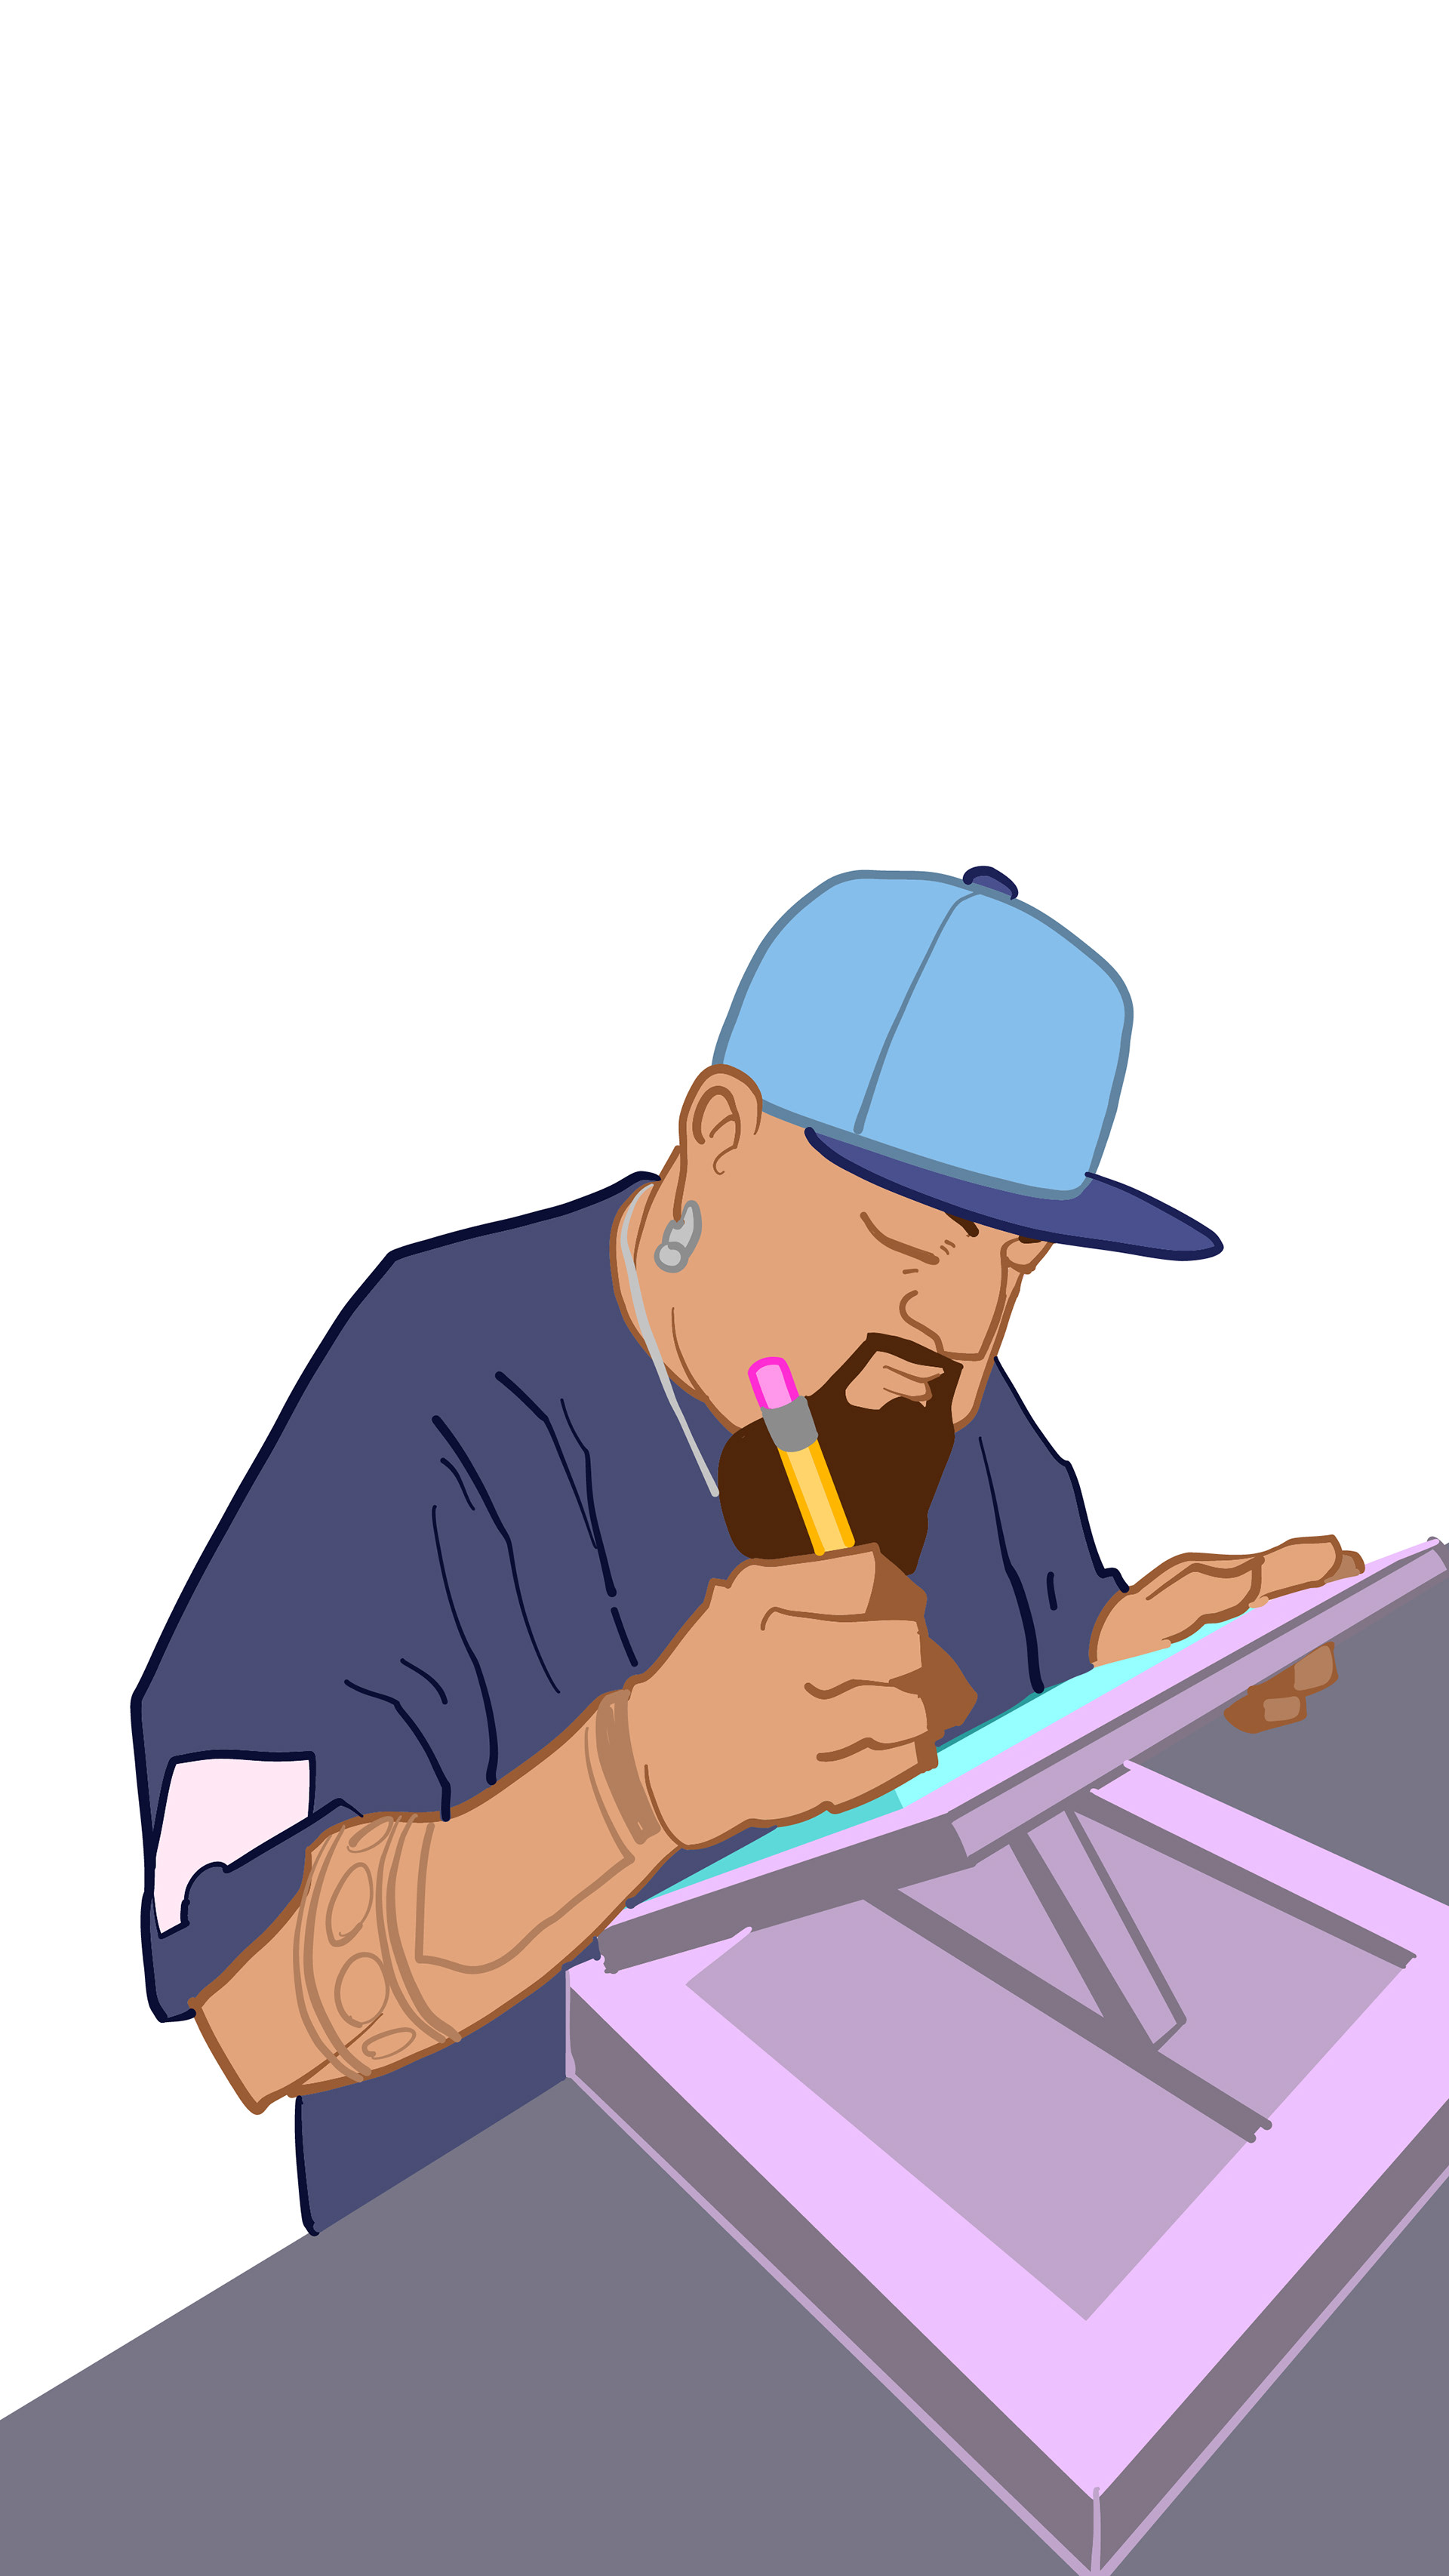
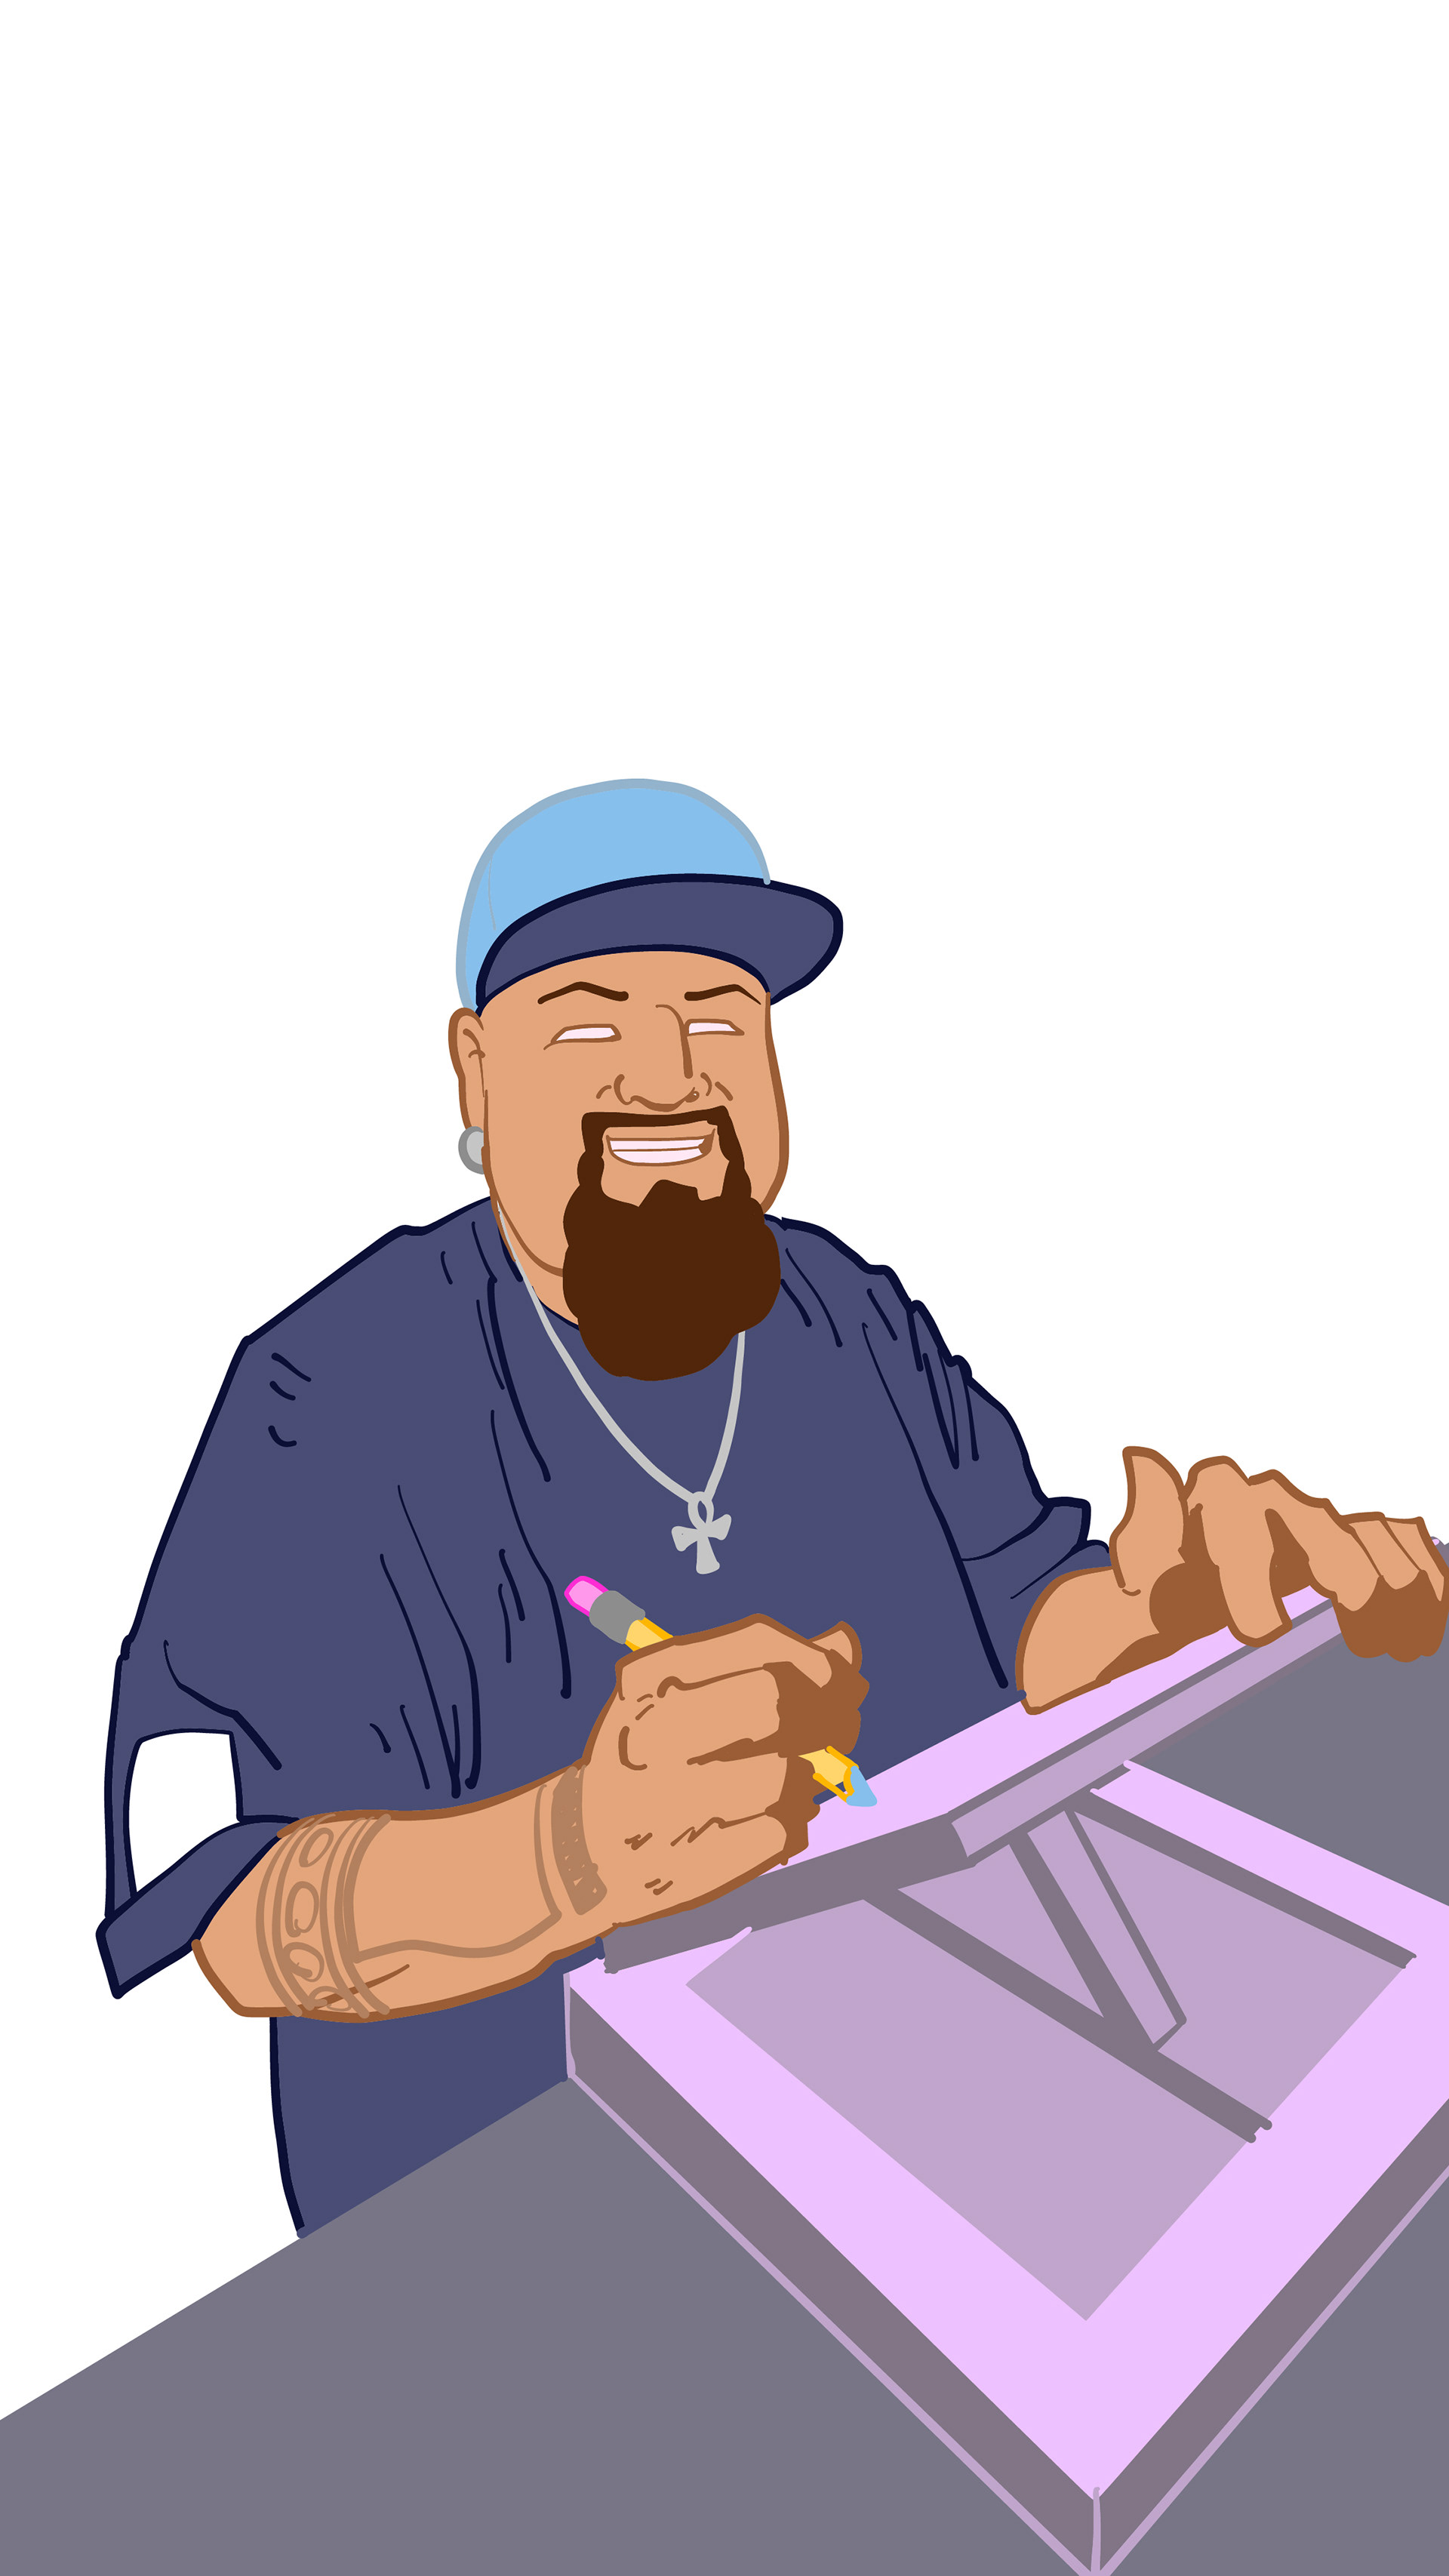
The second scene is going to have me focused on drawing.
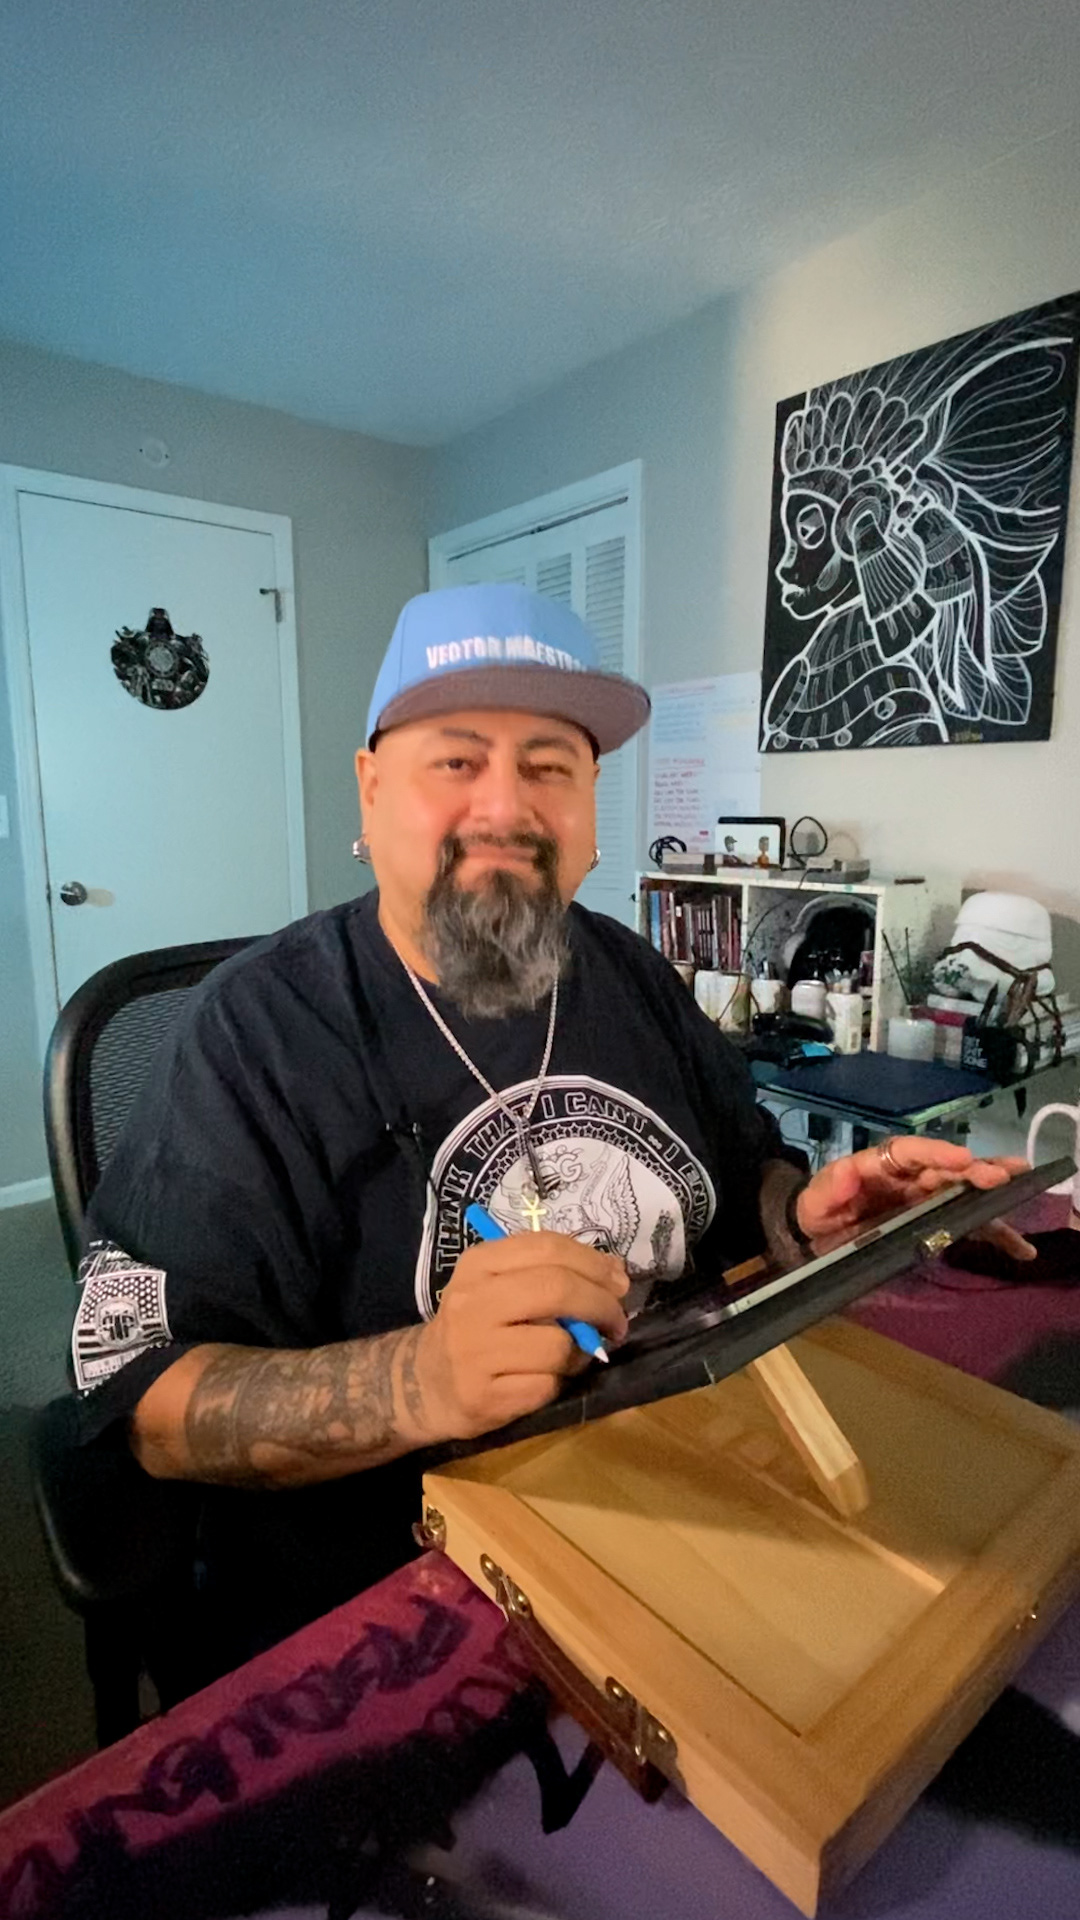
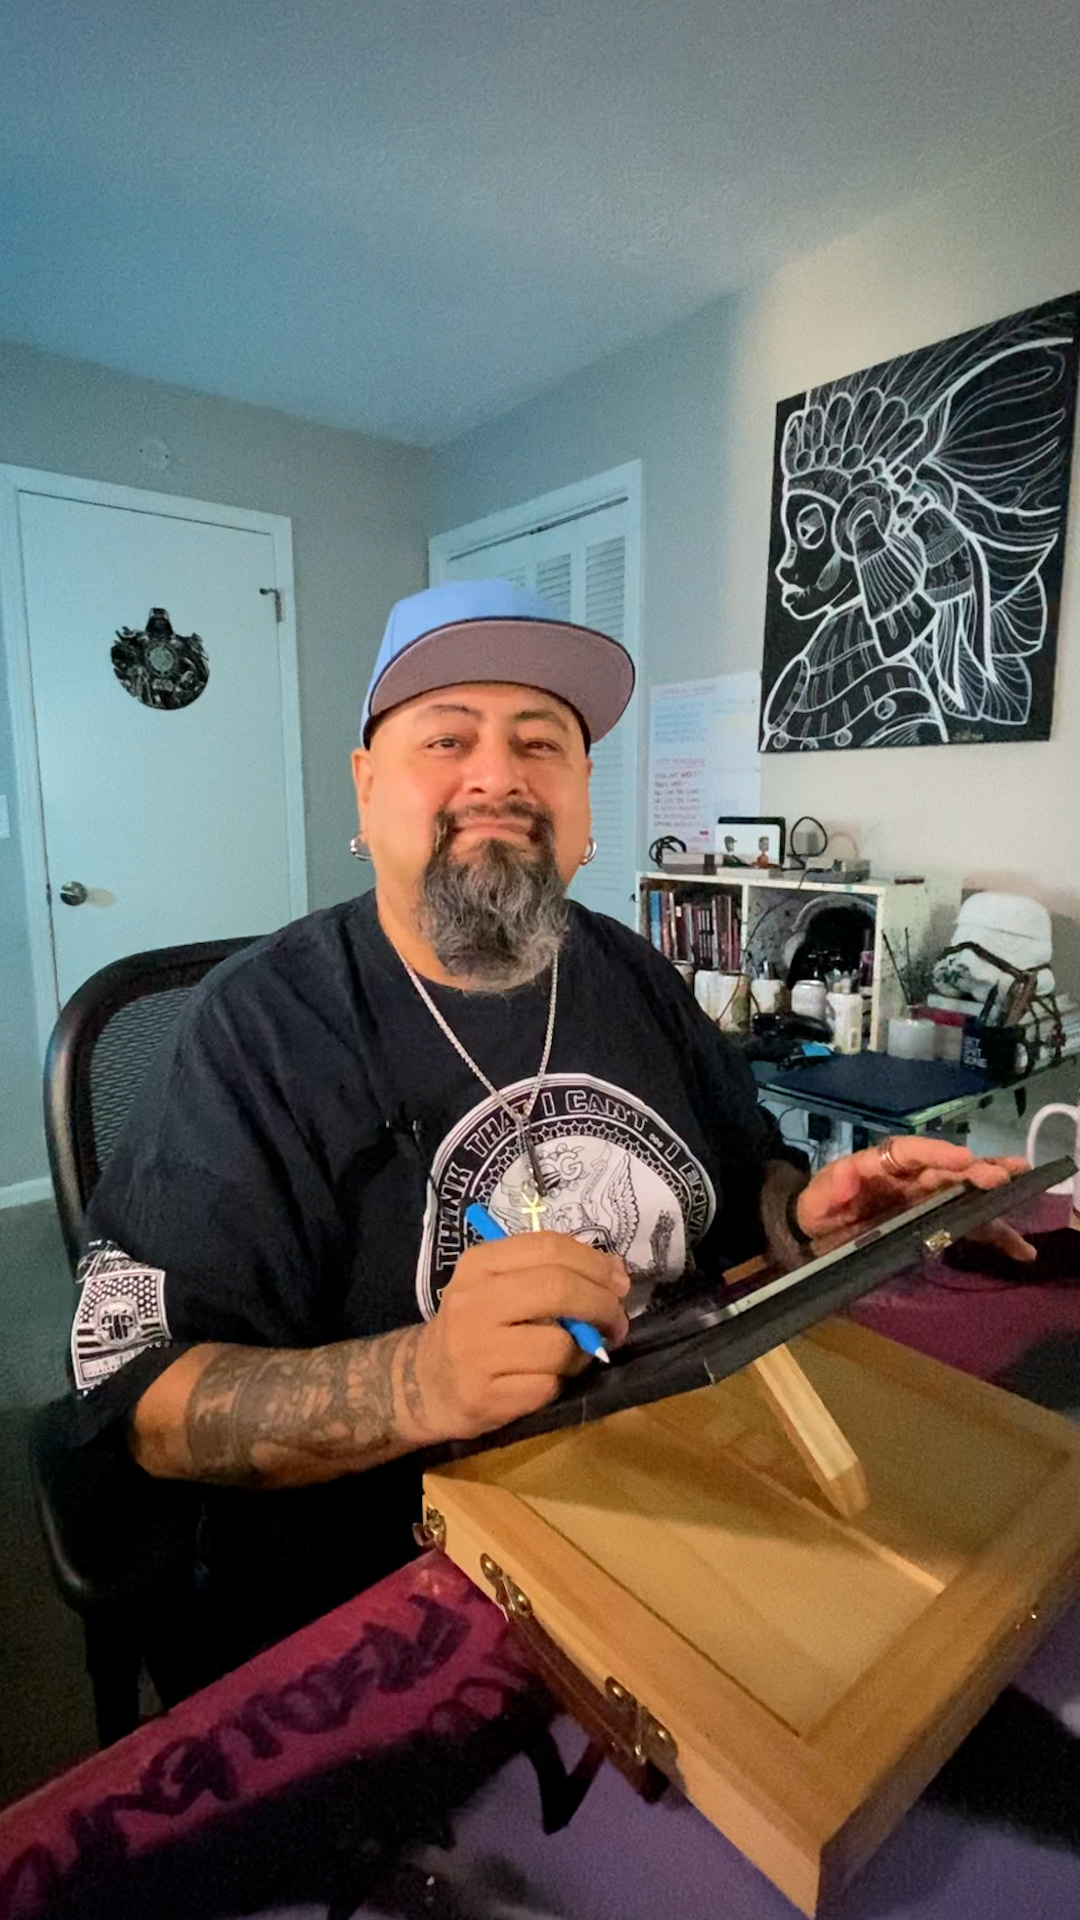
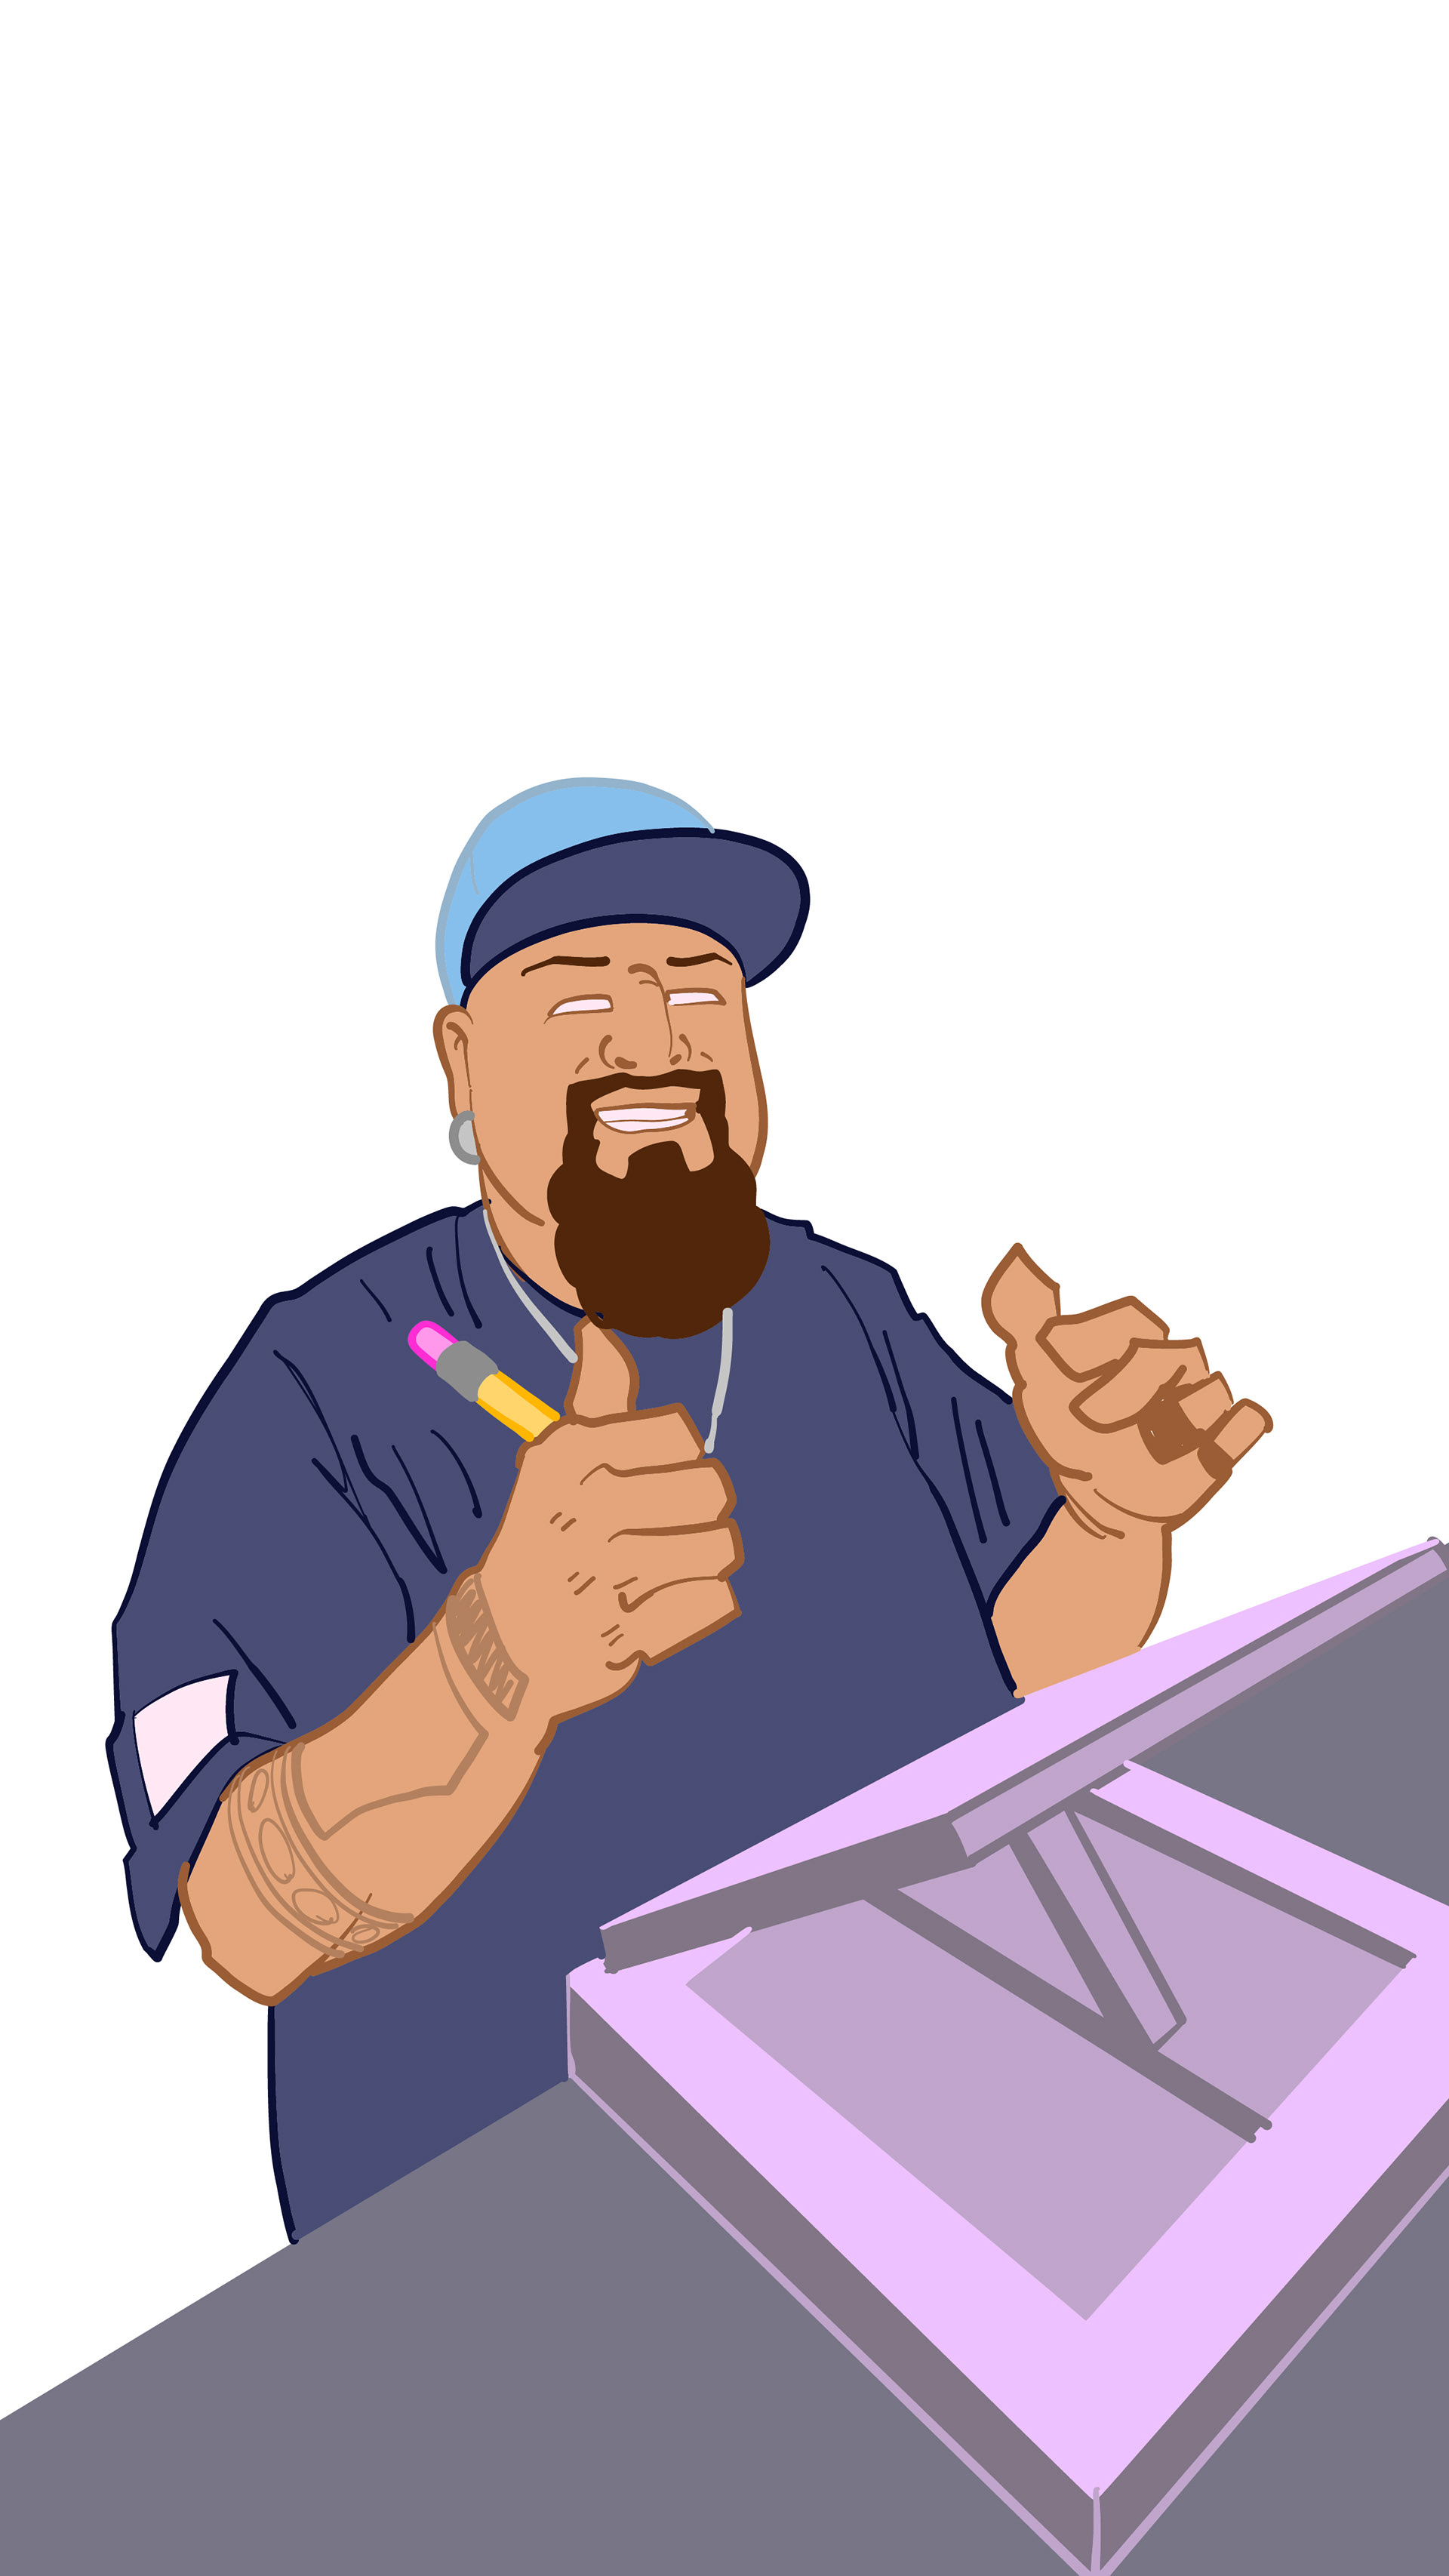
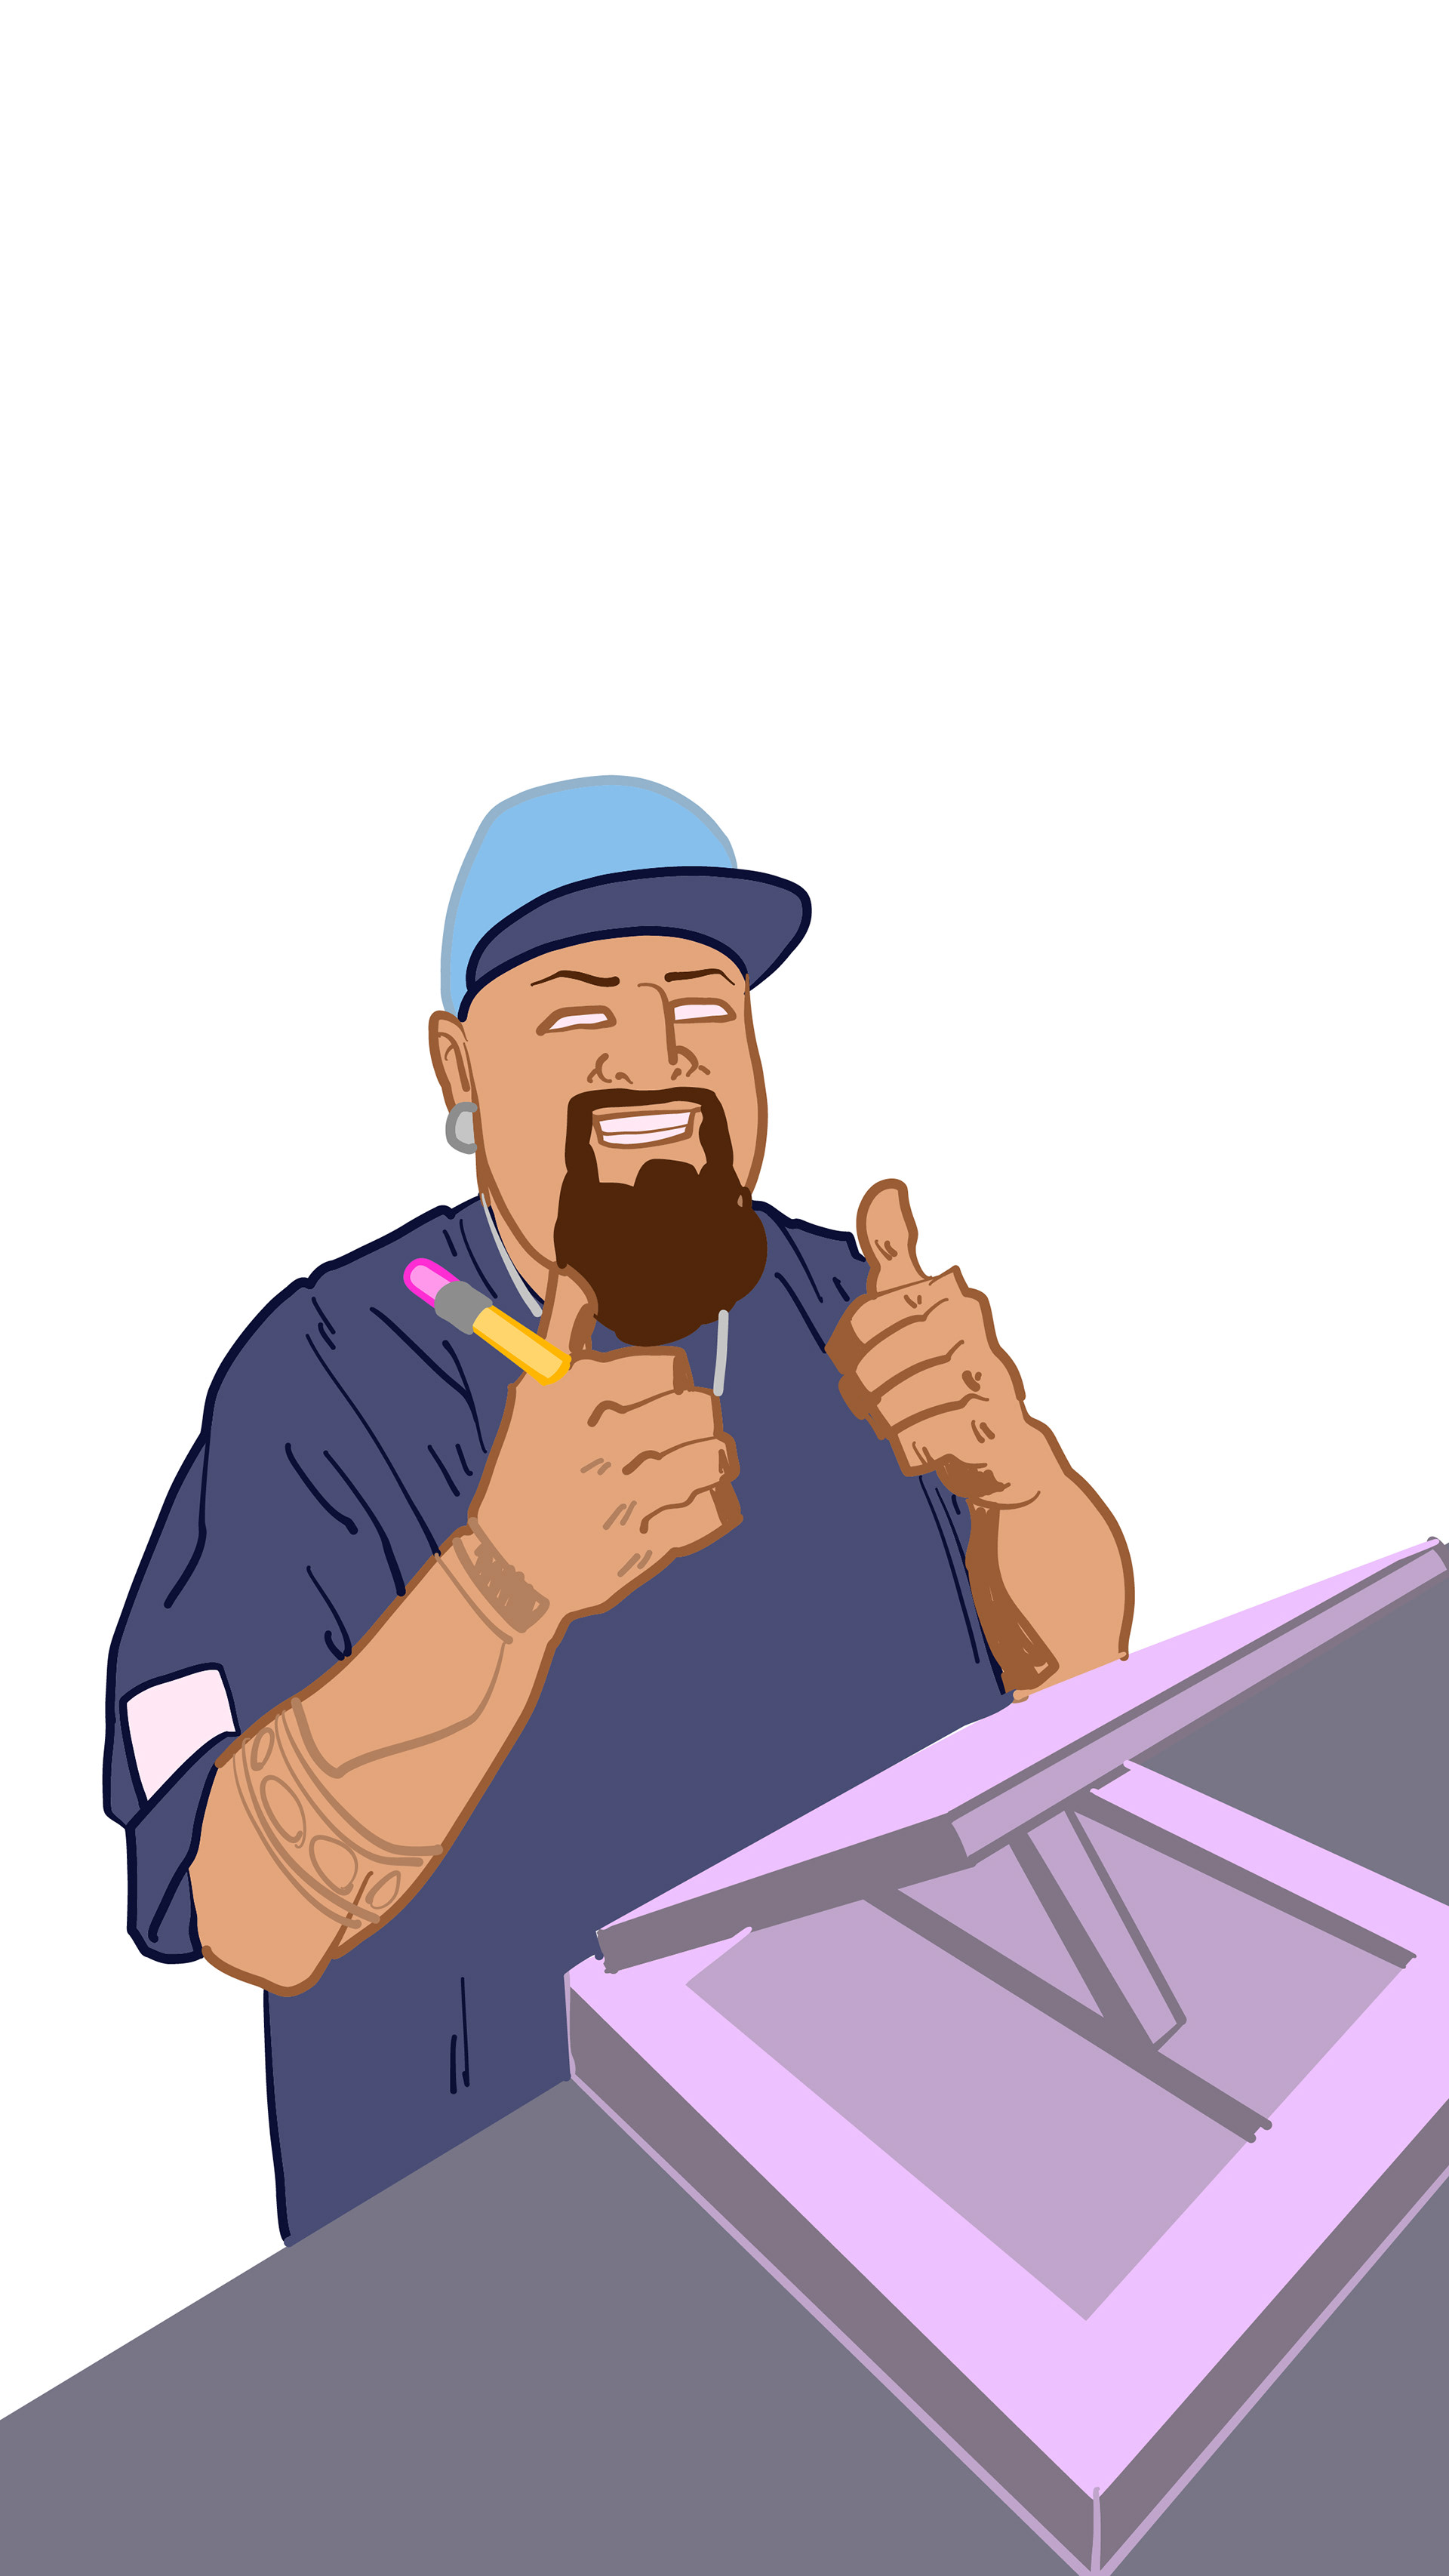
Third scene nodding in agreement to how well the drawing is going.
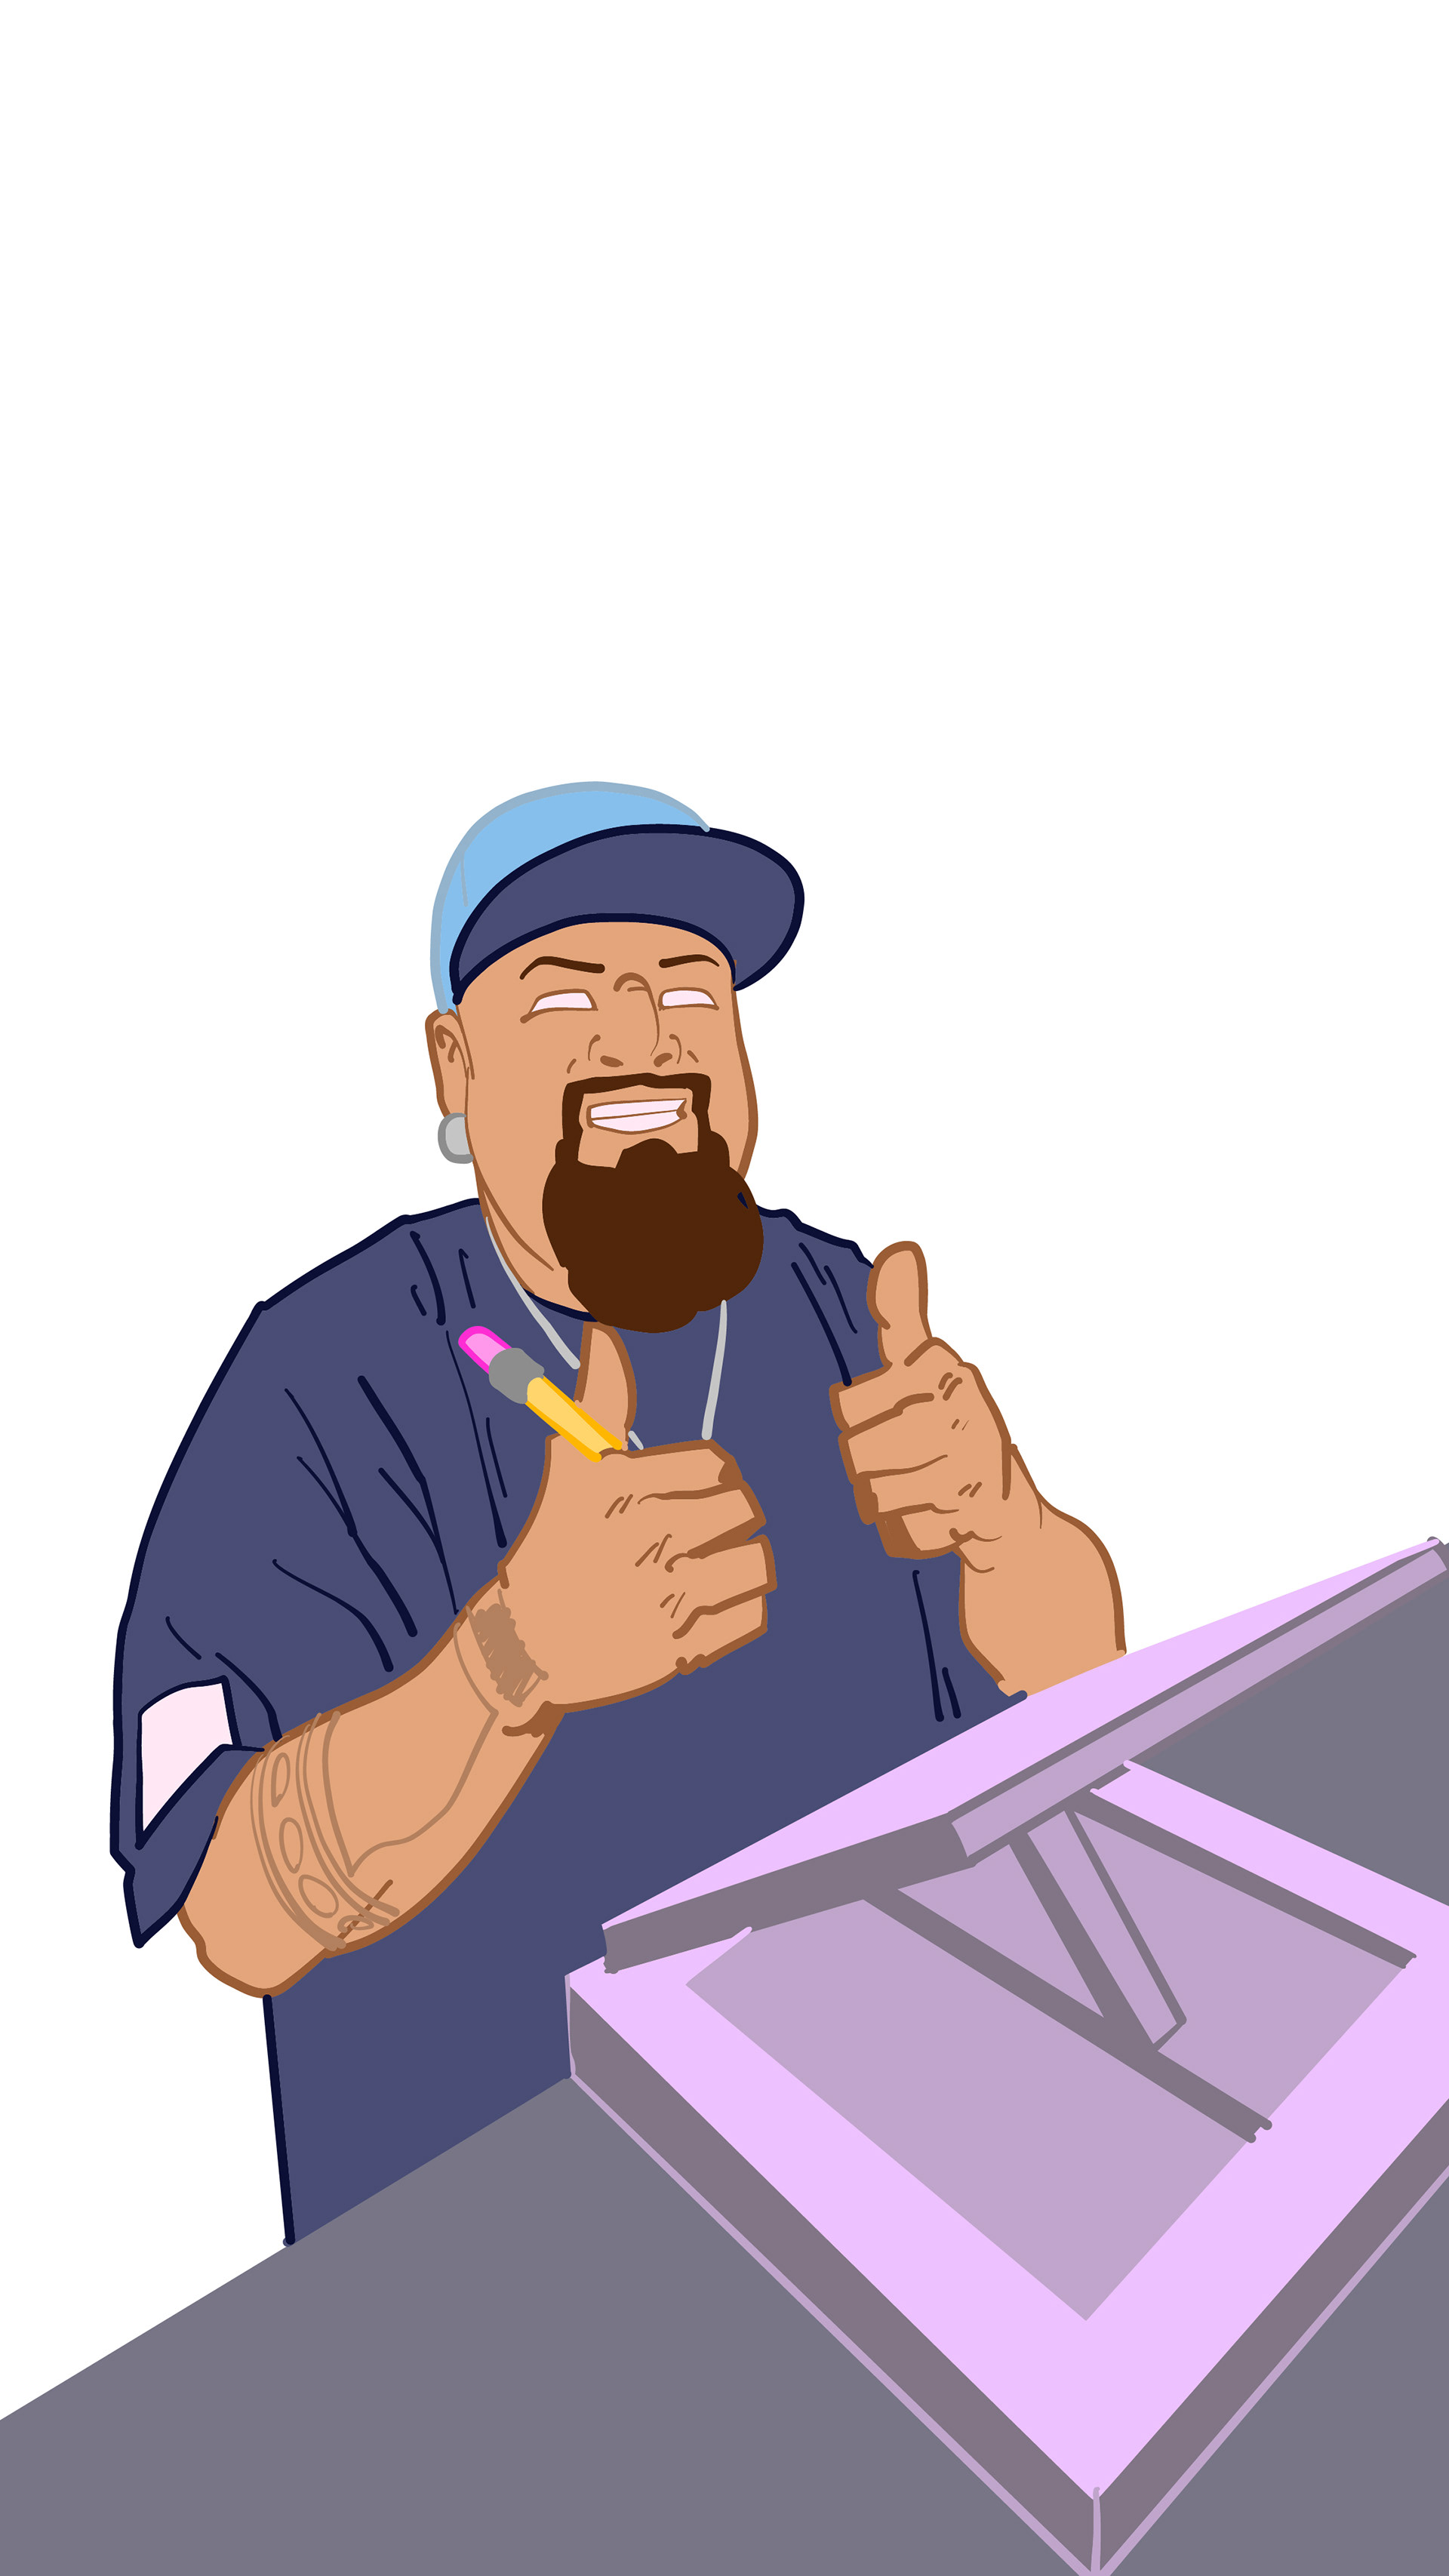
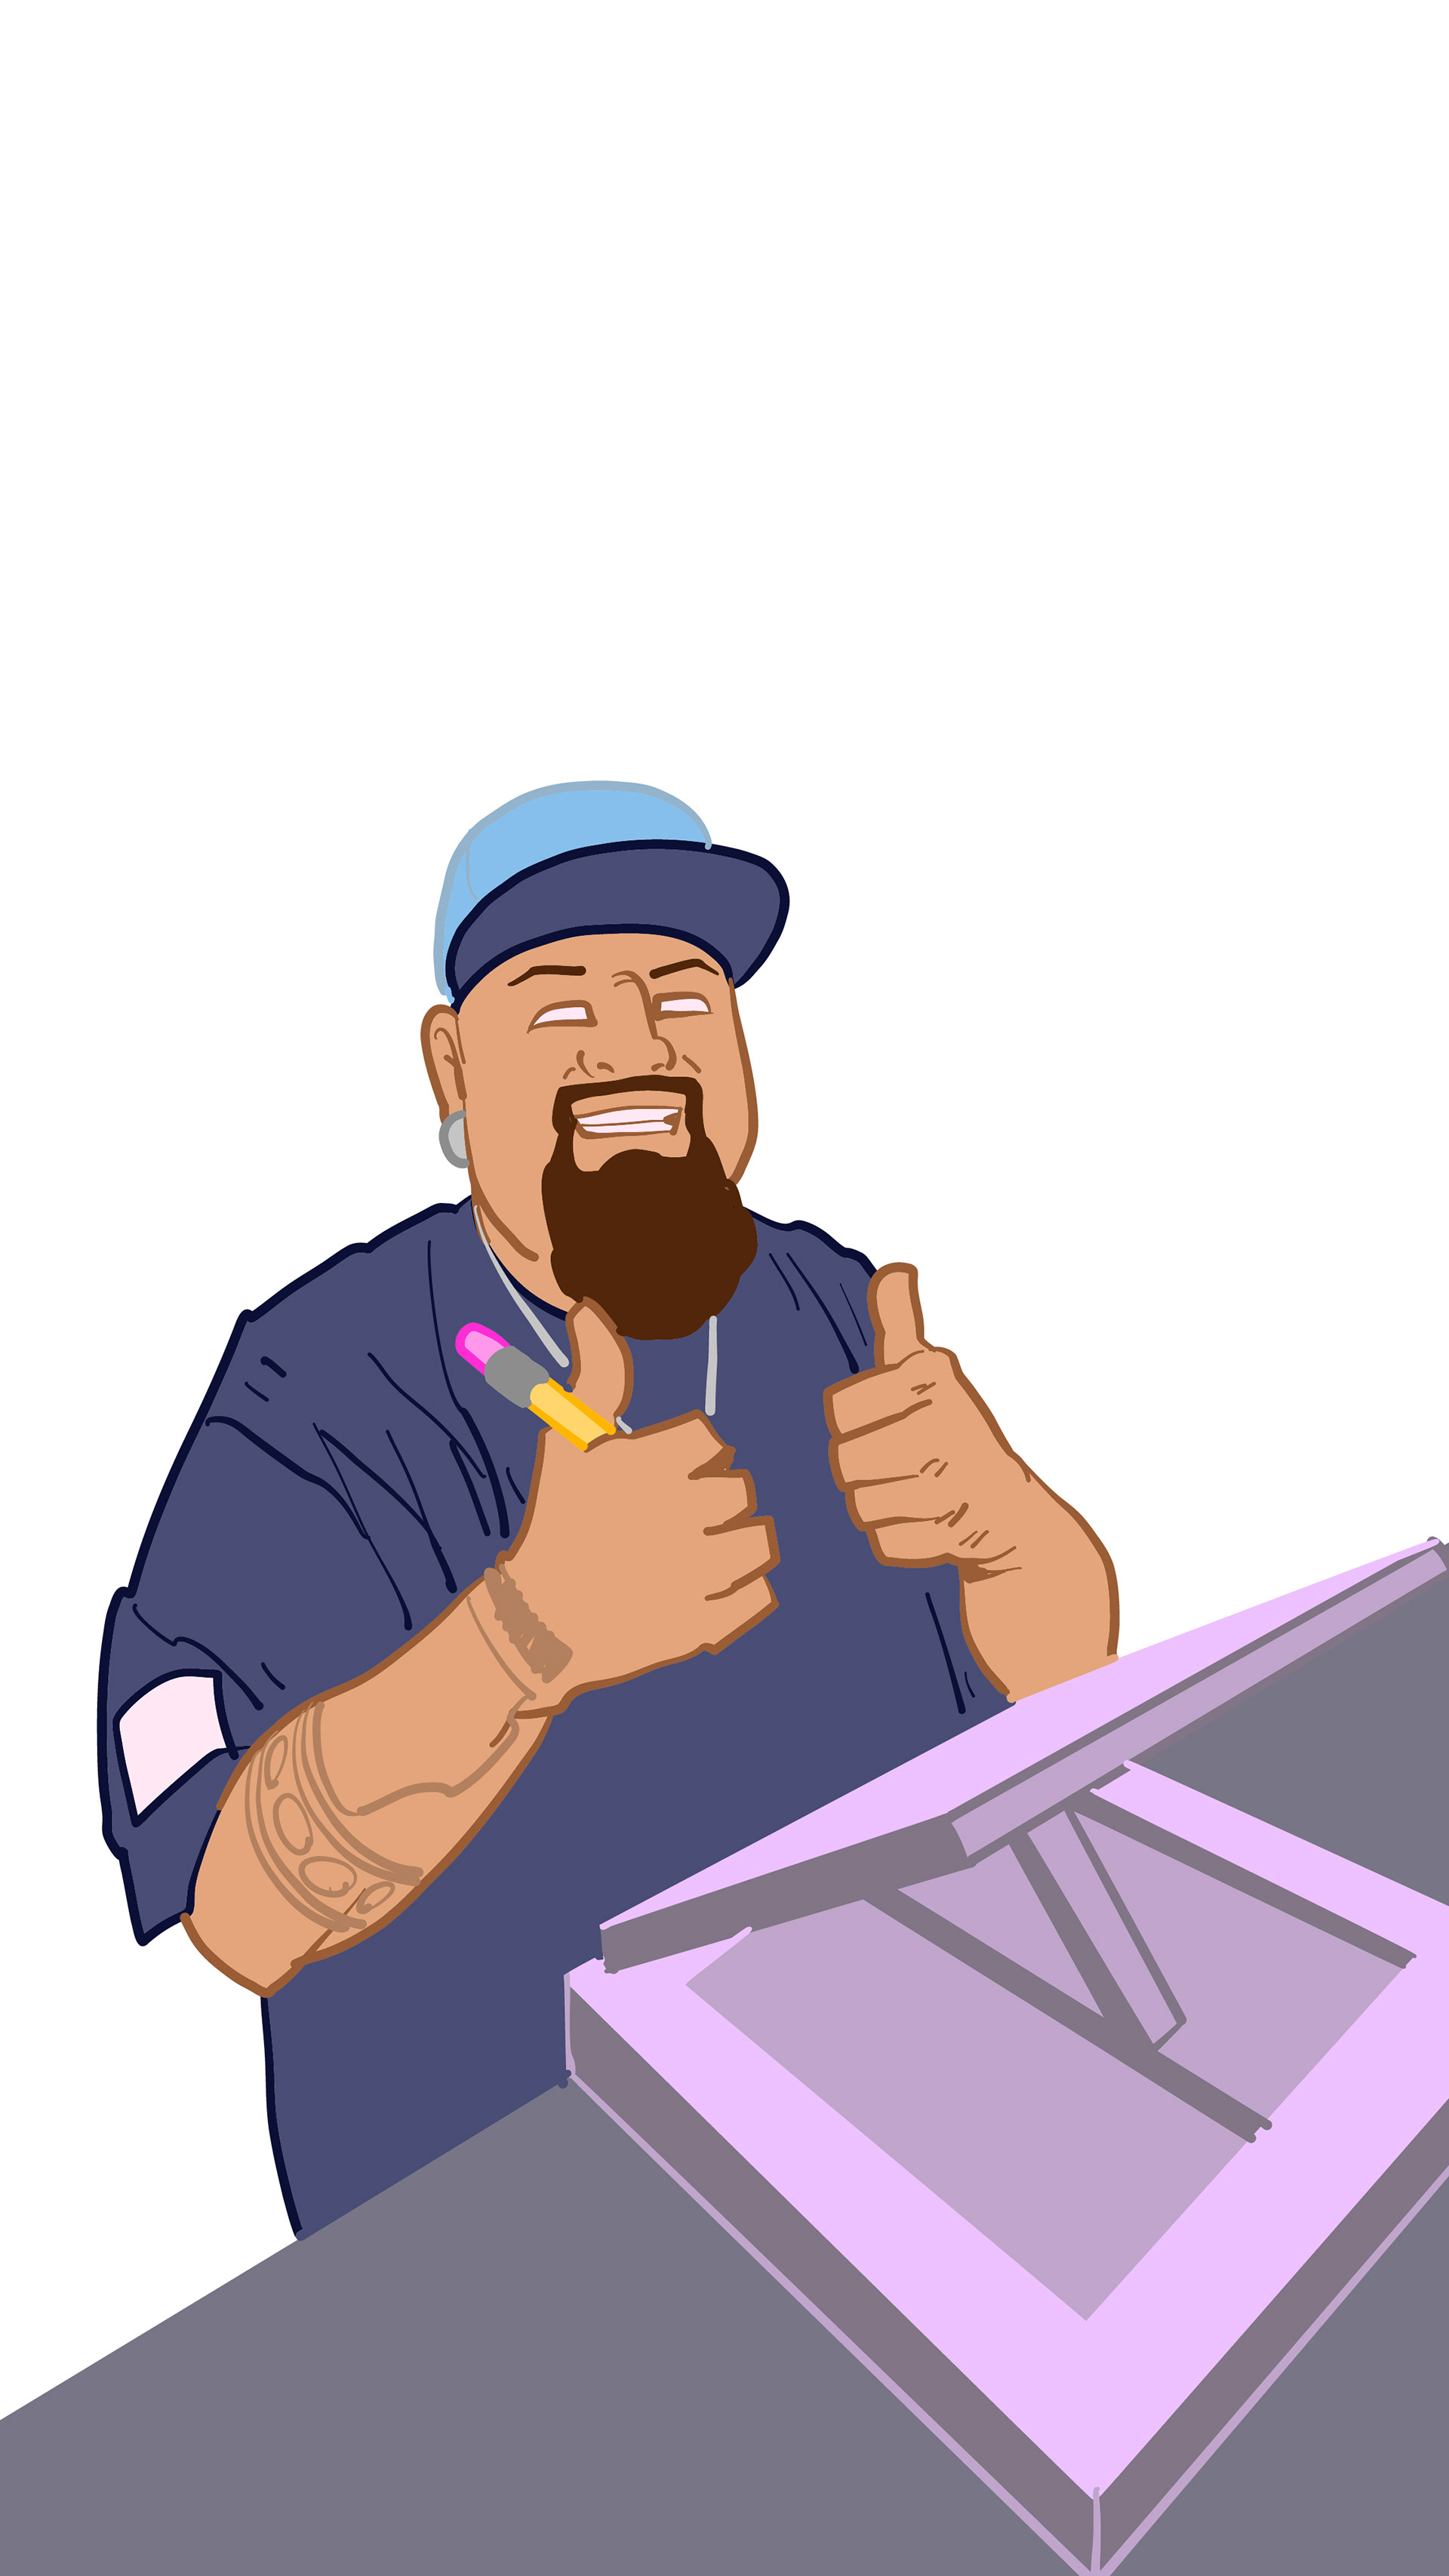
Final scene is the thumbs up, drawing complete and the viewer should've learned something new today.
I set up my phone to record video and action!
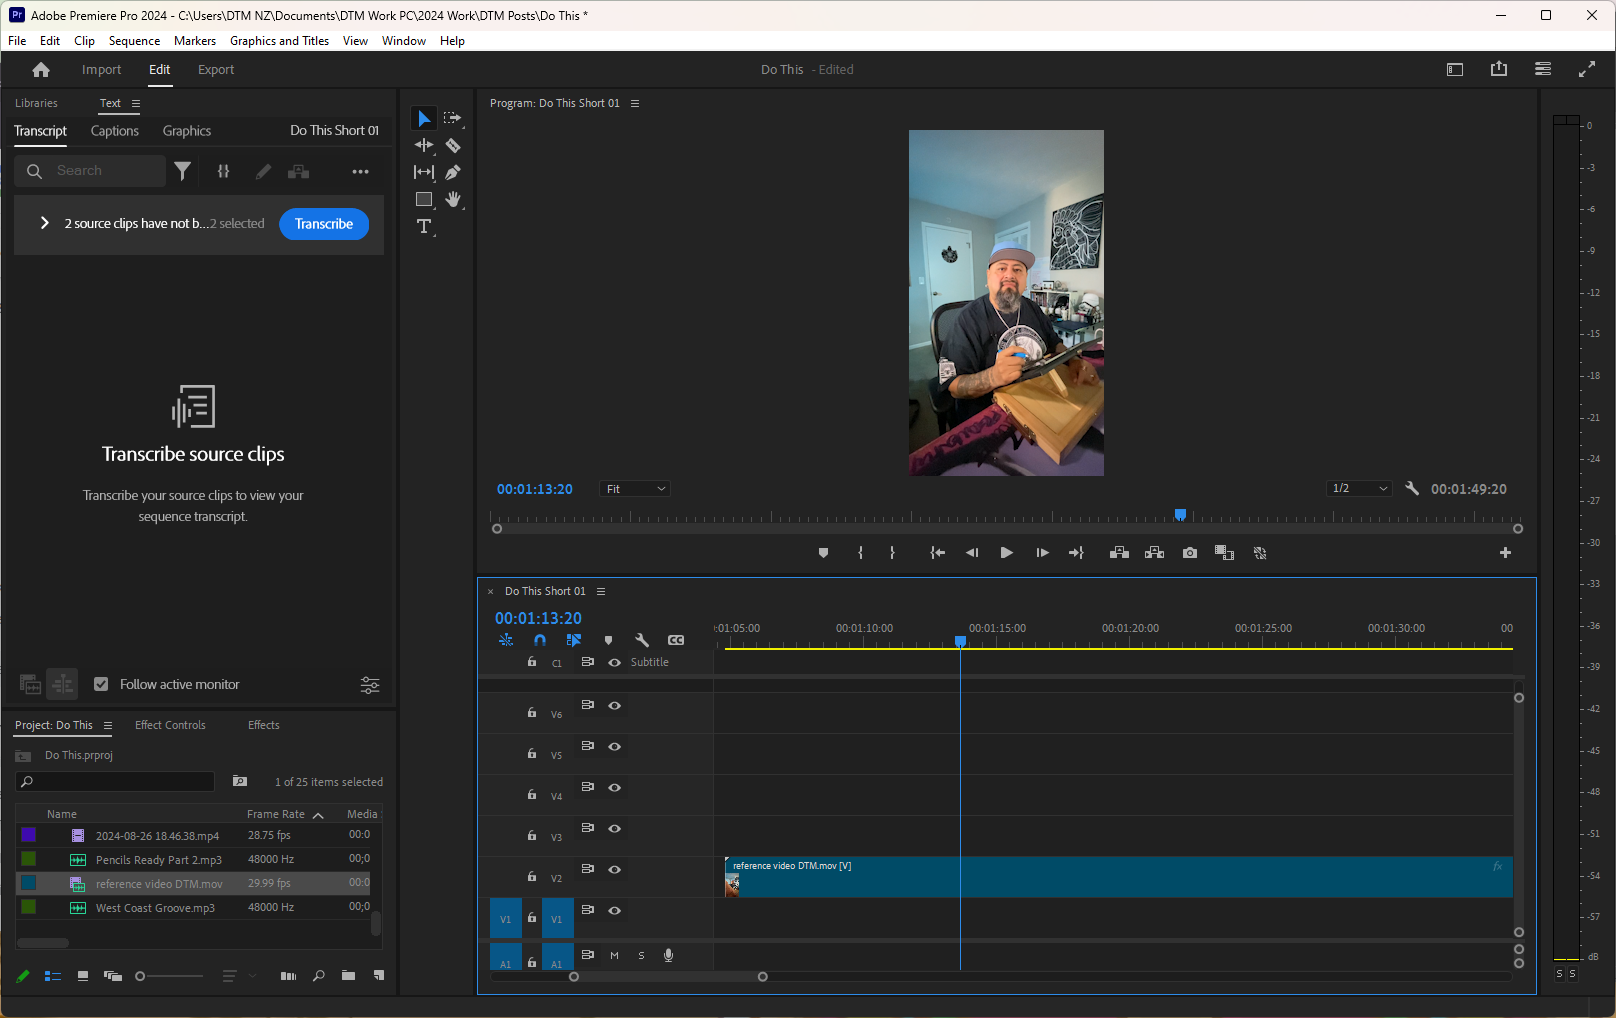
Step 2.
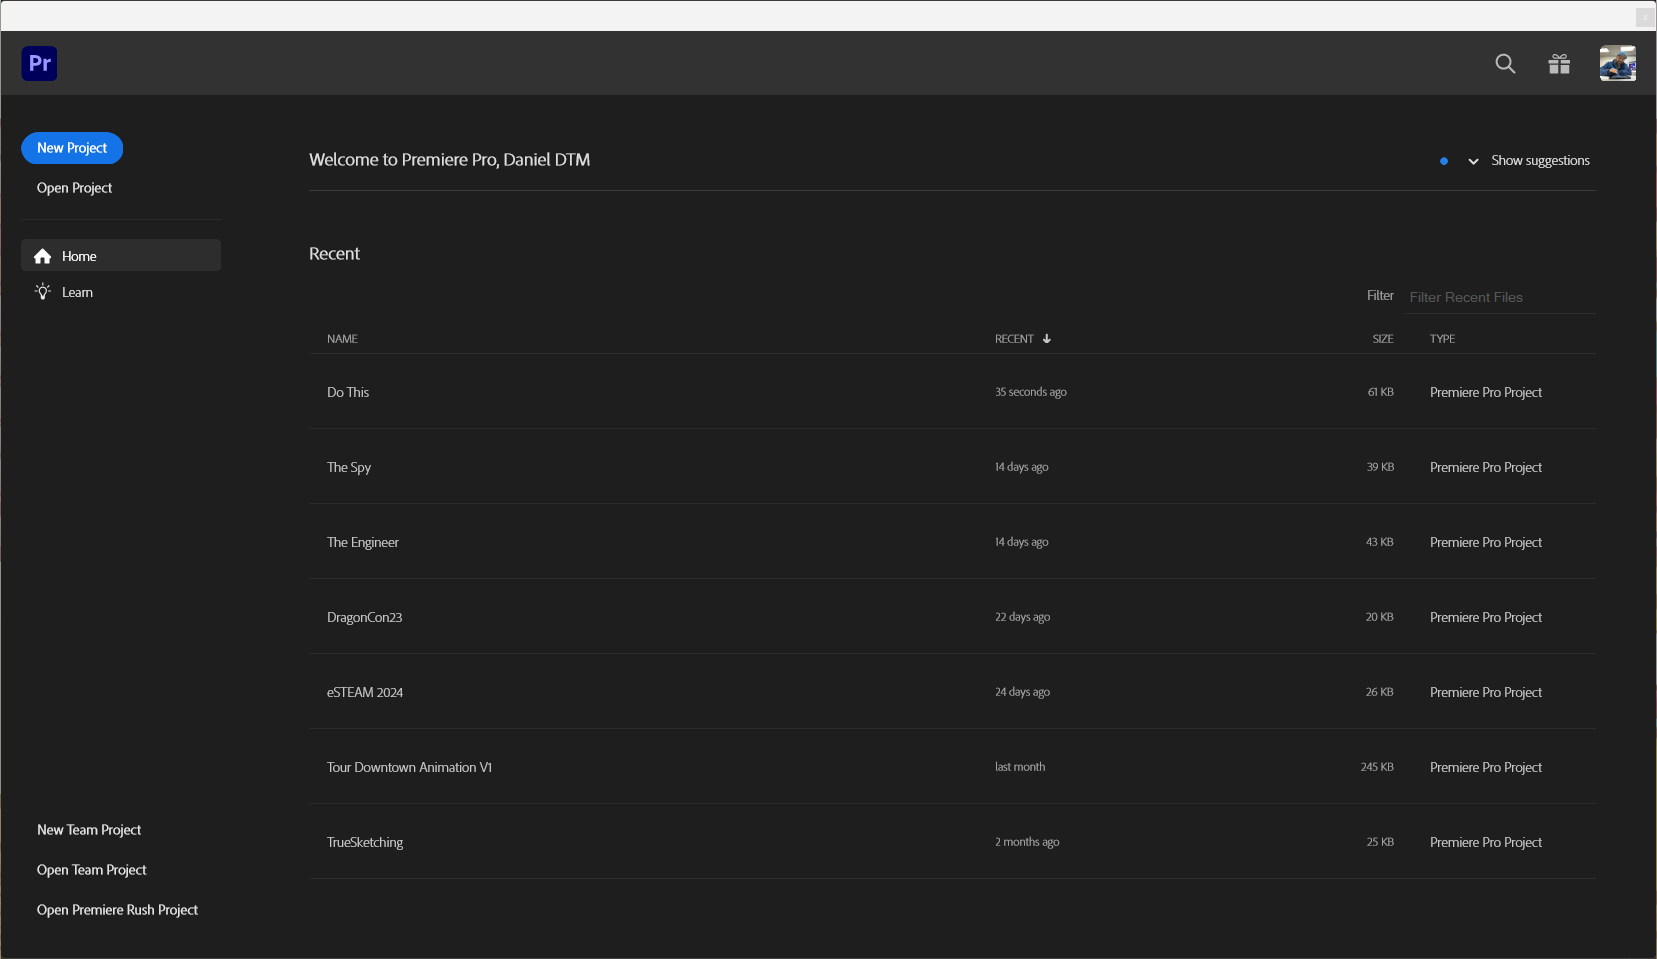
Start new file in Adobe Premiere.
Import the reference video.
Identify the scenes we will use in the video.
Export stills from the section of the video you want to use as reference for the animation.
Lots of stills covering the animated moves for each scene.
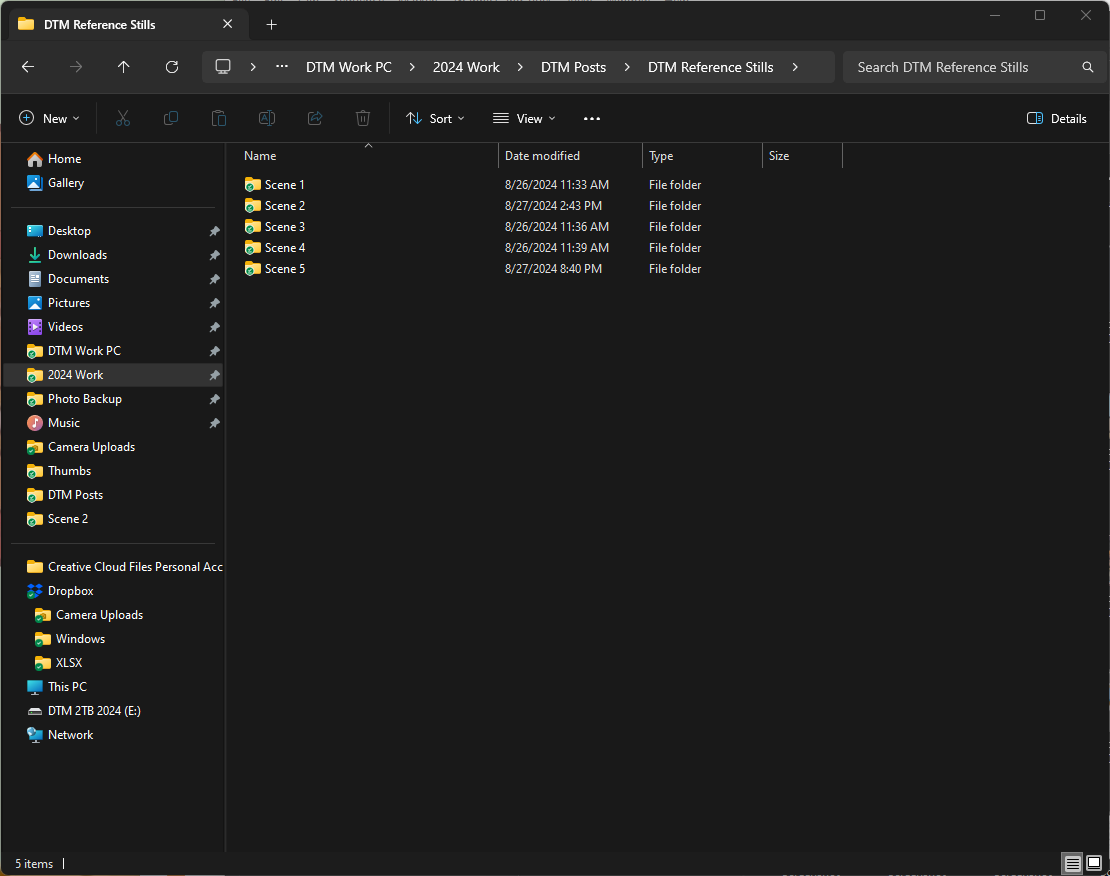
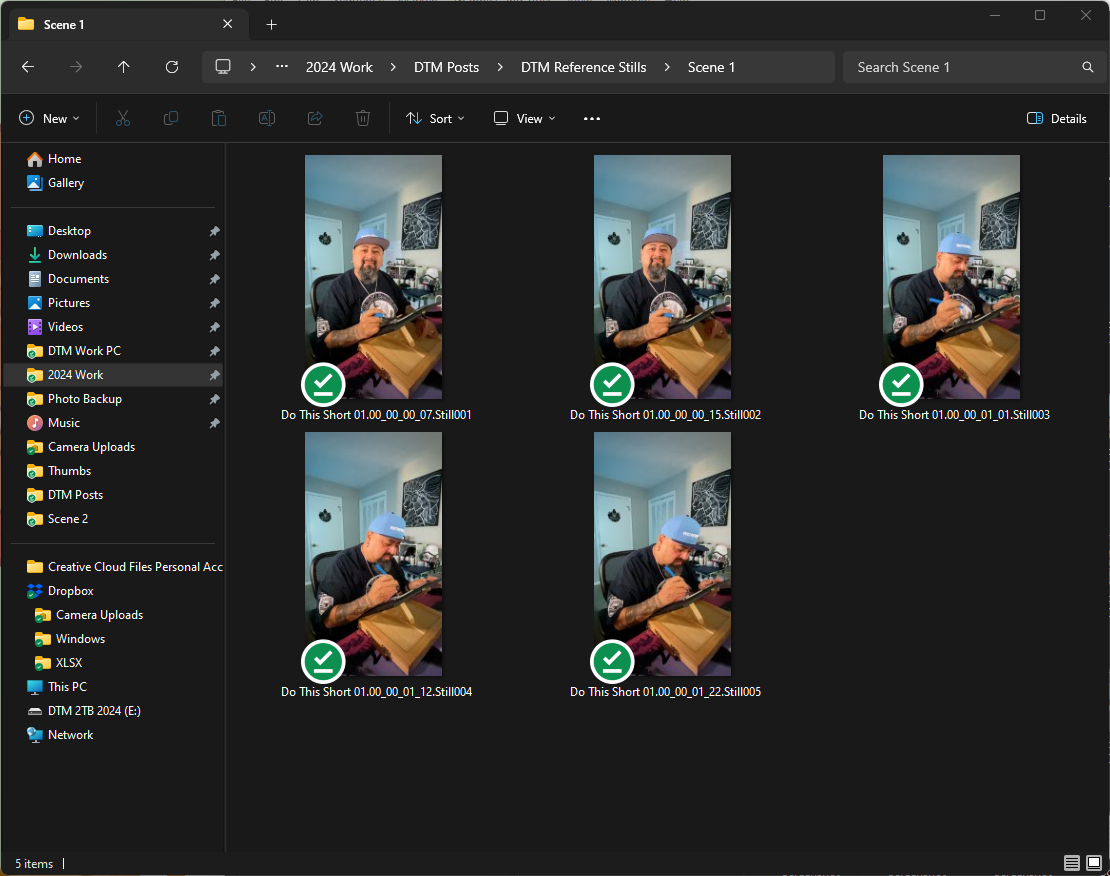
Organize the stills into folders to keep track of what we are working on.
Rename the stills to keep track of the proper order use in the animation!


Step 3.
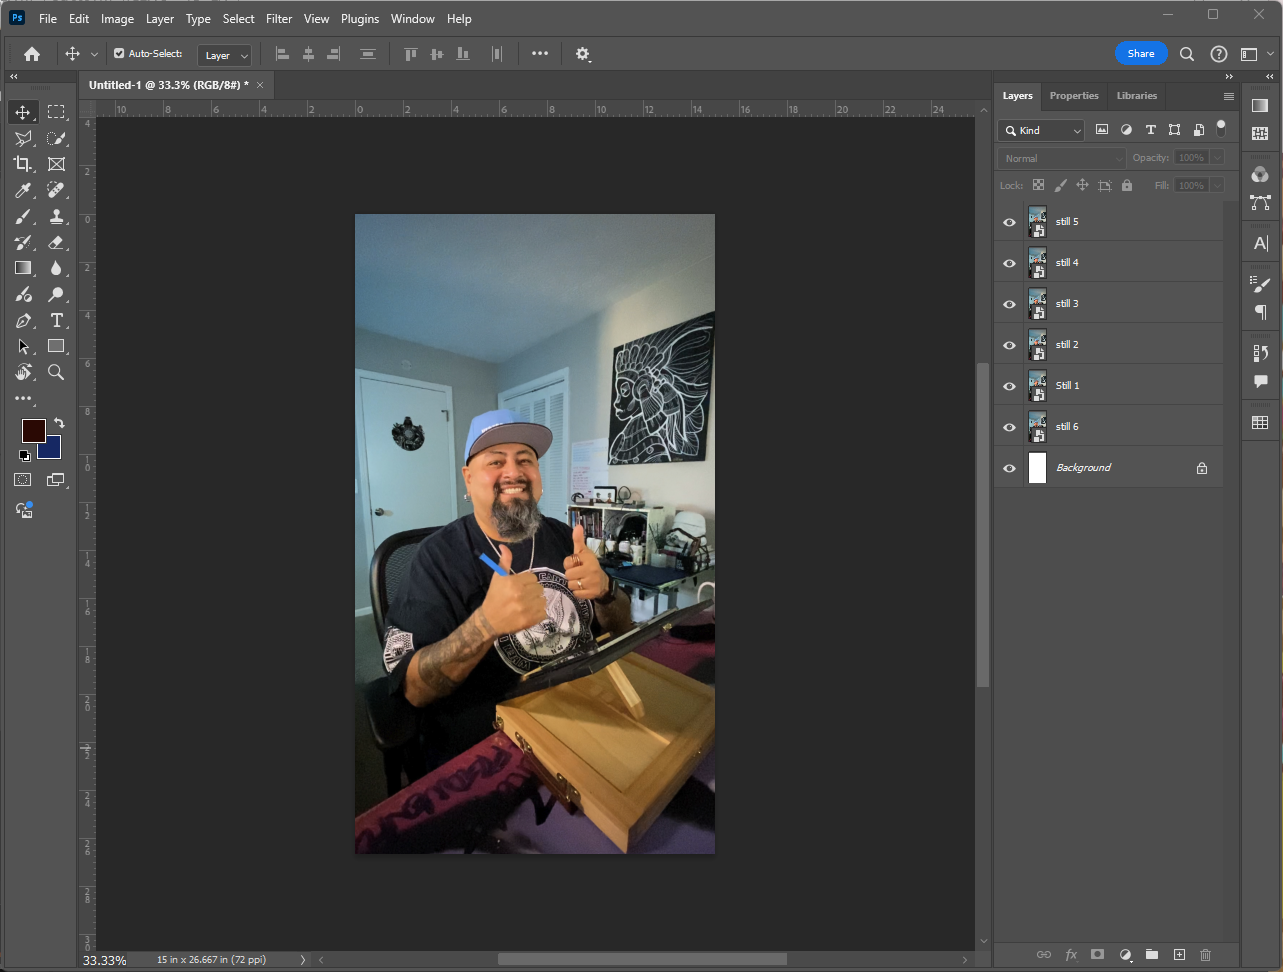
Start a new file in Adobe Photoshop.
Drag and drop the scene stills from folder into Photoshop.
Rename the layers in order unless layers have been renamed in their scene folders.
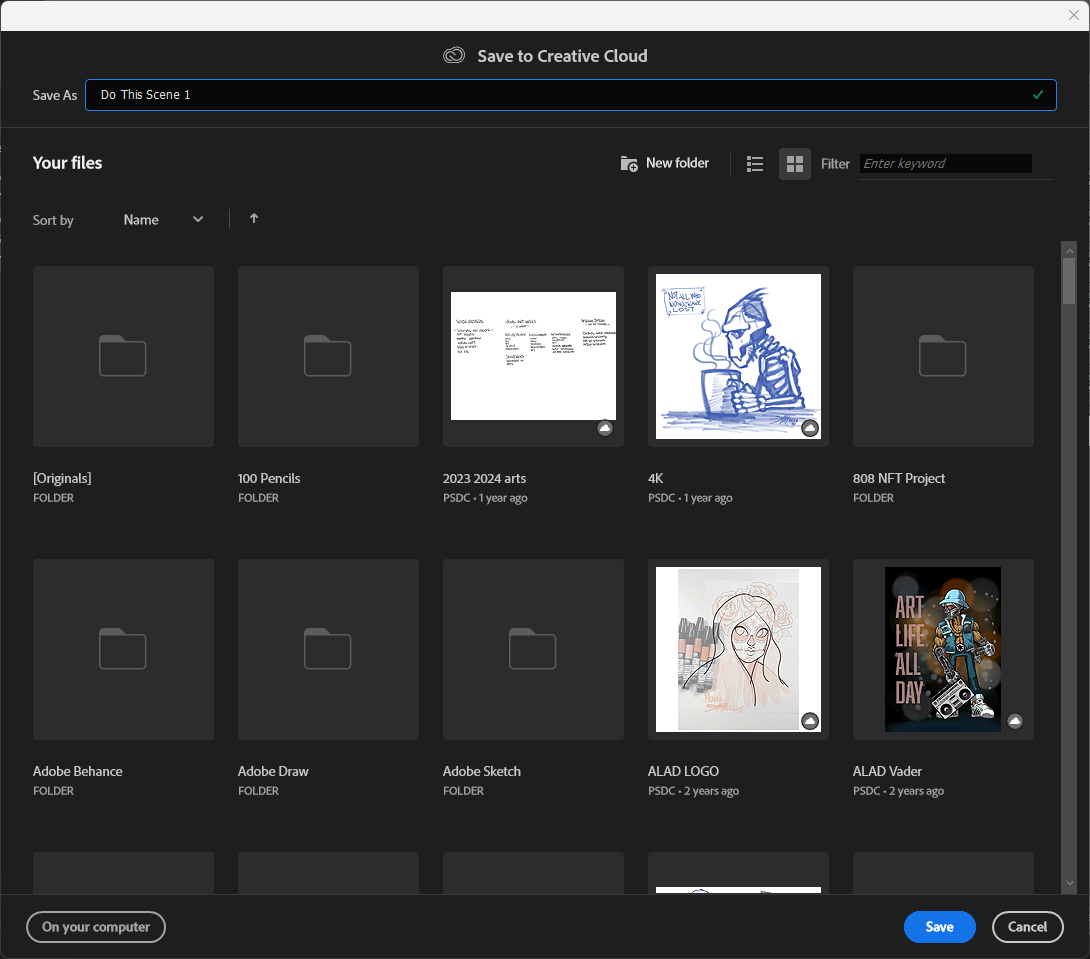
Name the file with words related to the video and add scene number.
Save to Cloud Docs!
Close Photoshop file.
Step 4.
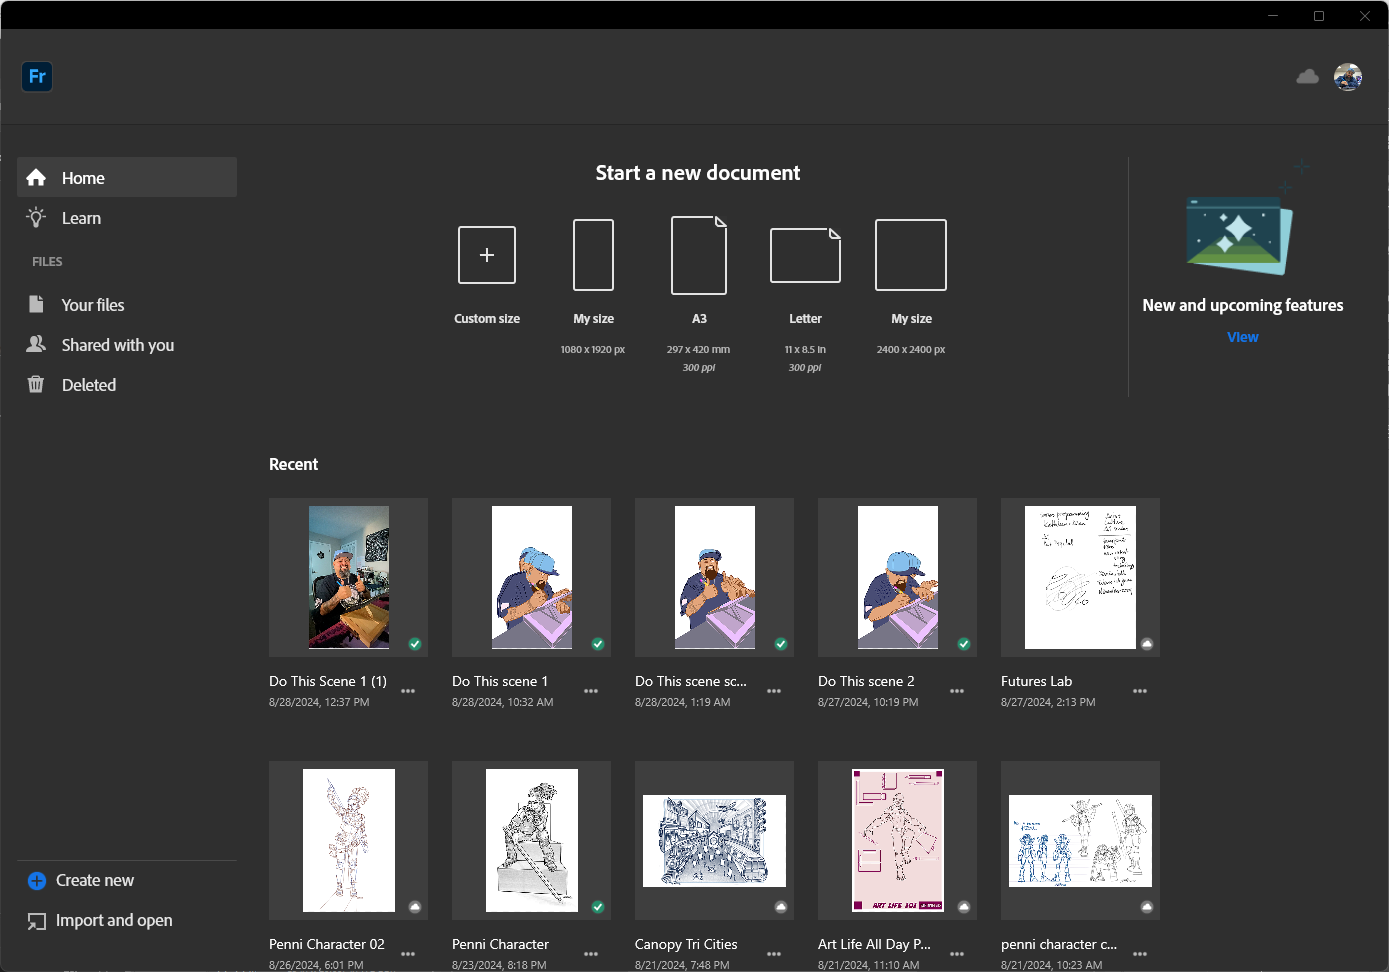
Start Adobe Fresco.
Magically, the Photoshop file just saved in the prior step is here in Fresco!
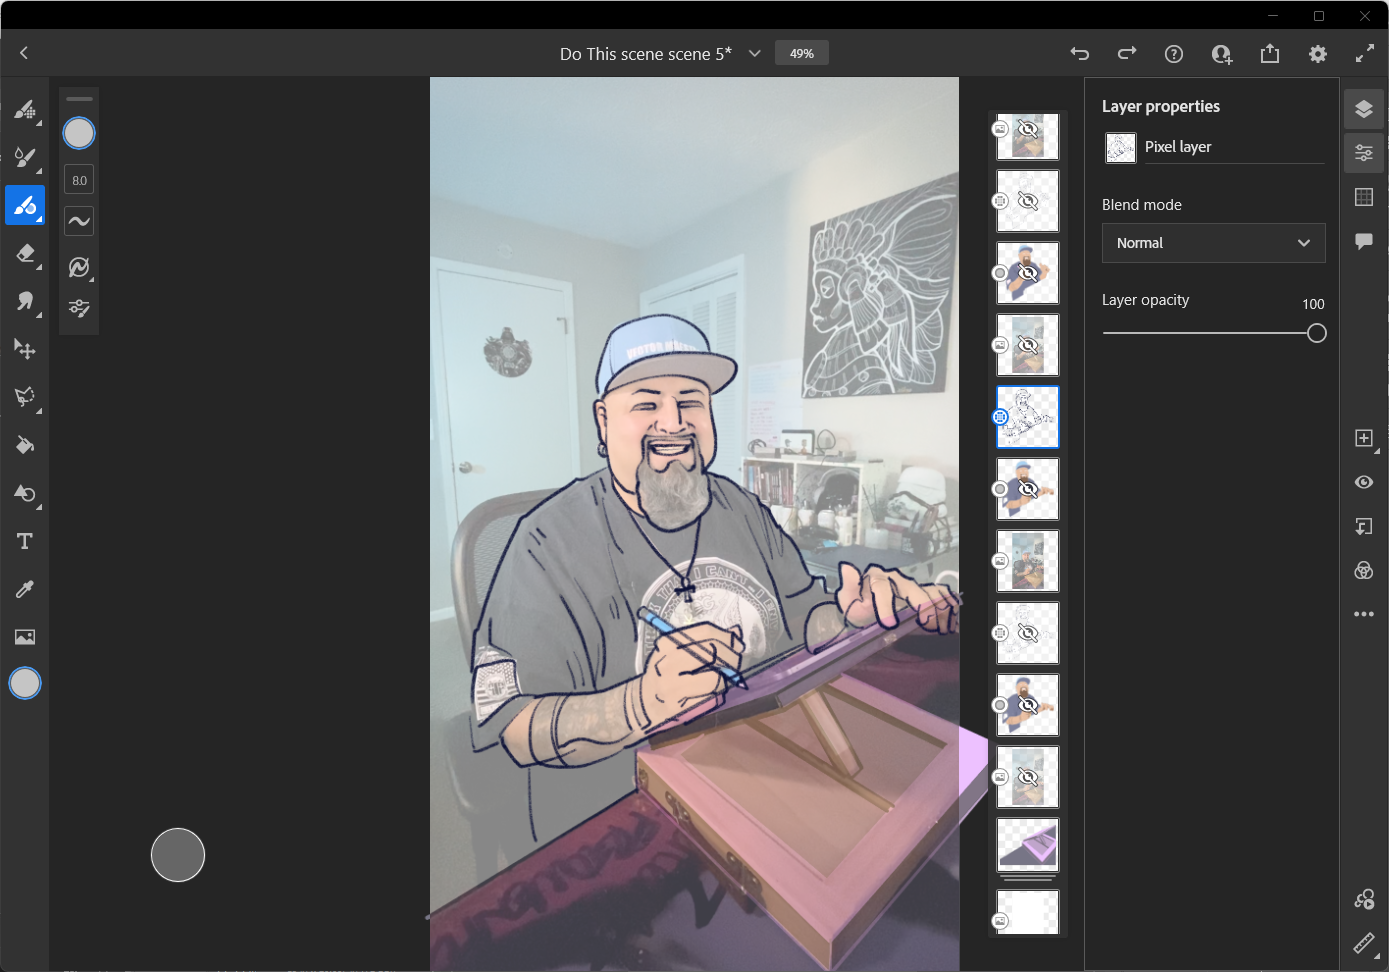
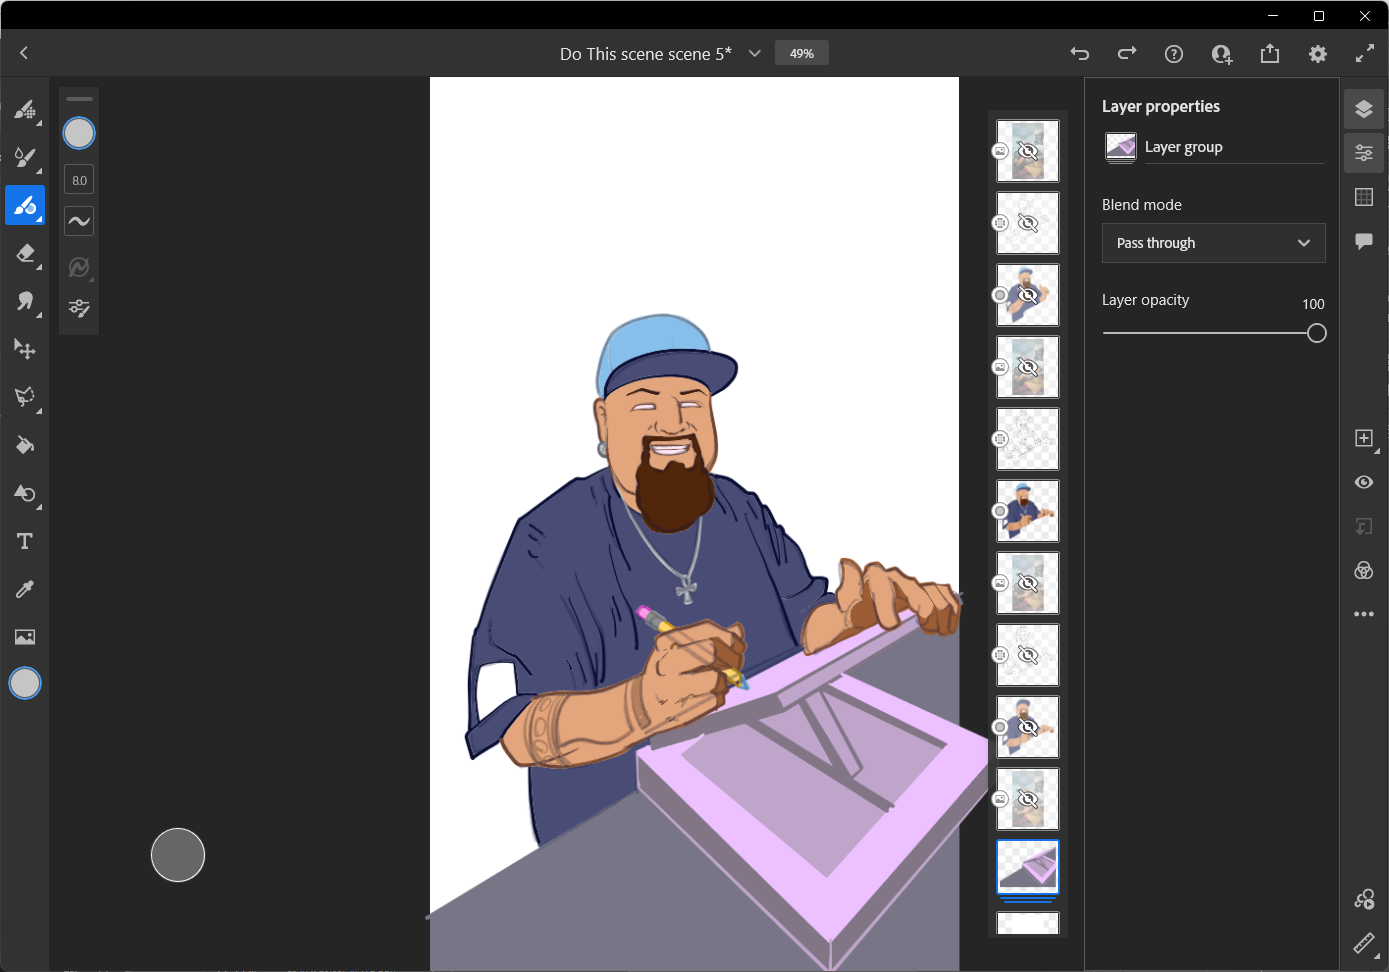
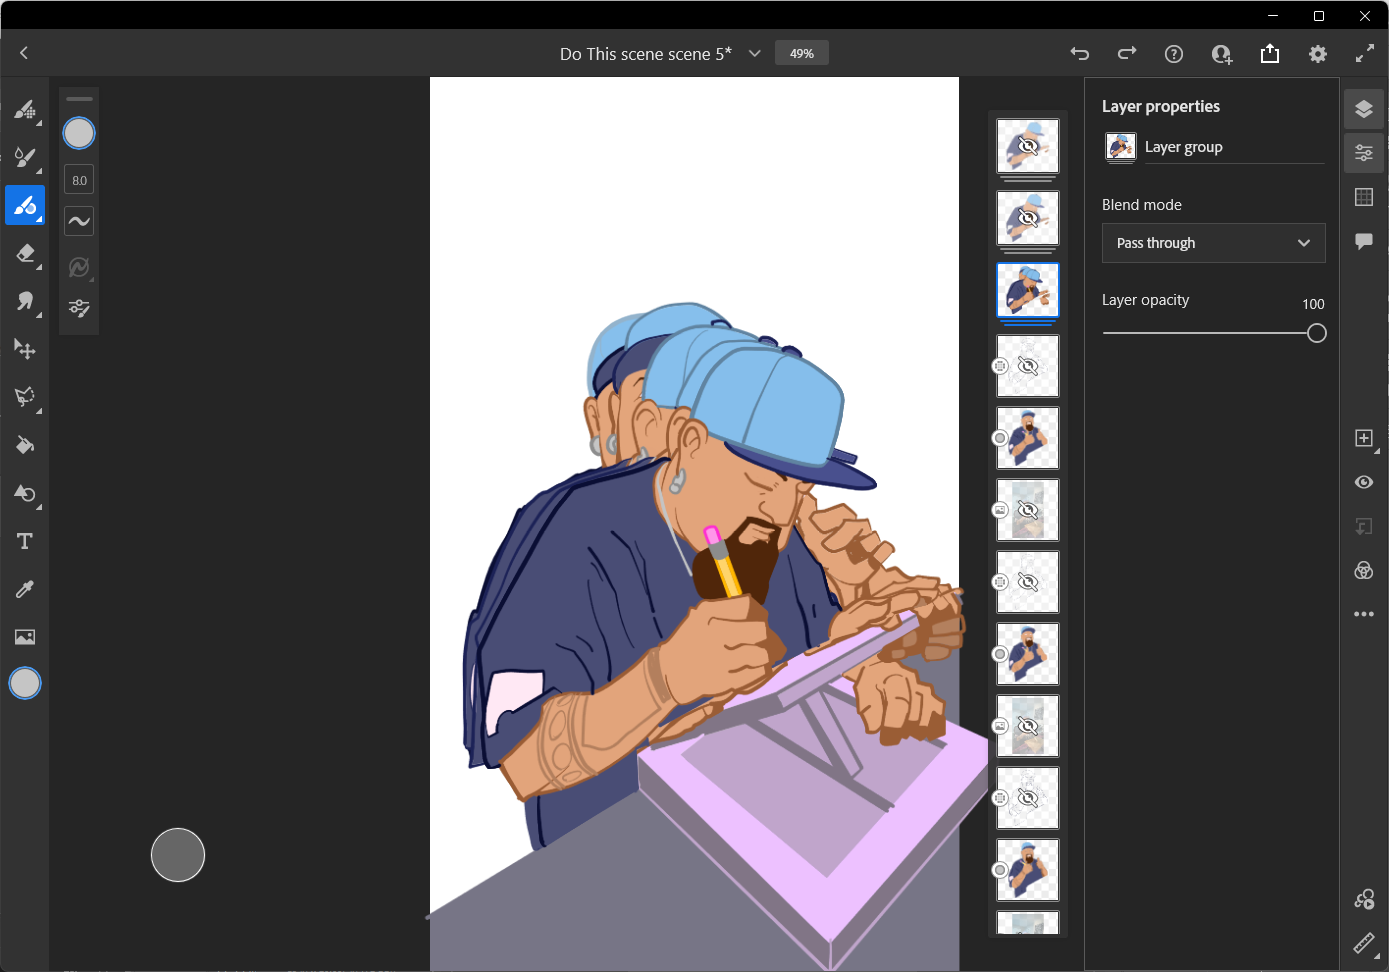
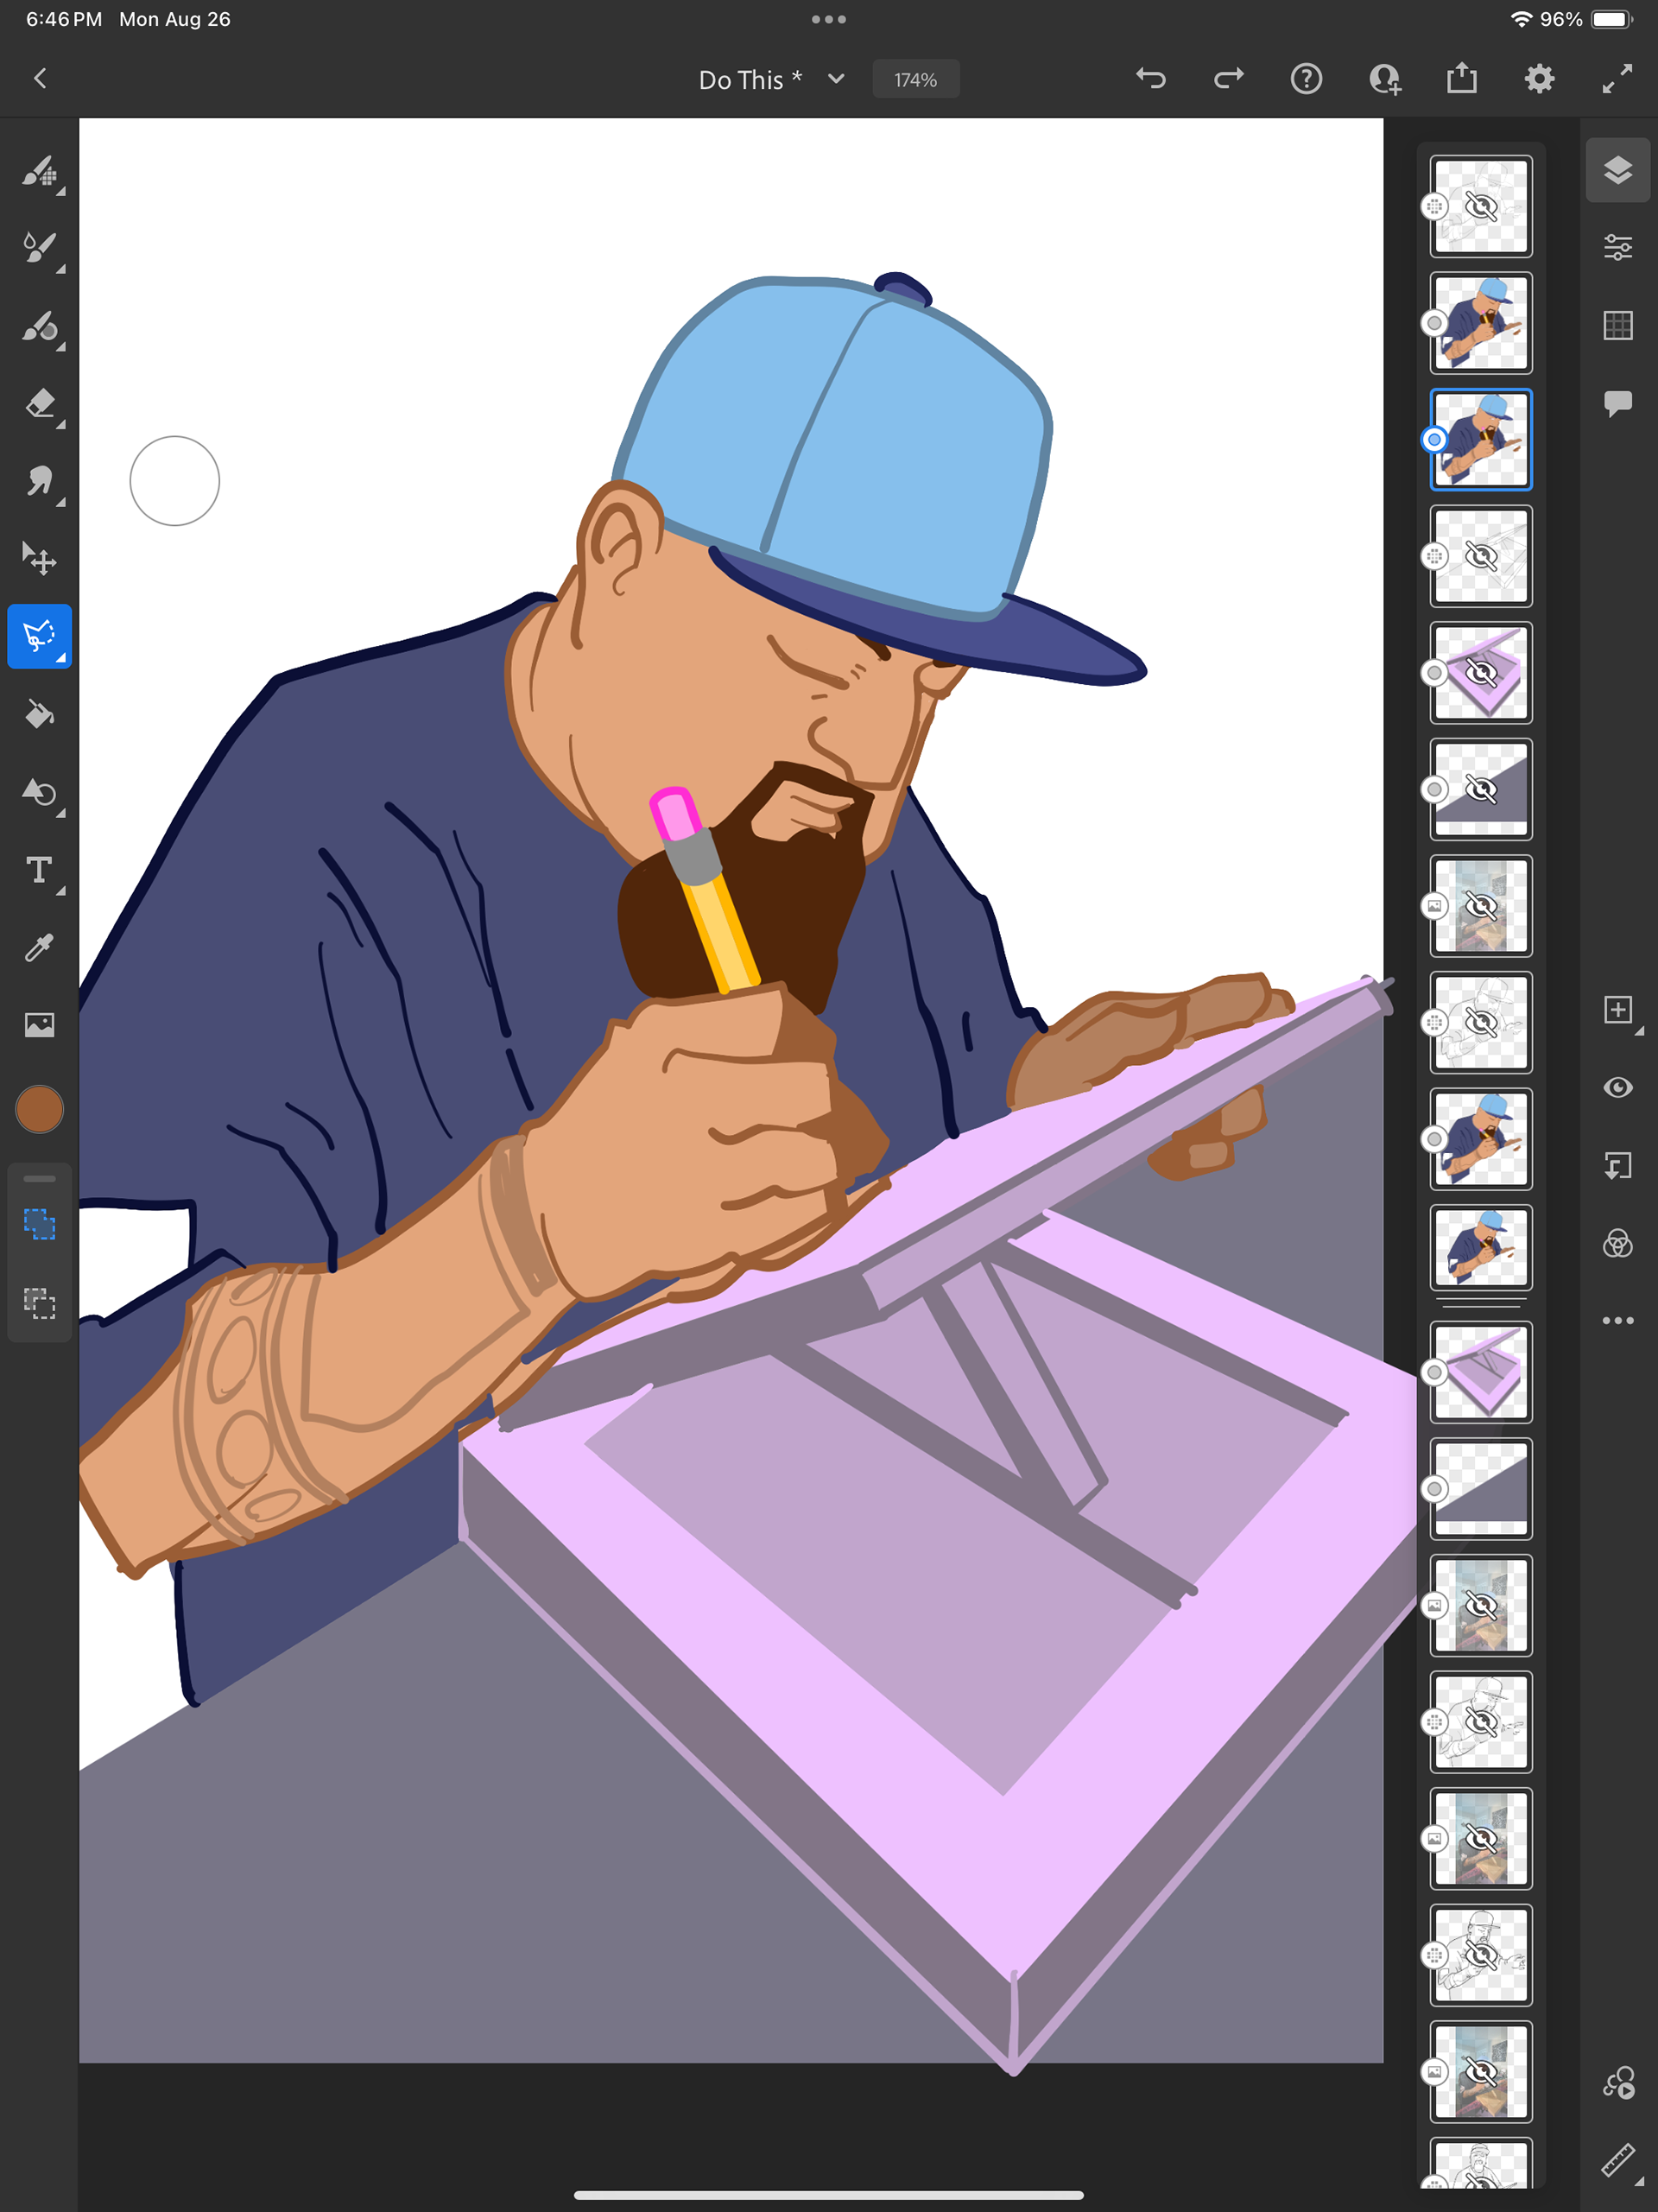
Add layer above one of the picture layers and start tracing with a Pencil Brush.
Do the same for each of the pictures, I separated the desk from the figure to re-use the desk.
Sketch all the reference photos.
Turn off the photos.
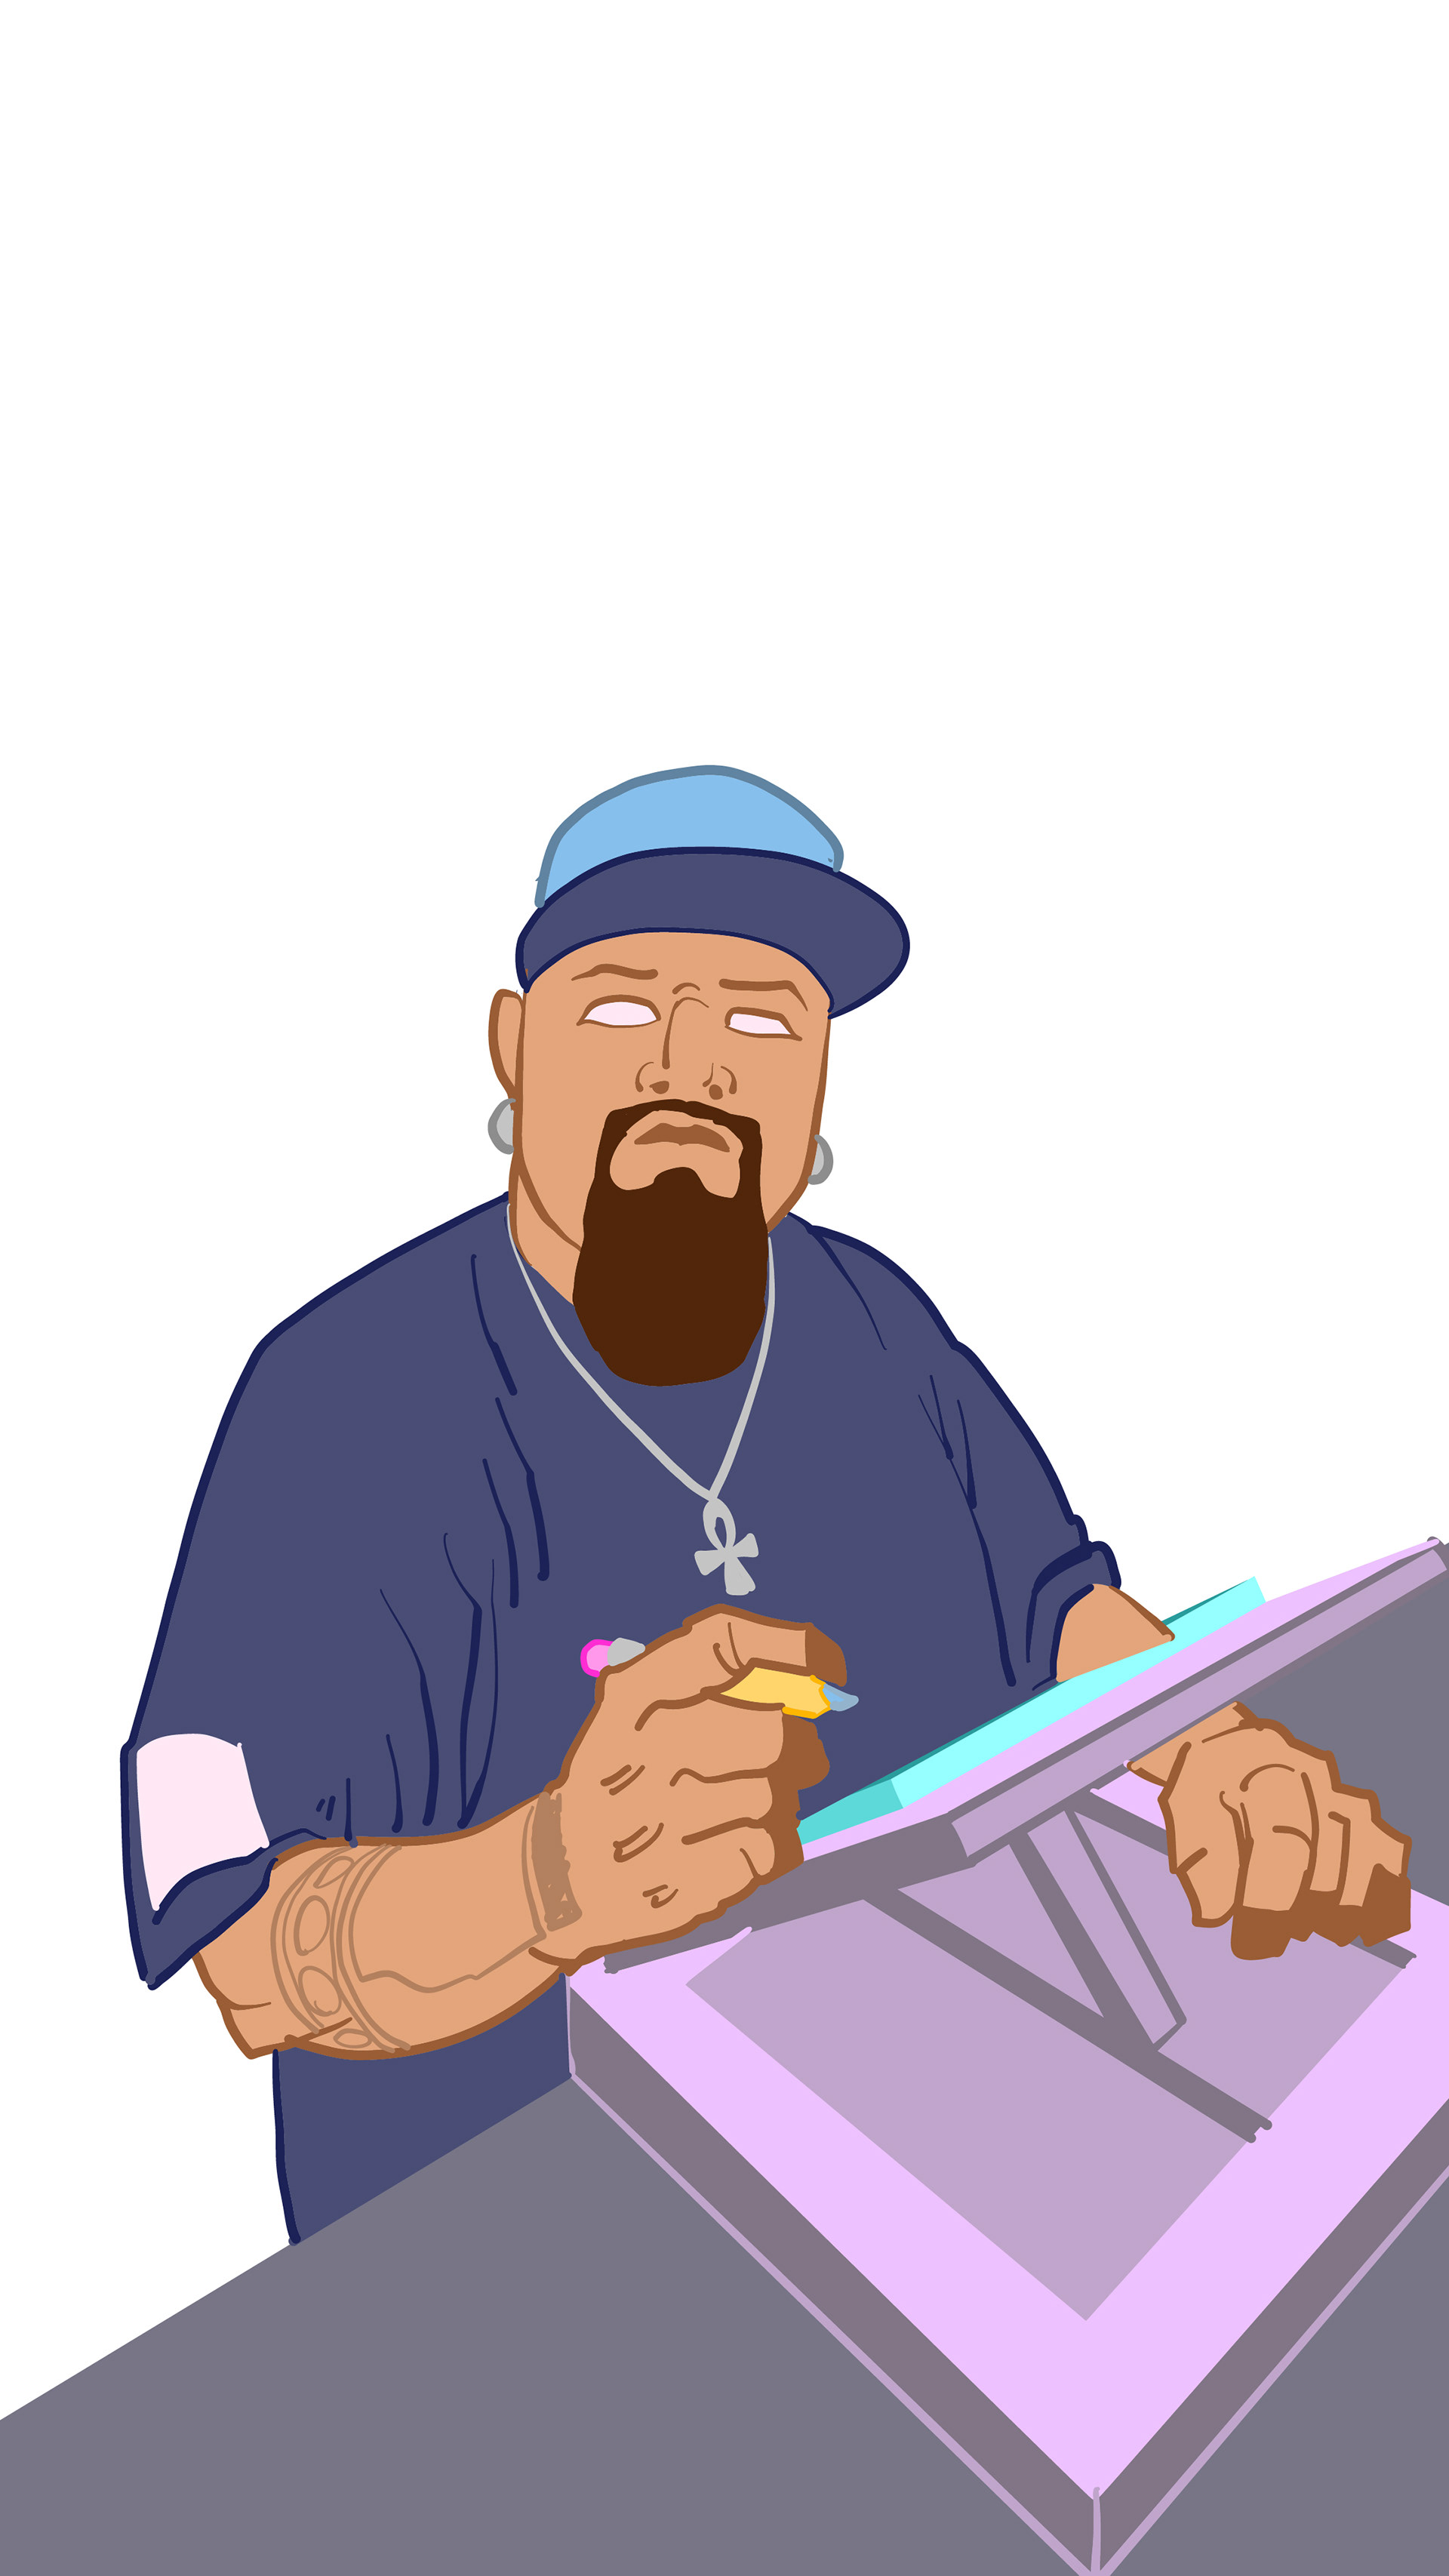
Using the new sketch as a guide, draw with Vector Brushes in color.
Once complete, time to export to Adobe Illustrator: from the top right corner, click on the Export Icon, looks like an arrow coming out the top of a square.
Select Adobe Illustrator Desktop or iPad, your choice.
iPad option only shows up when working on Fresco on iPad.


Step 5.
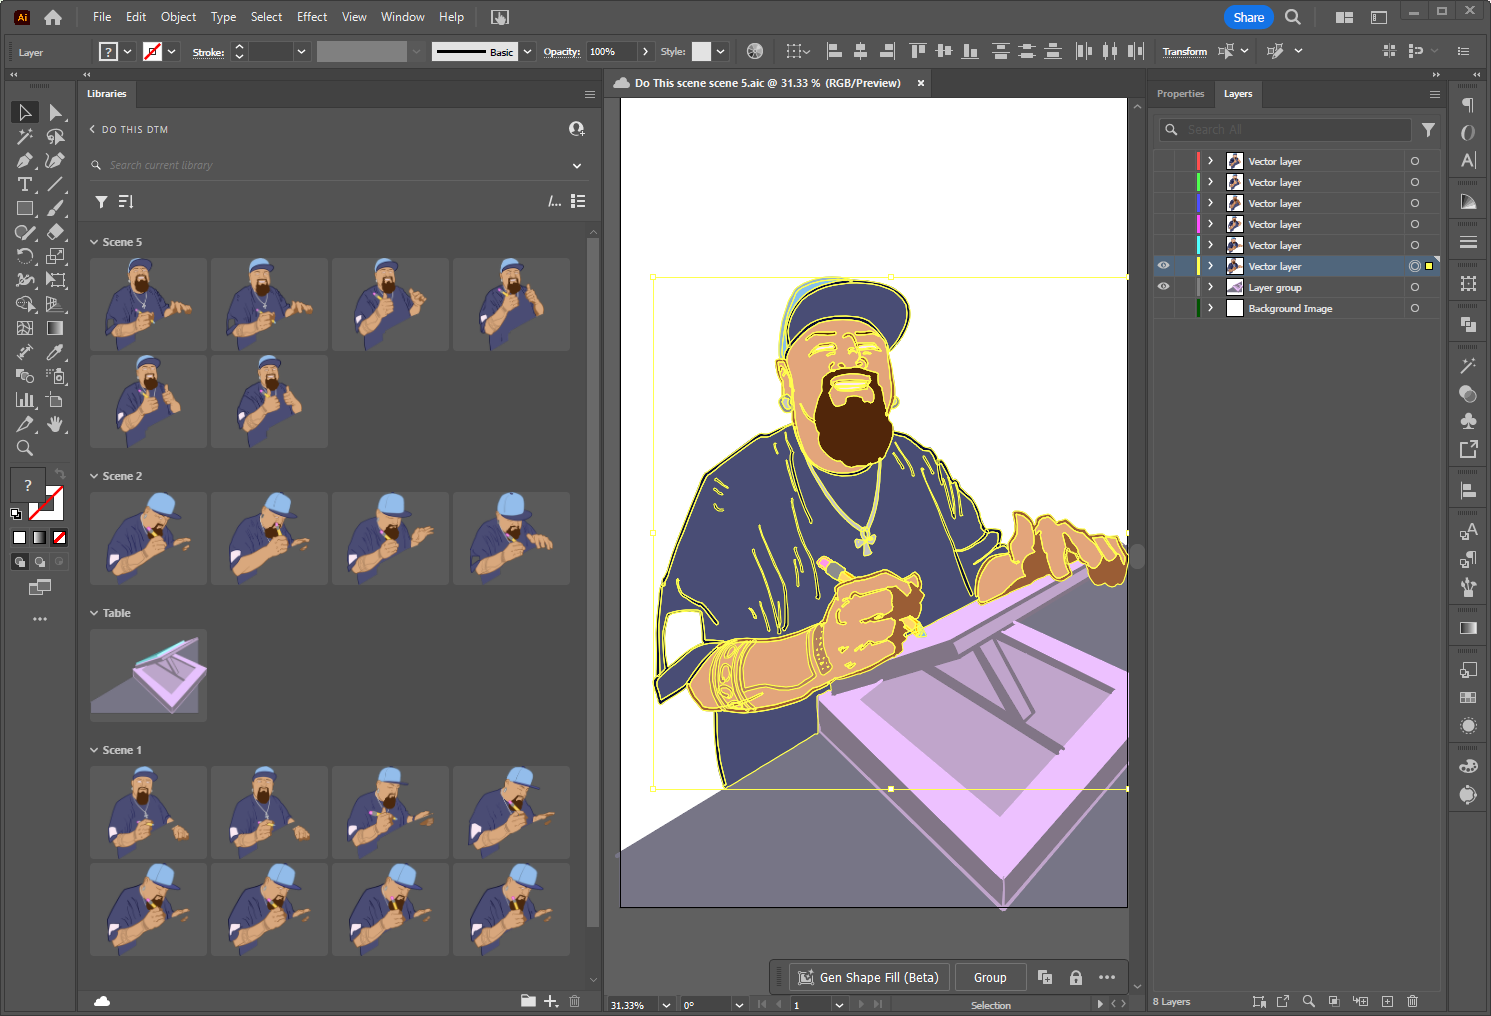
Open Adobe Illustrator and find your new file imported from Fresco!
Open the new imported file, it will have the same name as in Fresco.
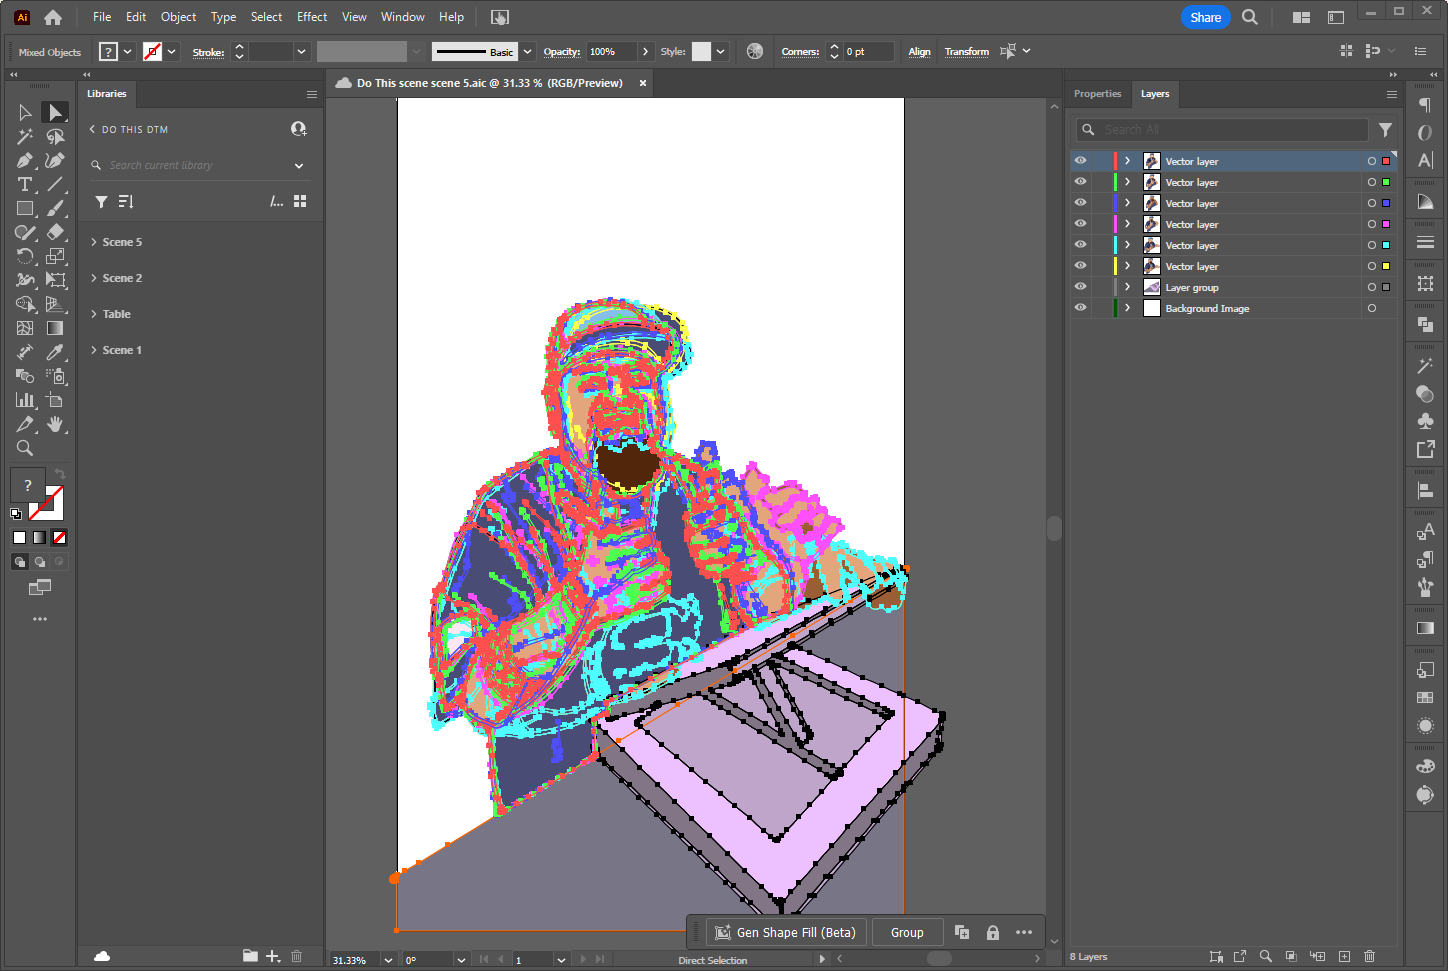
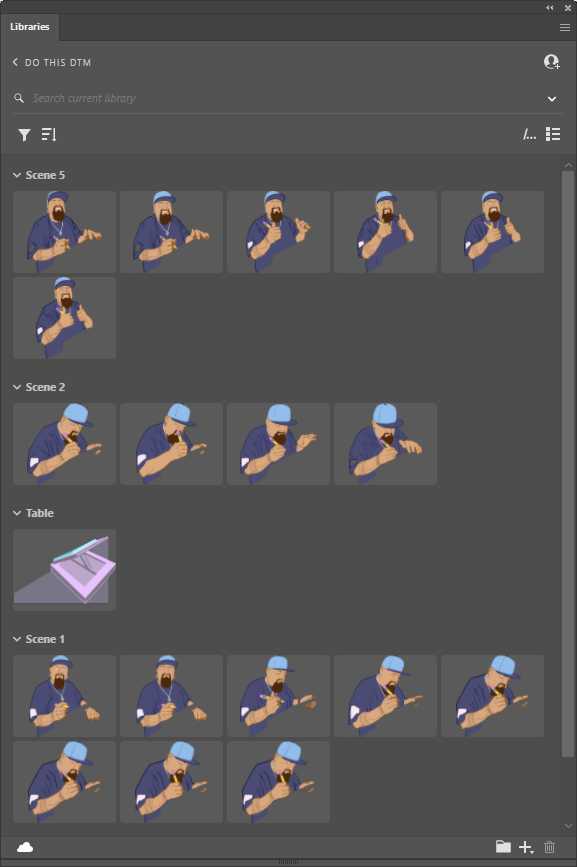
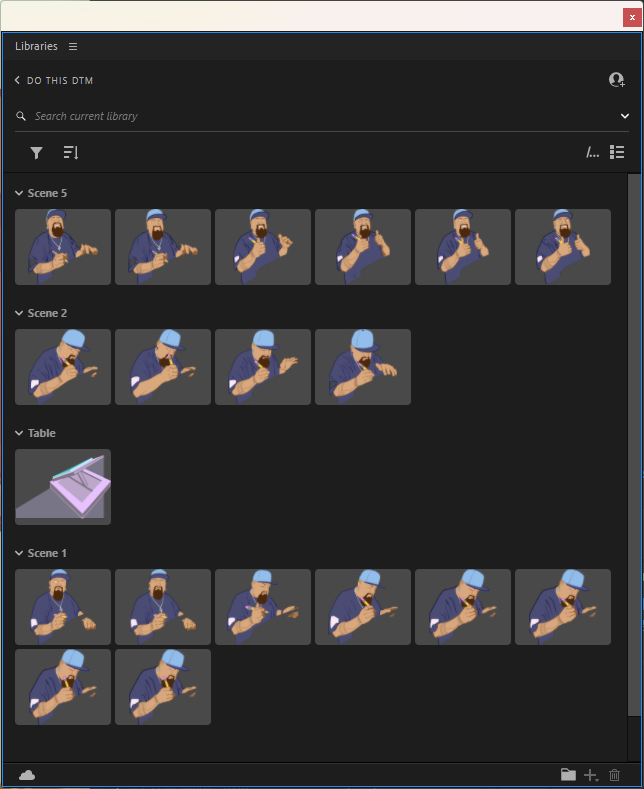
Open Libraries Panel.
Create new library and name it something related to the animation name.
Create new folder inside that new library.
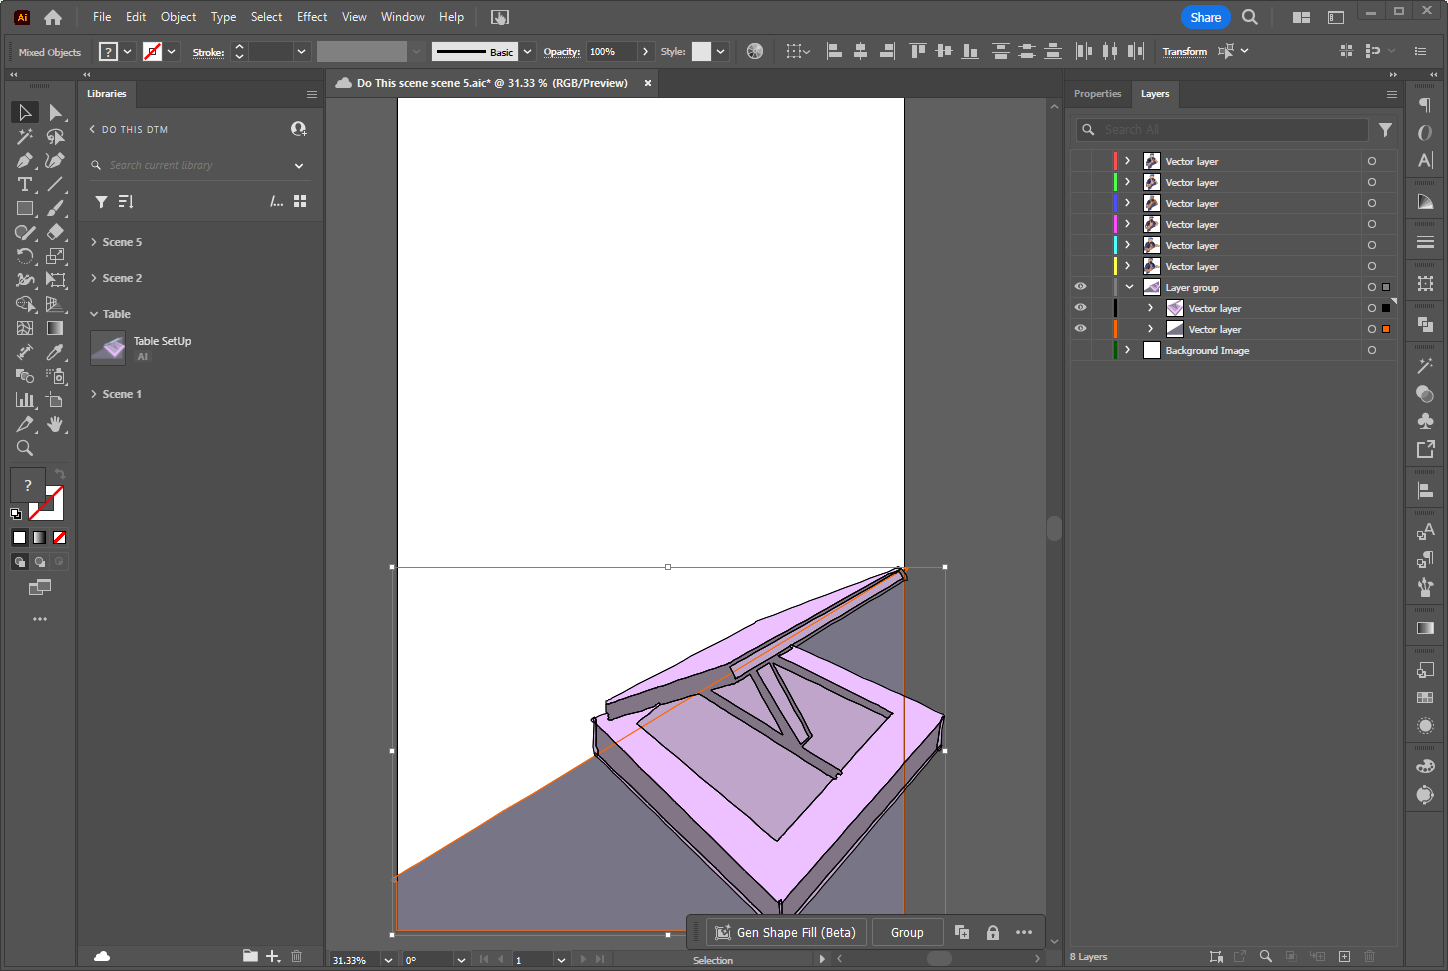
Select one Layer at a time, and drag and drop into the related folder, in the image below, the table set up layer is dropped into the Table folder.
Do the same for each layer individually into each folder, in my case I named the folders after the scene and in each folder, I have named each layer after the order they correspond in the scene.
Stay organized!


Step 6.
Open Adobe Premiere.
Open the earlier project.
Open libraries panel, all the vector illustrations are ready to go!
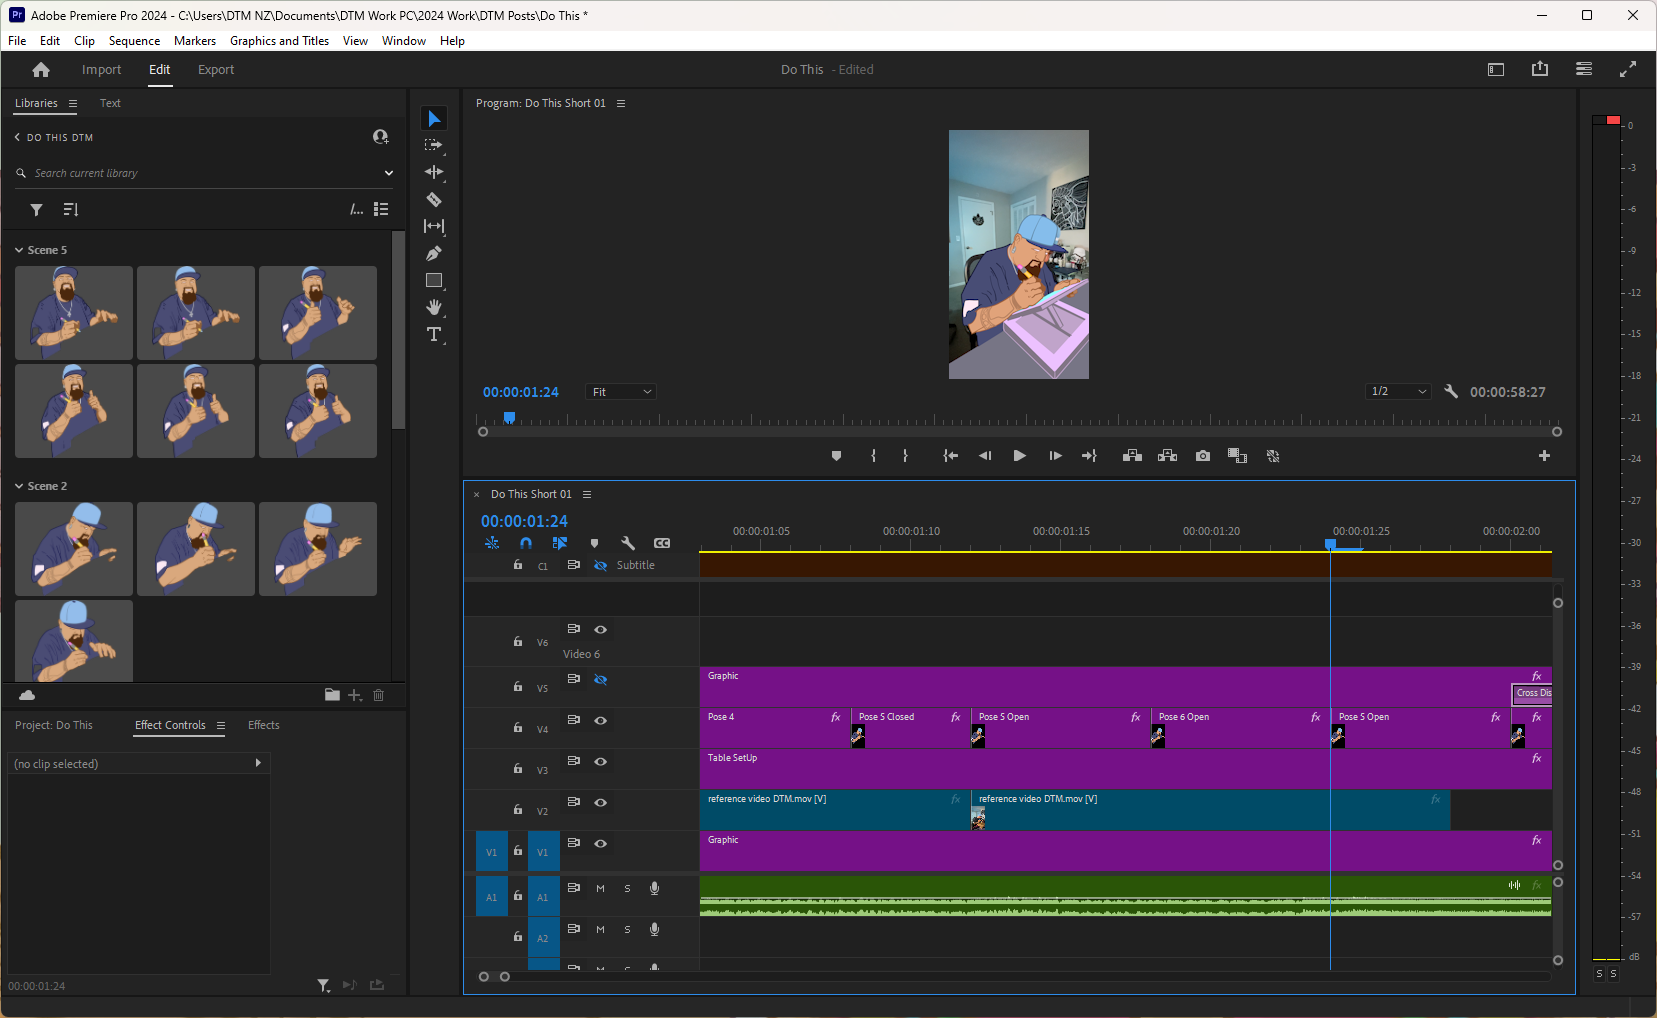
Slowly add each illustration to the timeline on a different track to match exactly where the character moves in the original video.
This is a painstaking process as you have to make sure the Position of the digital drawing matches the video.
Extend or shorten the length of the drawing to match the time you want the drawing to be visible, use the sequence window to adjust elements in the timeline on their own track.
I started with the desk drawing and extended the length of time to match the video I am replacing.

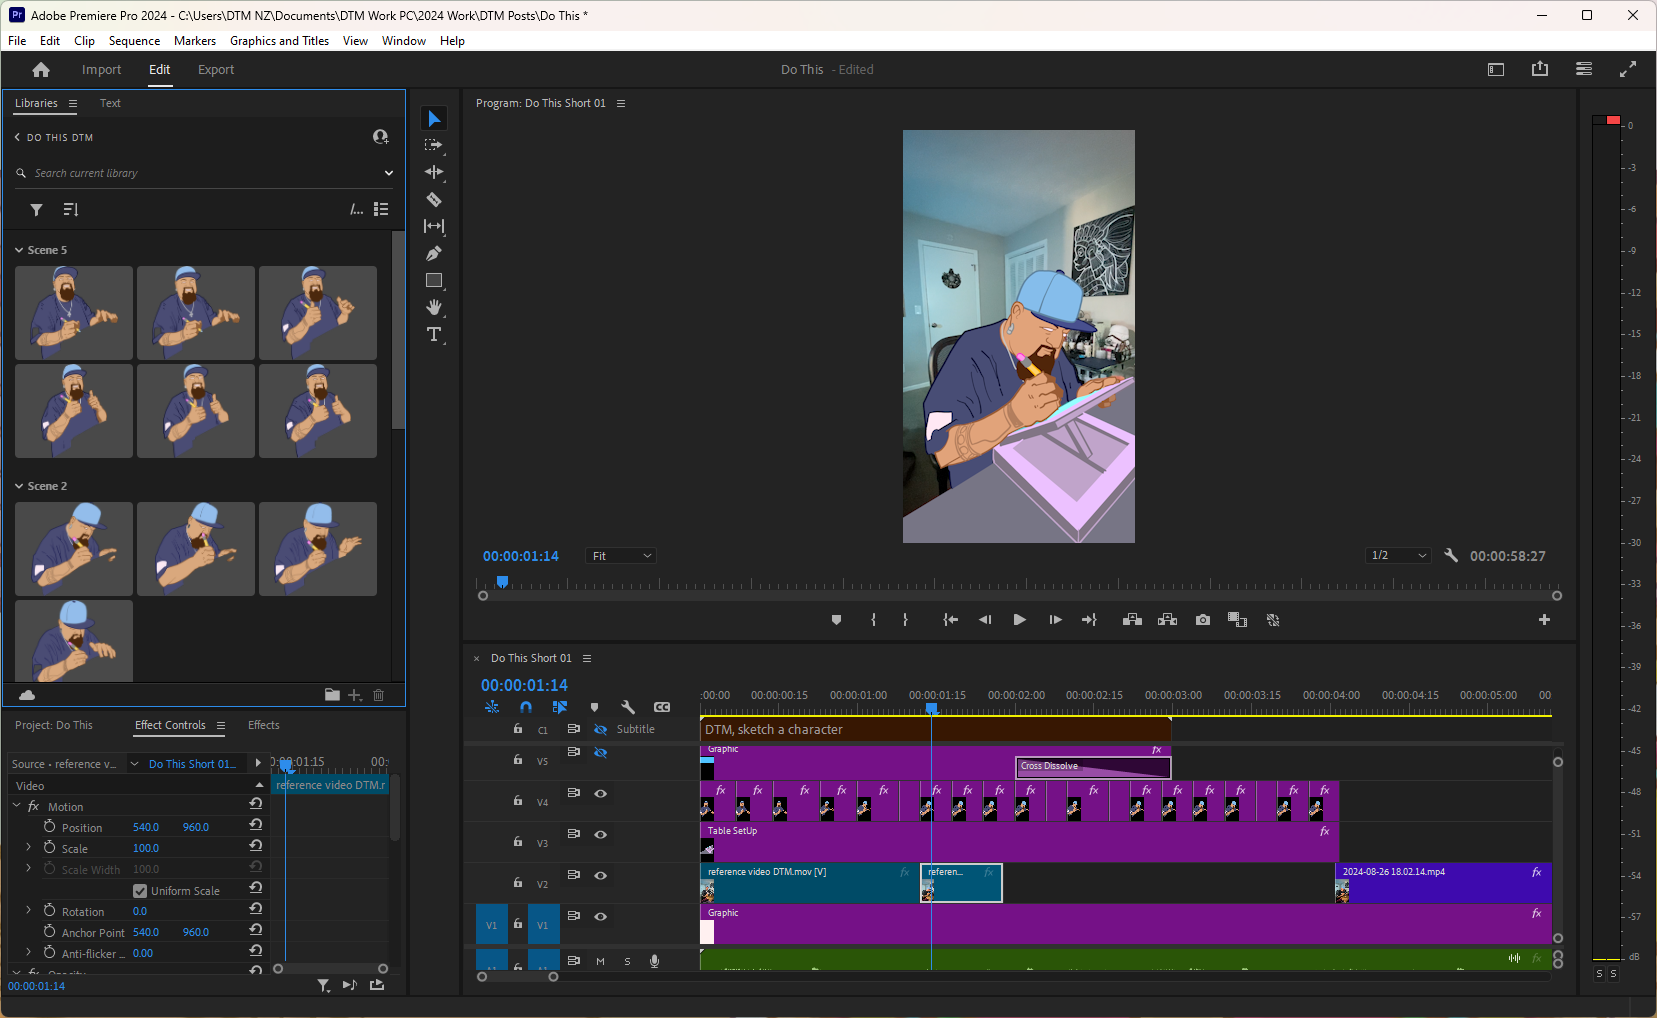
It will take some time but you can replace some of the frames of the original video with the new drawings from the libraries.
This is why we need to stay organized, so each drawing has a name that matches the placement of the scene and the frame.
I kept most of my drawings at 4 frames.
Once all the frames are replaced, delete the original video.
And we have an animation!!!
Last Step.
Add your music.
Add captions.
Add a shape under the captions so the text is visible.
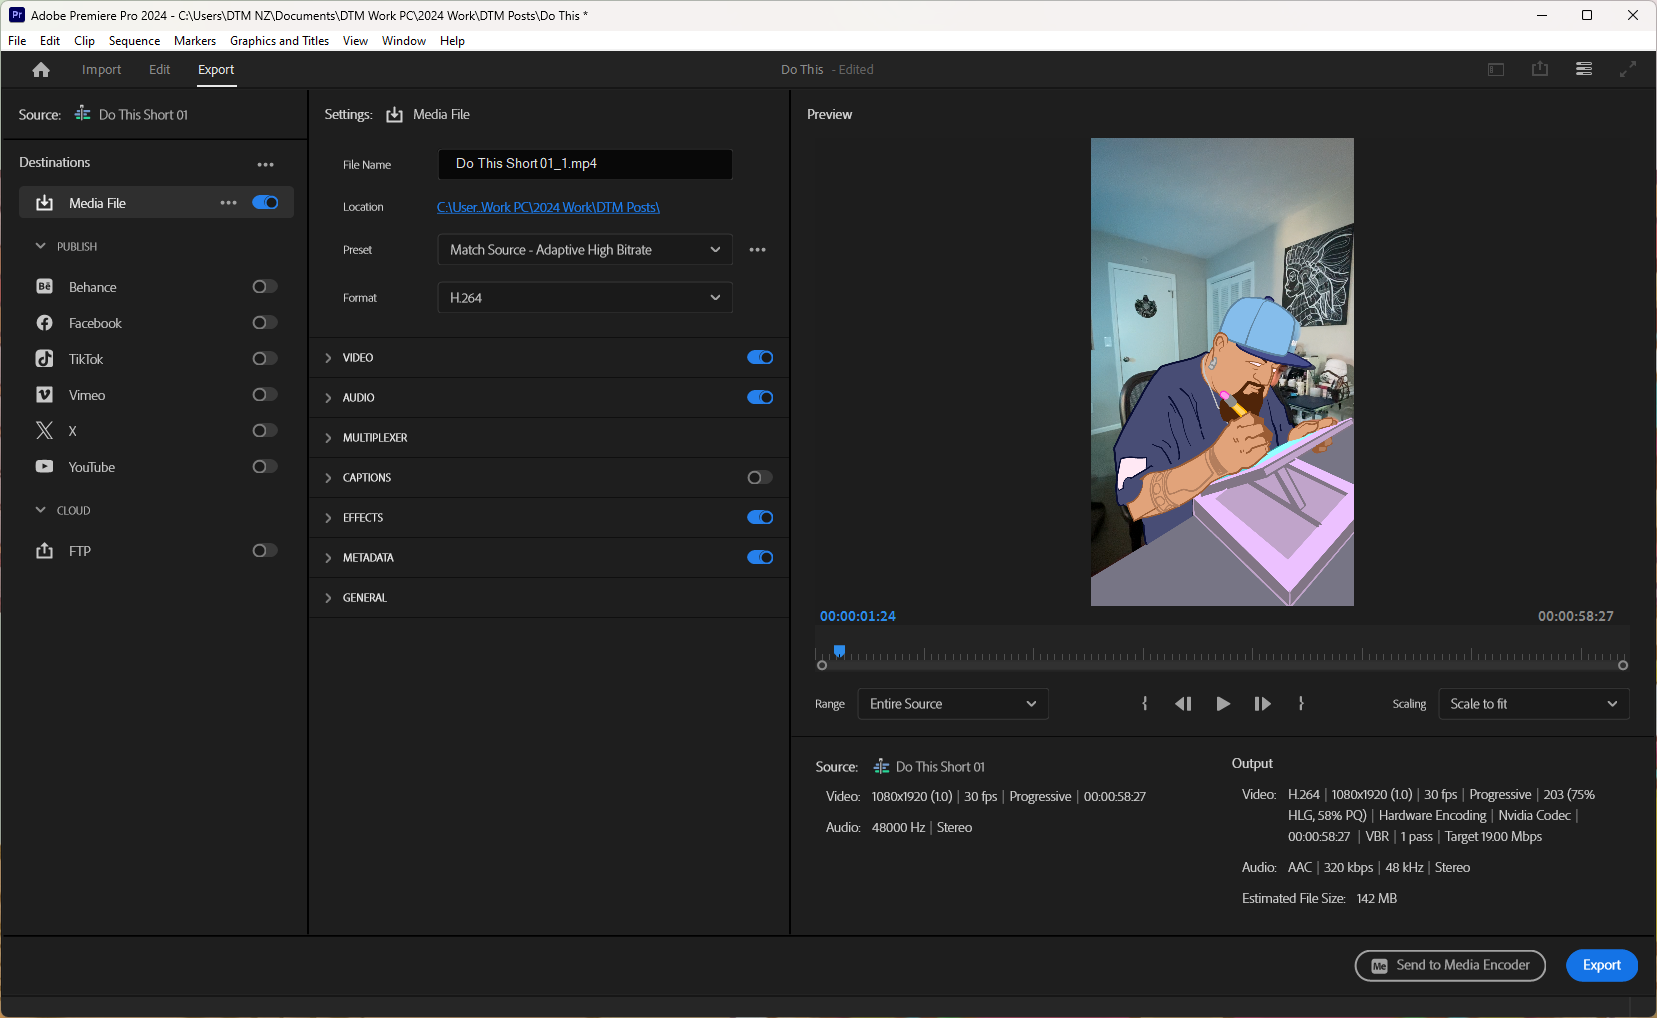
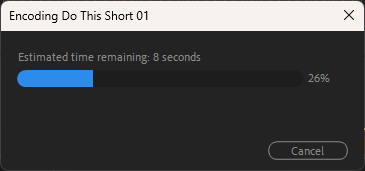
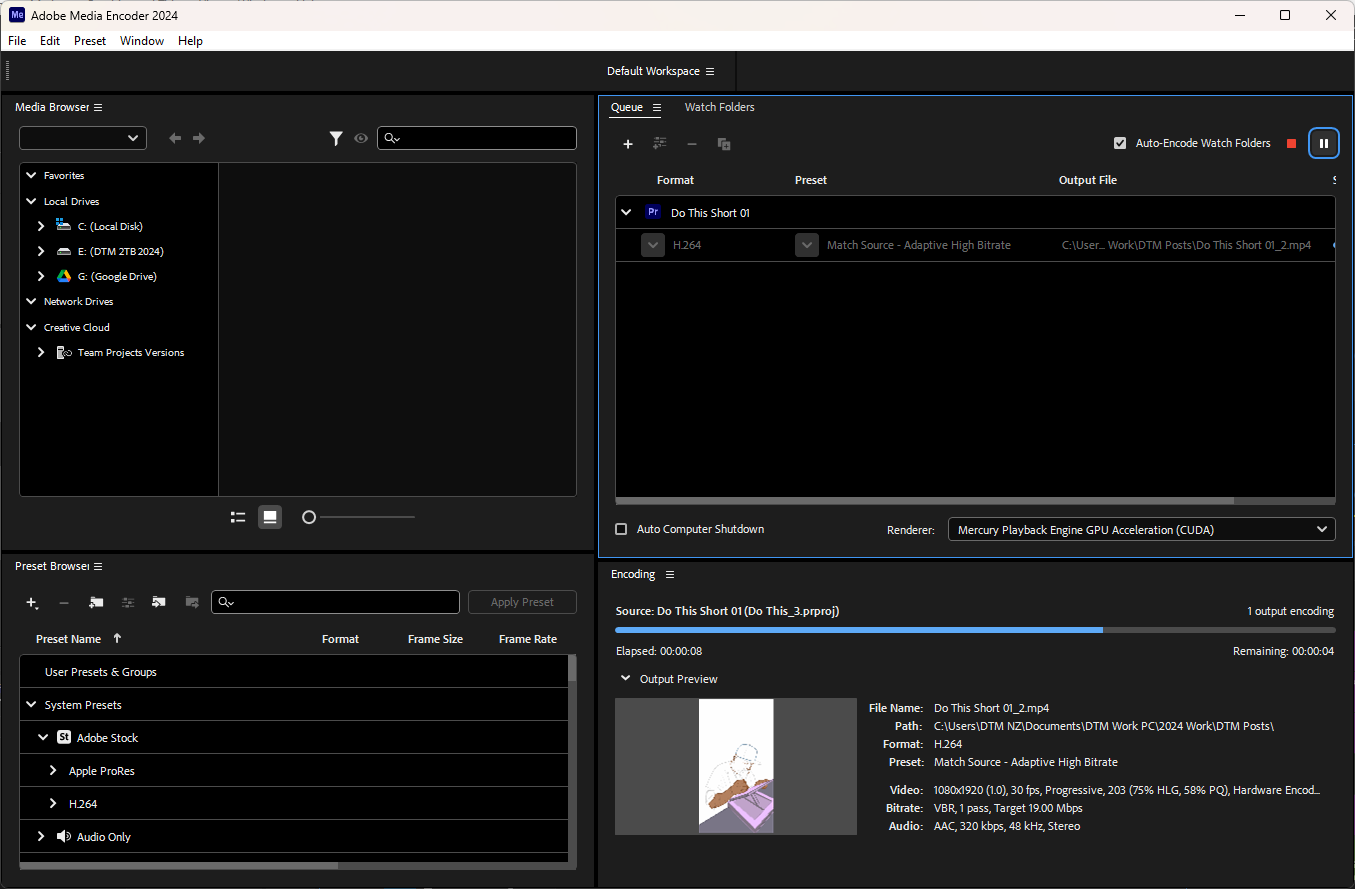
Export video as MP4.
Post to TikTok, FB and IG Stories and YouTube Shorts!
Livestream with DTM explaining the workflow process!
Let me know what you think of this process!
Subscribers: let me know what files you would like to have access to from this process.
If you are an animator, then share some secrets!